Last week, we had an opportunity to still-life twice, with the same group. Make sure you check out the other post, too. You can find it here.
The language
This was one more lesson we did this summer as part of our summer camp, with each day dedicated to a different colour and we had a whole lesson which we could devote to language practice. This lesson went according to the same plan: a song, things that I green and things that we like. We also included more practice and games and we wrote a poem about the colour green, modelled on the poems I found in the Little Learning Corner.
The artist
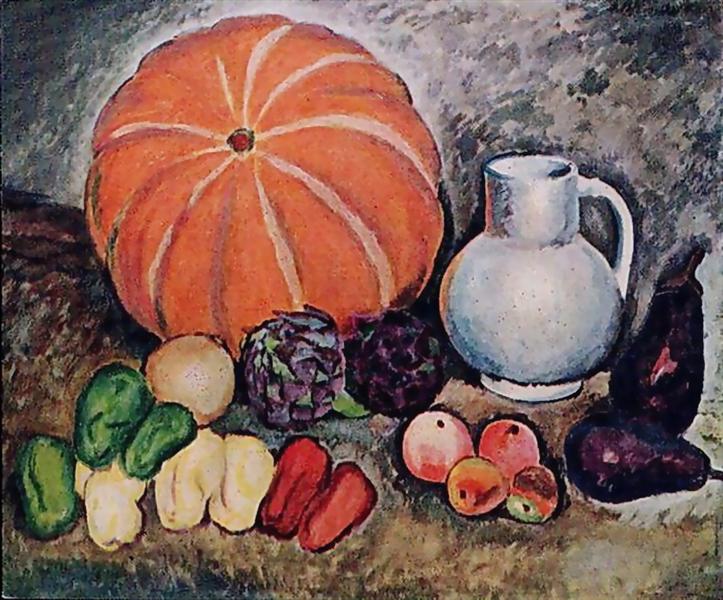
Initially, I was planning to base this lesson on Ilya Mashkov and his pumpkin painting because it worked very well in the past (post here) and the kids responded well to it. However, having decided to do just that, on the day of the lesson, while going to school, I realised we needed something more. Firstly, because I have a new group, with mixed ages and levels and all made of kids who did not attend my Art lessons throughout the year. Secondly (and more importantly), the colour and the shades and the logistics of it, were a new concept and I wanted to set an appropriate time slot for that. Instead of looking at some other paintings we got down to business:
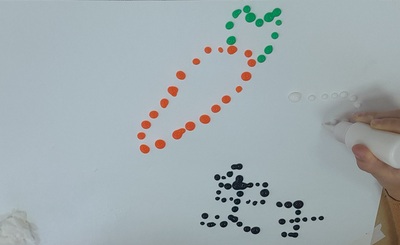
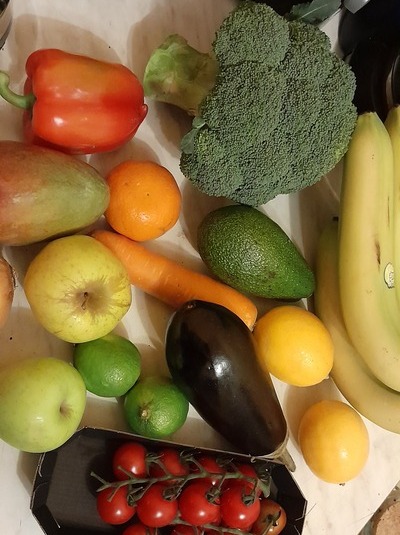
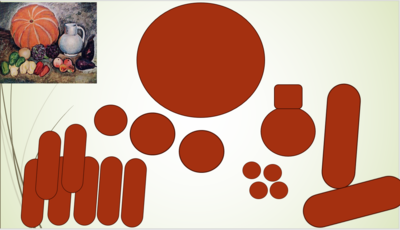
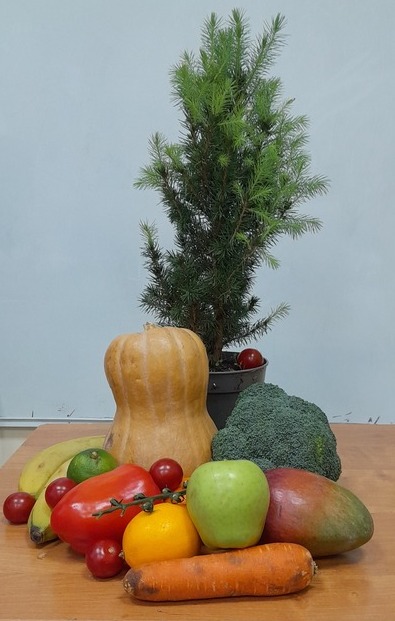
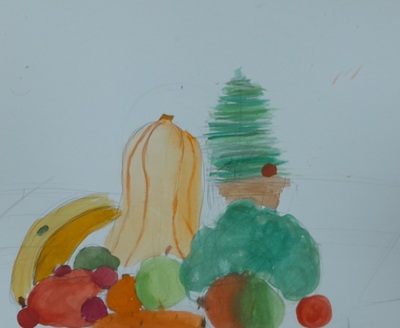
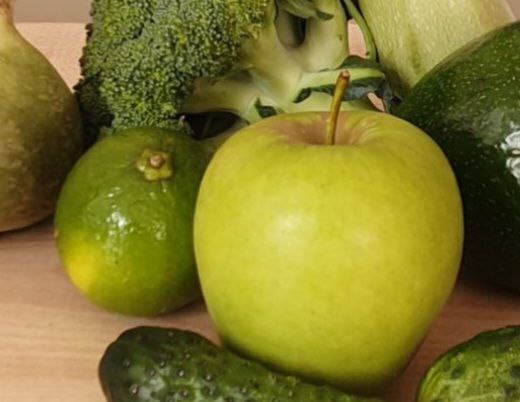
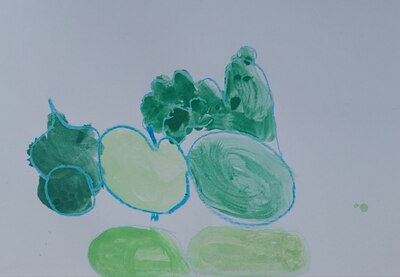
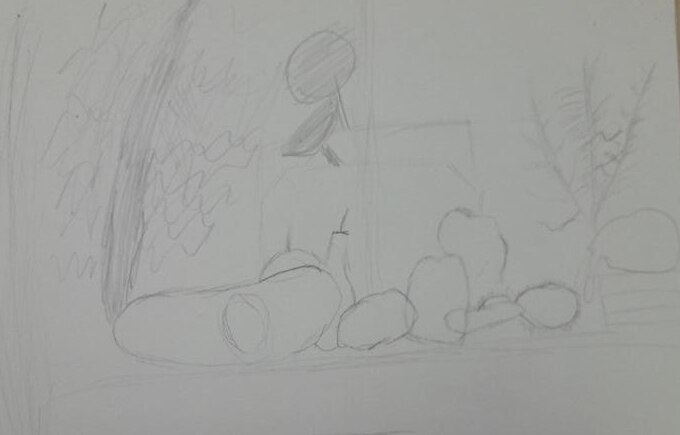
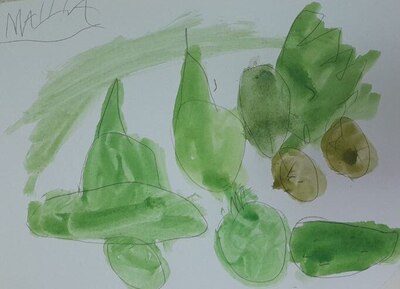
Shapes: we looked at all the green fruit and vegetables that I brought and described them using simple shapes. In order to help the younger kids, I also drew them quickly on the board, too, to demonstrate that it is not necessarily very complicated.
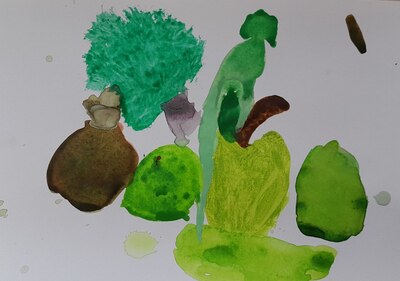
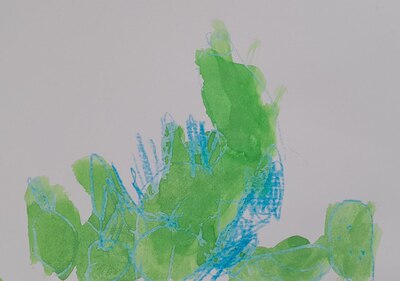
Colours: for this part of the lesson, we all sat on the carpet, around a piece of paper and a box of watercolours. We tried different colours in the box (there were 2 shades of green) and then we experimented with mixing shades, creating new ones and trying them out on paper. We checked how adding water works, mixing greens with white, black and grey and then we just used a few combinations that kids suggested.
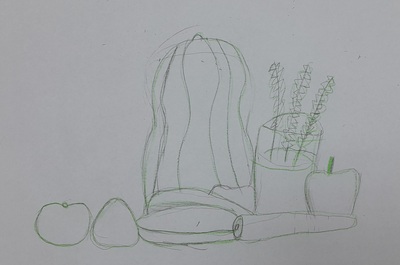
Outlines: I personally love drawing with crayons and colouring with watercolours, because the crayons do a great job of holding the paint within the lines and really like the contrast of the most random colours used to sketch. Black is not the only option and I wanted to share that with kids. I demonstrated that but I also told the kids that they can also use pencils or nothing.
The art
Before the lesson, I prepared the working stations and the kids were taking their after they got up from the carpet. On the way, they also picked up their aprons.
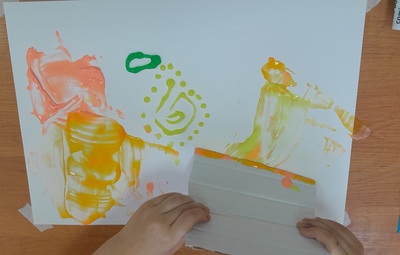
I gave out all the materials: crayons, water, watercolour, paintbrushes, palettes for mixing and tissues and we got down to work. The kids were working at their pace and I was just so happy that I had my TA who could help monitor a relatively big and varied group.
My eldest students were working very well on their own and they really didn’t need any real support and direction. The youngest students took a while to get started and were definitely in need to the first step accompanied by the teacher. For two of the children, we even had to start the sketch and let them continue.
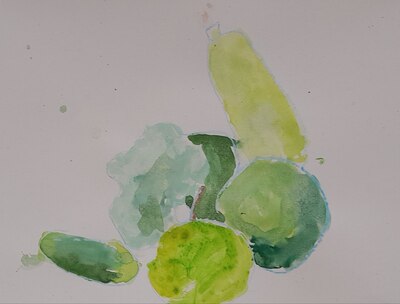
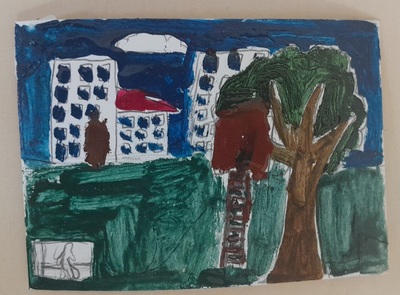
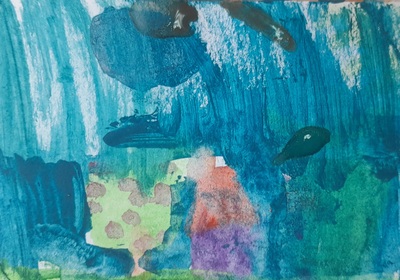
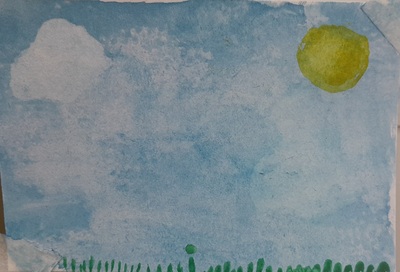
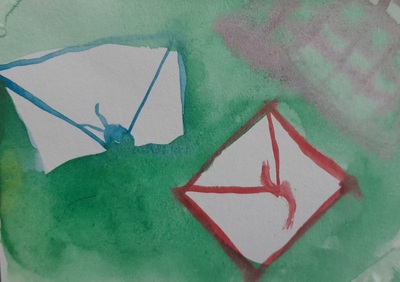
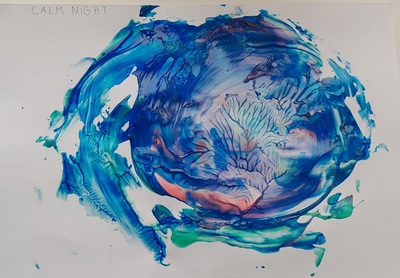
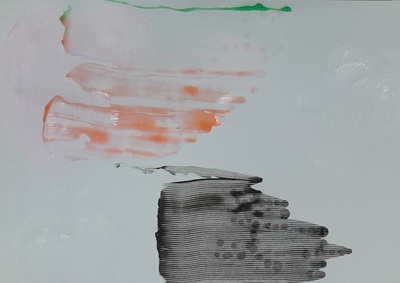
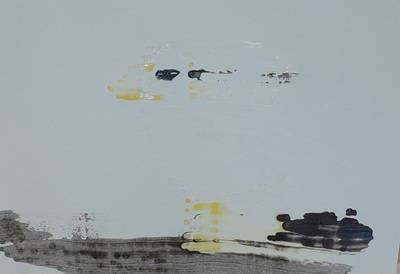
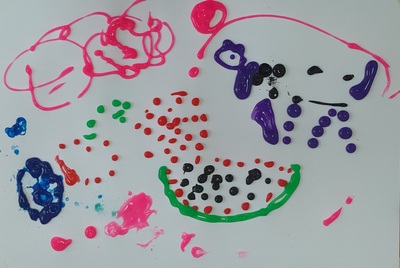
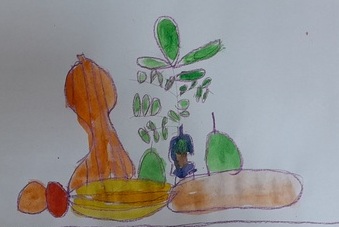
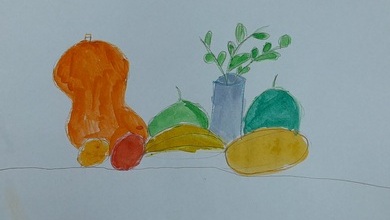
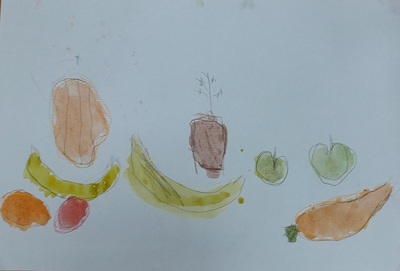
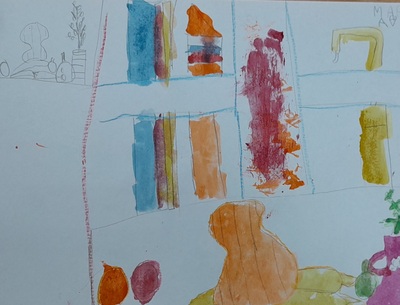
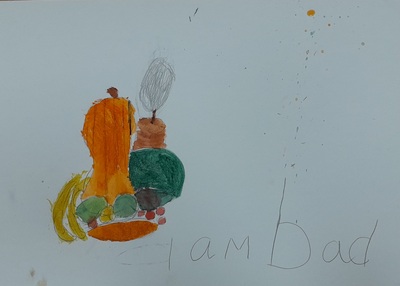
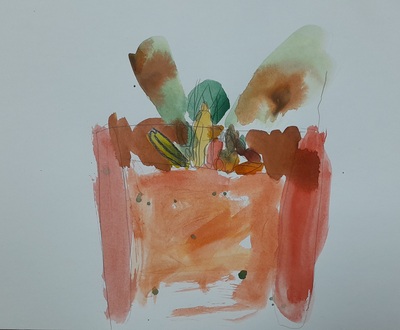
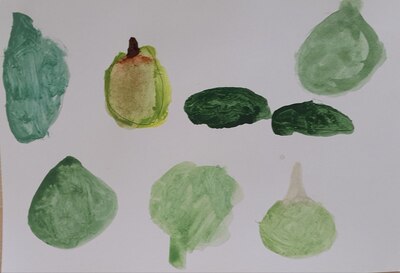
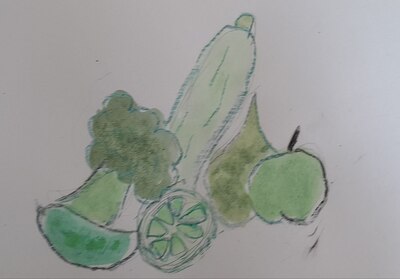
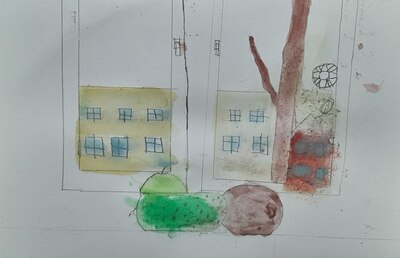
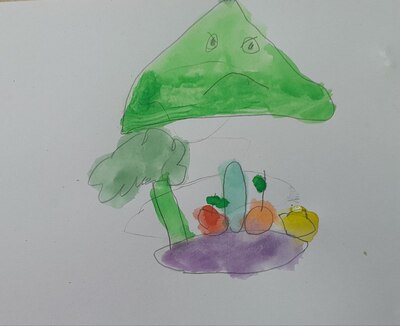
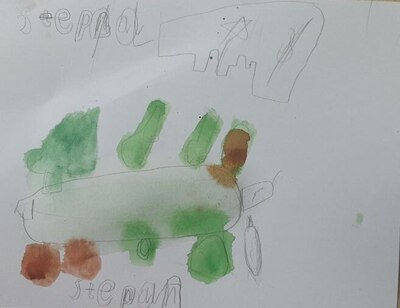
It is interesting to see how many different ways of looking at the composition of the still-life the kids took. I tried to suggest starting from the biggest and the most obvious ones (the broccoli and the zucchini) but I did not insist and, as you can see, some of them went as far as just drawing a set of fruit and vegetables, reminding me of a page of a XIX century herbarium.
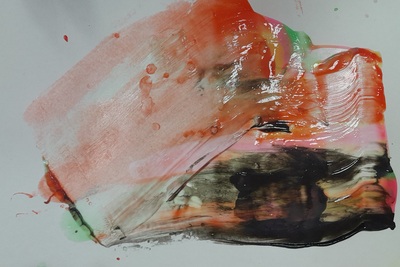
Regardless of their age, they really enjoyed working with the colour and the experimenting with different combinations of paints. They were working and, again and again, they would call us out, me and my TA, to come up to their desks to look at the new variations of green. ‘I’m a real artist!’ our youngest in the group said proudly when we were about to start working.
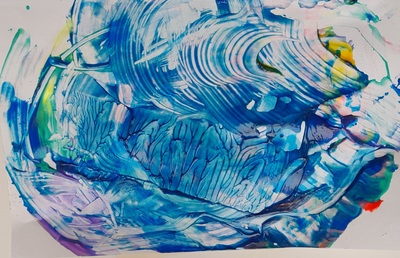
Some of them also went as far as working on the texture to match the texture of different fruit and vegetables but, again, I did not insist on that. That’s a separate lesson, something to look into in the future.
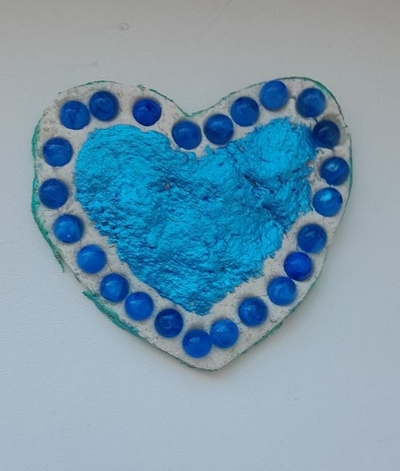
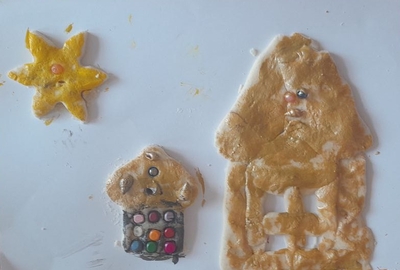
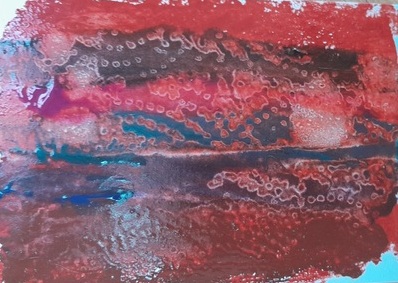
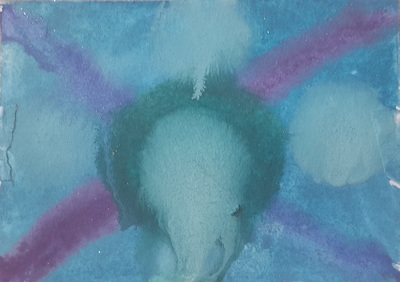
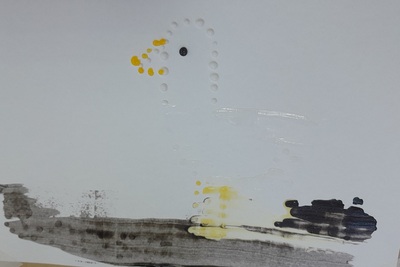
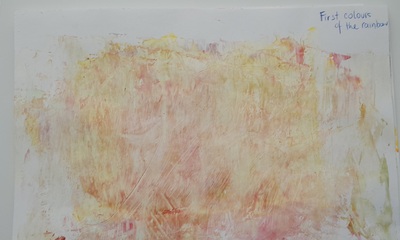
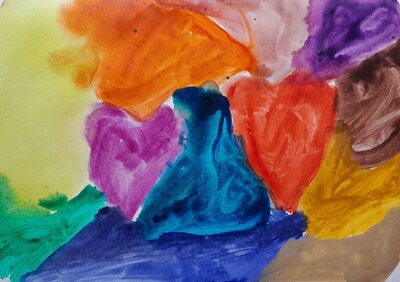
Three of the children completed the ‘obligatory’ fruit+veg painting and went on to create their own paintings, one for mum, one to experiment with different painting techniques and one, ‘the glory of the colour’, just because a 5 y.o. found an especially bright box of colours and she decided to express herself with them. Two of the creations were never photographed because they were so precious that my student just snatched them, still slightly wet, to leave them in the changing room, not to forget to take them home.
Next time to-do list:
- Make sure that all the kids have a spare piece of paper to try out all the new shades before applying them on the actual painting.
- Write the lesson plan on the board. I didn’t this time and it is a pity, it would have helped to keep everyone more or lesson on the ball.
- Prepare some kind of a version of a template or a sketch ready for the youngest children, in order to help them jump over the huge challenge of the drawing stage and in order to be able to focus on the colour and the shades. Technically, this could also be a separate lesson, too, with a template for everyone, to focus on the colour or on the texture.
The gallery

Happy teaching!