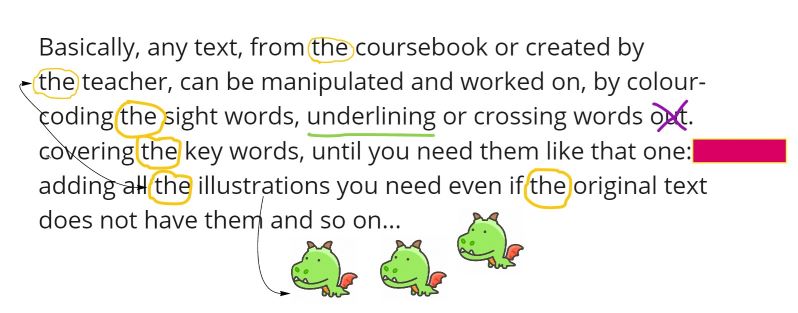
This is a post dedicated to my trainees and course participants because, as it often happens, good ideas surface while talking to other teachers. Thank you! And I hope you find it useful)
About sight words
If in one line, sight words are those precious bits of the English language that, in a way, are exceptions are they do not follow the rules of phonics and which, at the same time appear in the English language with a high frequency (hence another term used to refer to them ‘high-frequency words’) which makes them very relevant to anyone learning to read and write. ‘Sight words are the glue that holds the sentences together’ (sightwords.com) which makes them a necessary part of literacy development, even if they had to be learnt by heart.
There are two lists of these words, the Dolch Sight Words List and the Fry Sight Words Lists and they are organised either by the year (Dolch’s) or the frequency with which they appear in English (Fry’s).
Available resources
There are lots of resources available for parents and for teachers of the English as L1. Naturally, just like in the case of phonics, we need to proceed with caution as they were created for children who already communicate in the language so the meaning of all of these does not need to presented, clarified and practise. Here are some of the
- www.sightwords.com – definitely a place to start reading about sight words and looking for techniques and resources
- www.understood.org – another good resource
- www.readingrockets.org is my number 1 website anyway and I always do recommend it but their section on sight words is also worth looking at
- We are teachers has a nice section on the basic sight words activities for the classroom
- And, of course, there is twinkl.co.uk with their ideas and handouts.
Sight words in primary EFL (a very objective take)
It is some kind of a paradox that sight words do not make even a cameo appearance in our mainstream coursebooks for primary. Or perhaps it is not, actually. After all, despite all the changes and developments that have taken place over the last two decades (my time in EFL), literacy development over all of the years of primary still falls under the category ‘Areas for improvement’.
Year 1 is usually well-taken care of (or at least it is the year 1 coursebooks that have shown the greatest progress in the area) but the same cannot be said about levels 2 – 4. It seems that once the kids are out of year 1 and once they have gone over the few phonics sets, they are all ready to read and write pretty much everything, as long as it has the appropriate lenght and more or less the vocabulary and grammar that follows the curriculum of the level.
It does not work like that and it is not only my opinion. Every time I run a course for primary teachers and meet teachers from a variety of backgrounds and contexts (bilingual, freelance teachers, state school teachers, private langauge school teachers), they all come with the same problem that could be summarised as: ‘How do we teach the kids to read? My students are in year 3 and they still cannot read. The book does not help. I don’t know what to do.’
Yes, as teachers, we are going to be supplementing, staging and facilitating the process and the kids will eventually learn to read and write but it would be wonderful if this area had more systemic support and attention.
Enough of this whining. Let me tell you how we approach sight words with my students:
- Year 1 of instruction is fully devoted to phonics and sight words are put on hold. The reasons for that are simple. First of all, phonics have to have the priority and I don’t want to overload the students who are taking their first steps in English and in literacy. Second of all, I am taking my time to ensure that when we start working on sight words, kids are not complete beginners and may actually know some of the words they are to learn and to practise. This is also the time when we start moving from sentence reading / writing to text reading / writing and these words really do make an appearance. We start learning and practising sight words in year 2.
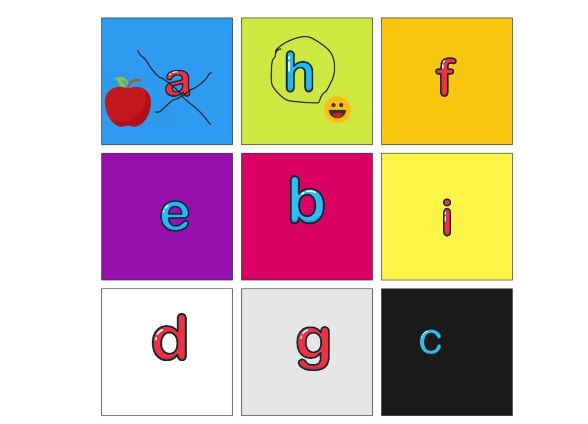
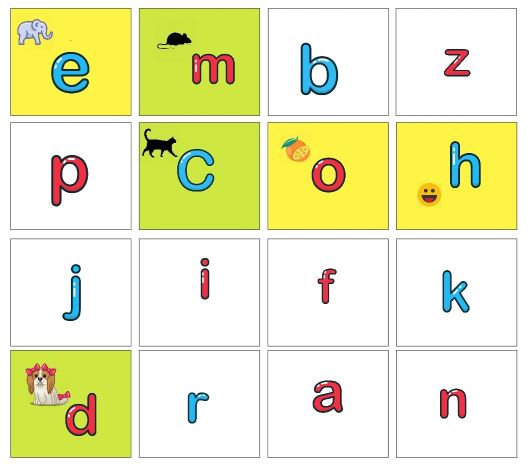
- I divided the words in my own (very subjective) way, according to the categories such as grammar words, adjectives, verbs, etc, to facilitate recognition and memorisation and to enable to come up with meaningful practice activities, something more than just reading. So far I have been using Dolch’s list but I am going to upgrade it, as soon as we get through it. The lists have been colour-coded, printed and laminated and we take one list per week.
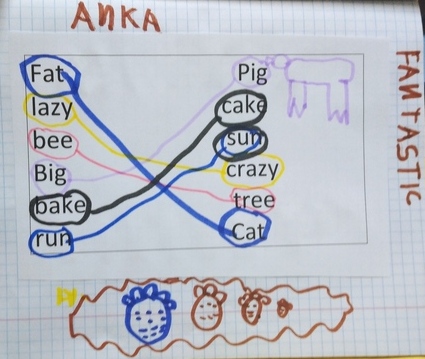
- Read and put your hand up: the introductory exercise, the children are looking at the list and I read the words, one by one. The kids listen and raise their hands if they know the word. The aim of this activity is for me to understand where we are with the words regarding their meaning. Naturally, if we find something new, we explain them.
- You’re the teacher, I am the teacher: kids work in pairs. They take turns to lead the activity. ‘The teacher’ points at the words in the table, ‘the student’ reads them out loud.
- Line by line: we work as a team, kids take turns to read one line of the sight words. If the kids are quite strong, they can point at two or three words at the same time.
- Knock, knock!: one more copy of the sight words is displayed on the door of the classroom. Kids read a number of words on entering the room (i.e. 3 or 5). The words can also be colourcoded, randomly or by the level of difficulty, i.e. 5 words per colour (depending on the list). Kids choose themselves which colour they want to read.
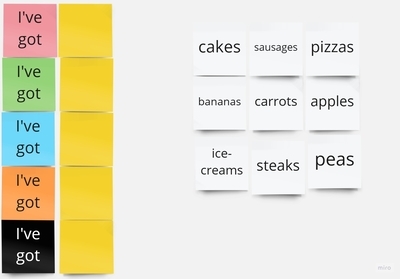
- Bingo!: teacher prepares a set of cards with the words in question and hands them out among students (4 or 5 cards per student). The teacher reads the words in a random order. The child who has the card with a certain word puts it up to signal to the teacher (‘I’ve got it’) and they put the word away. Whoever runs out of their words first is the winner, like in a regular Bingo game.
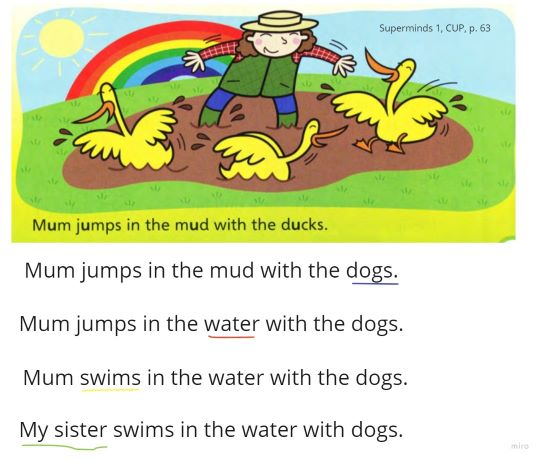
- Make a sentence: this activity requires a bit more than just a list but there is so much potential that I decided to invest time in preparing the resources for it. You will need two sets of cards, one with sentence starters made out of sight words (i.e. I have, I can, I like, I don’t, Do you, I will, I didn’t…etc) and the second set with adjectives (i.e. blue, green, long etc). Kids pick out one card of each and show to their peer for them to make a full sentence made out of these two bits and their own ideas.
- Invisible sentence: kids work in pairs, like in ‘You’re the teacher! I’m the teacher!’ but instead of just reading the word, the student who is a student makes up a whole sentence or a question with that word. It takes a few rounds of practising together on the board for the children to get the idea, for example with teacher and one of the students taking turns in choosing the word but once they get it, it is a marvellous activity and, apart from practising reading, the kids also put them into context. If there are still some less familiar words or even the unknown words, this is a perfect opportunity to fish them out and to clarify them.
There are just a few of them but we have just started our adventure with sight words. There is more to come, for sure!
To be continued…
Happy teaching!