This time, the whole lesson planning process started with my decision to spend the whole month of January doing fun things with the colour and it was an absolute necessity to start with Vasilyi Kandinsky. This particular lesson did not follow the traditional routine and the painting that is usually the centre piece of the lesson, this time made only a cameo appearance that illustrated what our artist liked to create.
The language
We started in a very relaxed way and in the first lesson we talked about our favourite colours. We also learned some more advanced colours names.
I wanted to get the kids to associate colours with emotions, feelings and music, just like Kandinsky did, and that is why our next stage involved watching a video with the unusual instruments and deciding how we would present each instrument and its sound with a colour. After each short clip, we paused the video and shared our views. Only then did I introduce the artist of the day.
With the youngest group we focused on the basic colours which we revised using two of my favourite songs: What’s your favourite colour? – with looking for colours around us and with My yellow car – with pausing and guessing what product is going to be bought.
Afterwards, to get the kids ready for the alternative approach to colours we looked at the set of cards which I prepared, the everyday objects in unusual colours. I asked the kids to look and to say what they think of the idea, using a simple ‘I like it / I don’t like it’. It was a lot of fun!
The artist
The reason for that was the fact that Vasilyi Kandinsky spent a large part of his creative life not only using colours but also trying to understand them (‘Effect of Colour’). After we shared our ideas about different pieces of music, we watched a clip of the video ‘What’s the Sound of Colour‘ to check whether we agree with his interpretation. Sometimes we did and sometimes we didn’t.
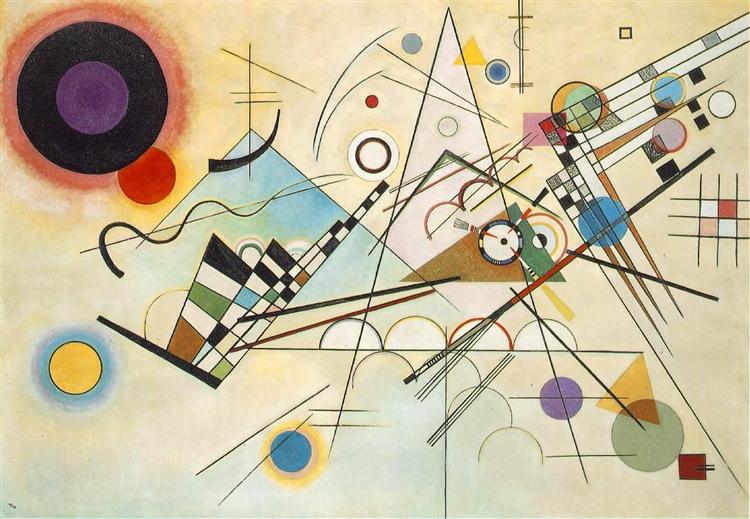
As a follow-up to that we looked at Kandinsky most famous creation, Composition VIII, but only to have something to represent him with. We did not analyse the painting apart from the title because the name went nicely with the idea of colours and music.
Our lesson with the little kids was so packed with activities that I had to skip the artist stage, in order to make sure that we had enough time for our creativity. Nonetheless, it all worked very well!
The art
I did not want to create anything in the style of Kandinsky not to steer away from the colour itself. For that reason I chose spread painting – it has the colour at its centre, it is not very challenging and it can be done with a variety of different paints.
Before the lesson, I prepared the paints (acrylic and gouache), the pieces of thick cardboard (photocopying paper box cut up into bits) and the paper. I used the thicker paper sheets used for watercolours to ensure that the paper holds up the amount of paint and water and I decided to go for the A3 size, to give the children more flexibility with the spreading movement and the feel of being real artists who work on bigger sheets.
In this kind of a lesson, it was absolutely necessary to demonstrate the technique and in order to do that, I put my paper on the floor, made a decision about the colours that I wanted to use, put a few blobs of different colours and then showed the students some basic movements to spread the paint on the paper (straight, wavy, circular, semi-circular). Apart from that, I also had a few pictures of my own, prepared before the lesson, with different movements, sets of colours and, in some cases, the additional drawings with a marker. These already had titles, too.
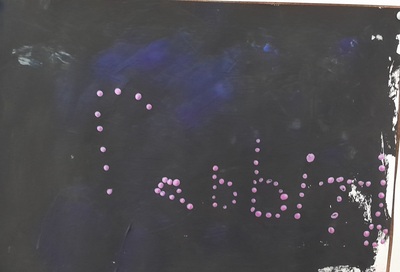
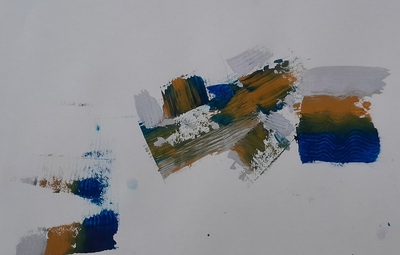
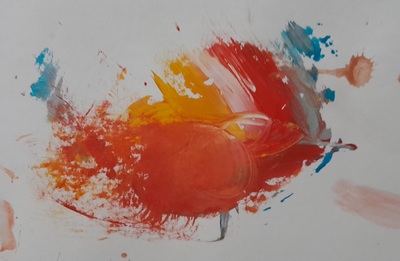
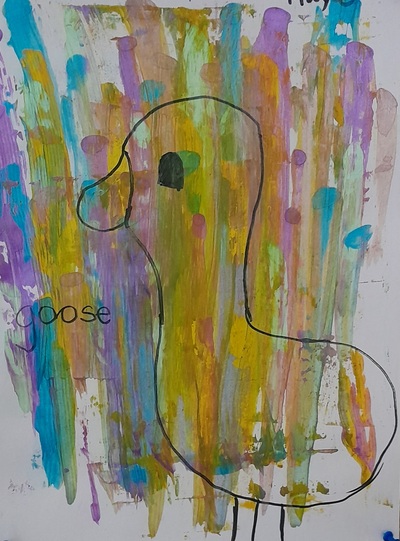
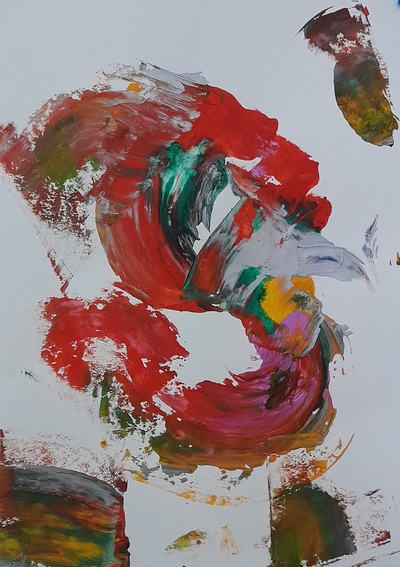
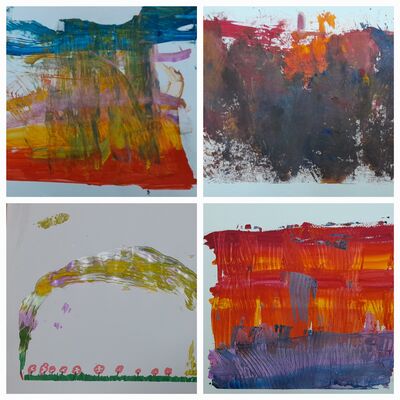
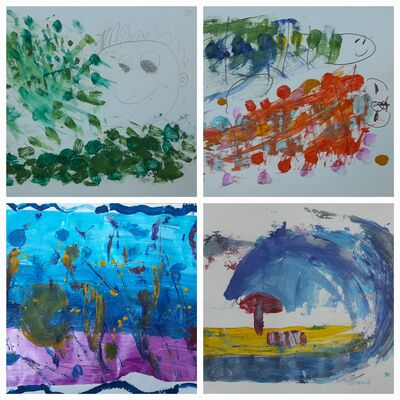
Afterwards, we just went on to create. The most important decision to make was the colour selection and we discussed that while I was walking around the room and monitoring. It was great to see how these decisions were made and how the kids were becoming more confident with the movement and the technique. In the gallery below you can what they produced and how their favourite things are reflected in their creations i.e. ‘the rabbit’ created by a fan of rabbits and Malevich or ‘the goose’ that features in many of our lessons because a goose is my student’s spirit animal. I am also extremely proud of the blue – mustard – silver creation which is the title photo because it was a first for one of my students who so far had been only sitting and participating in our debates. He finally felt curious and ready to get his hands dirty and with what result! I just love the combination of colours here.
Initially, I wanted everyone to name their paintings but then I gave up that. After all, this was our first approach at the abstract art and I just wanted them to enjoy the process without pushing them too much. Our paintings are now on display and we can always get back to them and give them their titles later on, when we are more comfortable with the non-figurative art.
It was a great lesson! Next week I am going to get to repeat it with my younger kids and then, there is the rest of January to celebrate colour!
Here are some of the pictures that my little students created! It was one joy of a lesson, with my students discovering the world of the modern art and the brand new technique, experimenting with it and being proud of their creations. Amazingly enough, they really took to looking for ideas in their paintings and trying to name them. This was just precious.
Happy teaching!