The summer is not over yet and there will definitely be more experiments but I wanted to collect in one post all of the experiments that we did this summer during our summer camp. Our students were all between 5 and 9 years old and they were a mix bunch not only as regards the age but also in terms of the language, from beginners to a strong B1. Everyone participated, the language was graded but, of course, the older / more advanced could be more involved cognitively and linguistically.
However, these have a lot of potential, not only because they are very engaging and have a strong WOW effect but also they can be adapted to different contexts and levels. I will include their connection in the curriculum for us, at the summer camp and some potential links to a more traditional EFL curriculum.
Last year’s fun
First the experiments that have already been described here, in separate posts:
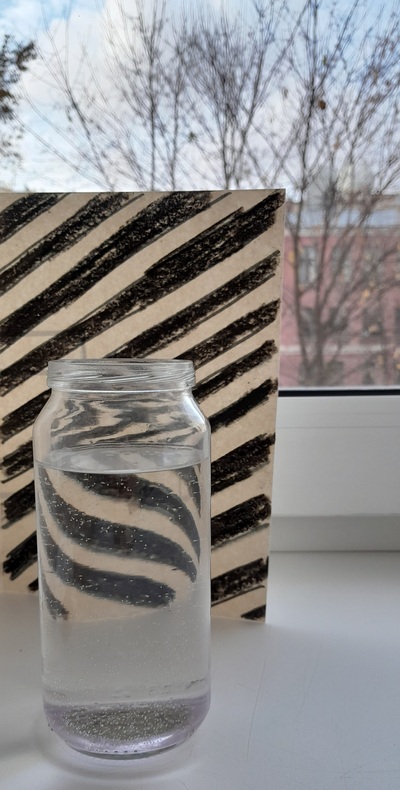
Refraction, the original post is here. Our connection: black and white things. Potential connection: I can see, optical illusions.
Design 101, you can find the original post here. Our connection: things that are blue and water. Potential connection: colours, emotions, toys, pets.
Skittles, the activity has already been described here. Our connection: colours, prism, sugar in our food, hot and cold water. Potential connection: colours.
Volcanoes, the post is here. Our connection: things that are red and fire. Potential connection: colours, natural world.
This summer’s fun
Some of those experiments I ran myself, some of them were run by my colleagues, as a part of the programme which I designed and which we taught together at our school.
A floating orange, a perfect experiment for the Orange lesson and a great element of the lesson on objects that float or sink. We watch an episode of Blippi (or this one here) and do exactly the same, collect bits and pieces around the school, predict and then test if they sink or float. The orange, with and without the skin, was the cherry on the cake, so to speak. If you need any inspiration, here is the video to help. Our connection: things that are orange. Potential connection: materials, things around us, passive vice.
What colour is the colour black? This was an absolutely fascinating experiment that I found and ran following the example of The Dad Lab. The only thing you need is a range of black markers, from different sets and different brands, a few jars or glasses with cold water and strips of kitchen towels. The results are almost immediate and it is very obvious to see the great variety that can be combined to create the black ink for the markers, not only the browns, greys and blues but also greens and even yellows and reds, depending on the manufacturer. Our connection: things that are black and white. Potential connection: colours, I can see,
What colour is the colour white? This was the other half of the lesson described above and we also looked at how the colour white is created. We produced our Newton’s disc to see how different colours can mix to become white. There is this video here, in which you can see how a proper spinner is made although we used a simpler version, on a pencil. Our connection: things that are black and white. Potential connection: colours.
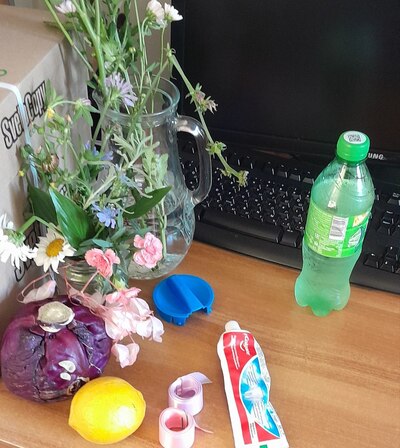
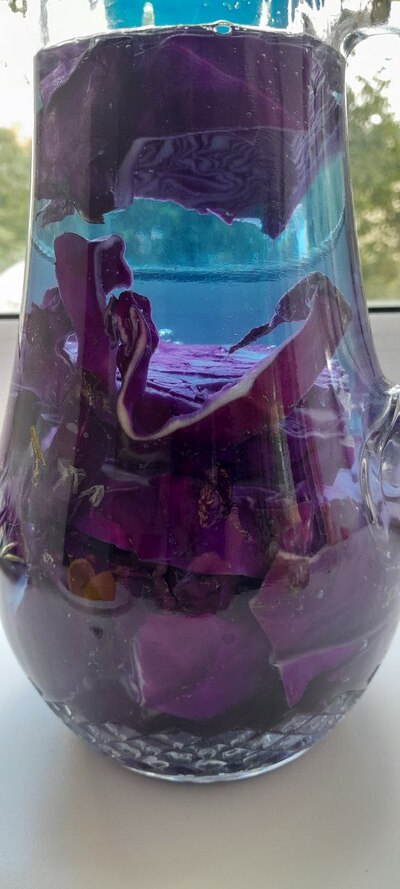
Cabbage juice or the ph indicator. This was probably one of the coolest experiments ever. On the one hand, we had a real staging and a real topic (ph indicator of different substances in our life) and a real Chemistry lesson. On the other hand, this was an experiment that most resembled proper magic. There are quite a few things that are necessary, all the substances (see the video here that I used as inspiration), a few jars or bottles and, of course, the cabbage jar. Many videos and manuals suggest using a blender but I didn’t have one so I just chopped the cabbage and threw it into a jug of warm water. This was also an interesting bit as the water started to change the colour within the first minute. Even though my students were quite young and with not a very high level of English, we talked about acids and alkaloids and tried to predict how the cabbage juice will behave. Our connection: things that are purple and pink. Potential connection: food and drink, introduction to Chemistry, future with ‘will’ for prediction.
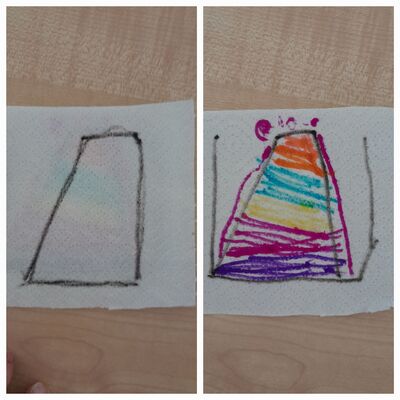
Travelling colours, another very simple craft and very good for the young kids and beginners who have only little langauge but can learn a lot about mixing the primary and secondary colours. Our connection: experiments with water. Potential connection: colours, primary and secondary. The video that I watched to learn about this experiment is here. At first, I used regular paints to colour the water but the dye is not strong enough and although the water wets the strips of paper towel, it does not carry the dye. We repeated the experiment with proper food dyes and that was a lot more successful.
Why we liked it?
I have to admit, I had so much fun with these lessons! We had a whole day at the camp and we didn’t need to rush anyway. There was time for English vocabulary and grammar, another lesson for the creative activity and then, after the lunch break, one more slot, just for CLIL and Science. It actually helped a lot to put it at the end of the day. The Science lessons were more hands-on and I had a longer break which I could devote to preparations. That came in very handy indeed.
All that meant that preparations were required and, admittedly, not all of the resources necessary are the things that you would just find lying at the school, but, they are definitely materials that can be easily found around the house. That, of course, meant, going to school with a bag packed with the most random selection of things but, hey, it was definitely worth it.
The summer is not over yet and there are still a few lessons to come and a few more experiments. I will be adding to this list but I am already ready to say it out loud: Science is cool!
Happy teaching!