J.M.W. Turner is, hands down, one of my favourite painters and, definitely, one of the first ones that I fell in love with and it has taken way too long for me to introduce him to my students. But, finally, this day came. We are now in our summer camp ‘Travelling around the world’ session and we planned an England Day, there could be no other painter to bring to class. ‘It had to be you’, Turner, sir.
The language
On the day, we had to lessons which we could devote to England. The first one was a vocabulary lesson in which we learnt about the different things we can see and do in England, food, sports, symbols and sights. We also talked about the things we like and don’t like. We filled in another page in our ‘passport’ (every day we do one) we watched a short video about the top attractions in London to compare it with our city.
The artist
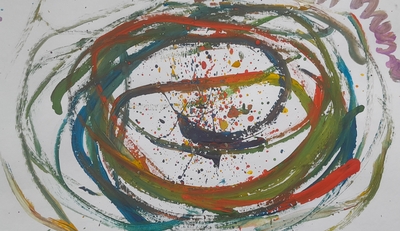
Introducing J.M.W. Turner was easy as we could compare him with Claude Monet and it went along the lines of ‘Claude Monet had a garden and there he went to paint and Turner lived in Margate, by the sea, so he went to the beach to paint the sea’. That is, of course, a huge simplification but it worked for my 6-8-year-old audience.
We looked at a few of paintings and talked about the colours and the sea (‘Is it day or night?’, ‘Is the sea calm / quiet or angry?’, ‘What colours can you see?’).
The art
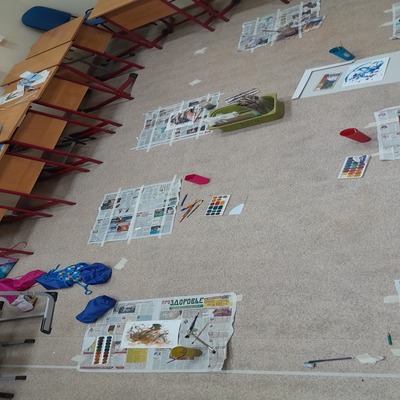
This was the first lesson in which we had two separate creative exercises.
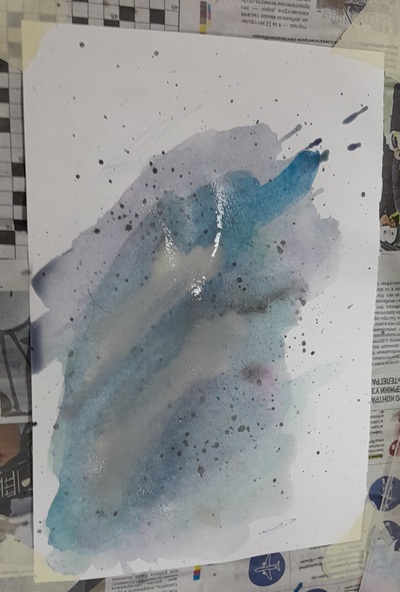
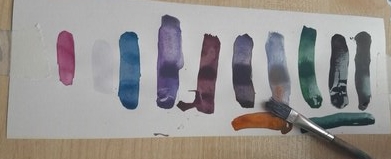
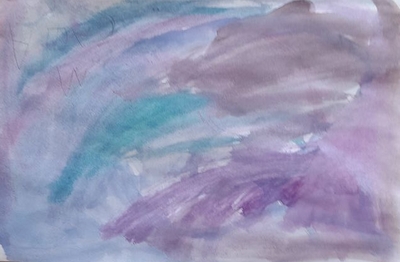
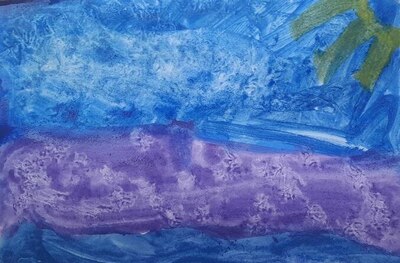
The first one focused on mixing the colours as I wanted the children to experiment with the paints we had in order to achieve a wide variety of blues which, later, would be used to paint the main picture. Everyone got a narrow strip of watercolour paper attached to the table, a box of watercolours, water, and a paintbrush. And the task: mix the colours in any way they want in ten different ways. I asked them to try out the paints on the paper.
Before we started, I showed them what I did for homework, namely about 20 different shades in my sketchbook. While I was monitoring and watching the kids, I realised that it was a great idea and that this could be a separate lesson. I just need to stage it in a slightly different way.
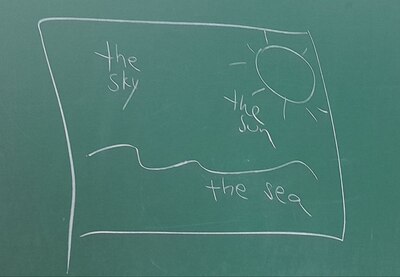
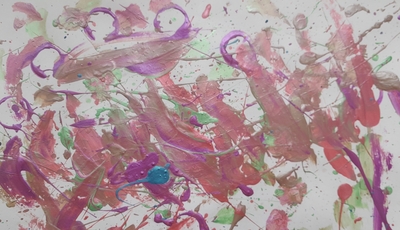
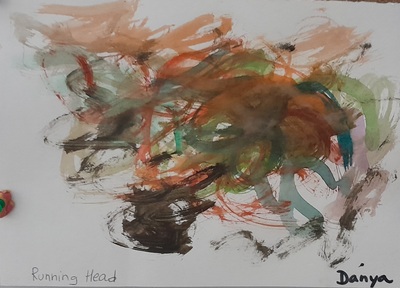
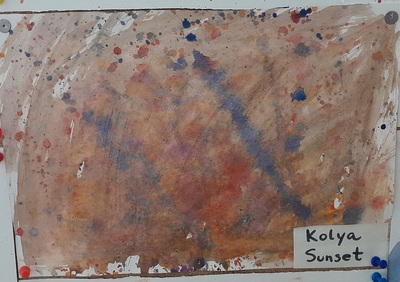
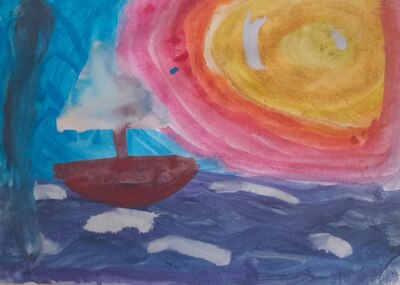
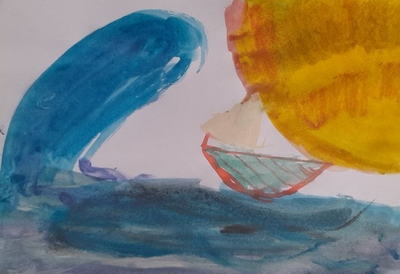
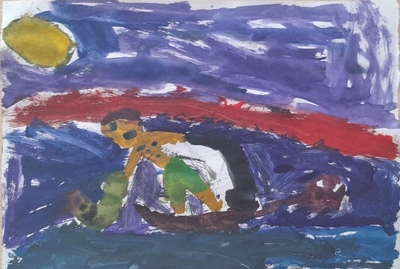
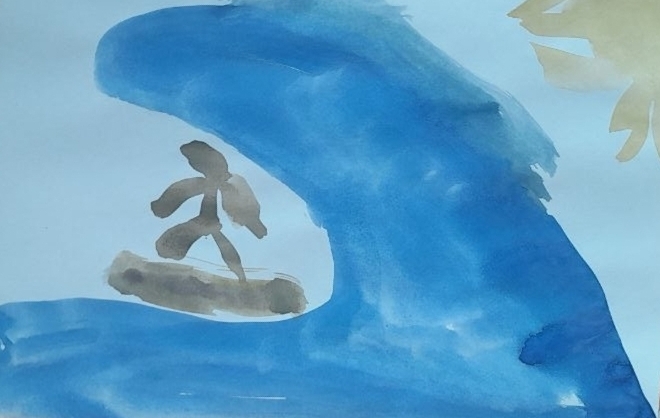
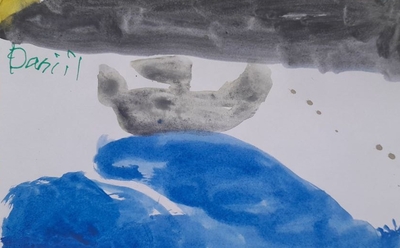
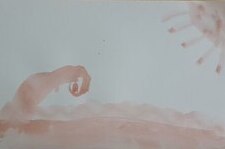
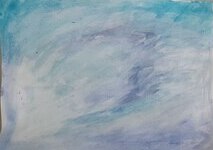
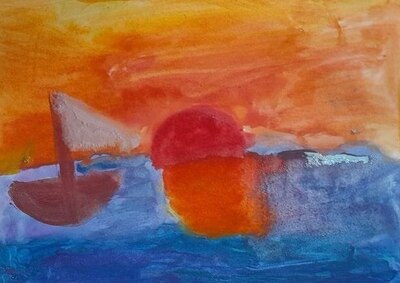
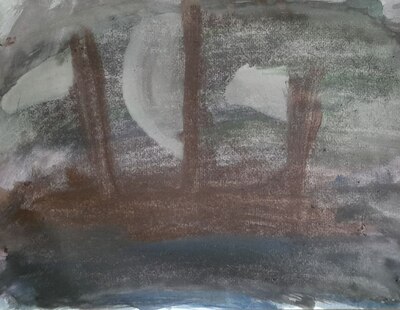
When everyone completed the task, ten different shades of blue, we got down to a real Turner. I drew a simple plan of what a Turner painting is (with all the love there is in the world): the sun, the sea, the sky and I asked the children to decide if it is a day or night, if the sea is quiet or angry, what colours they want to use and whether there is going to be a boat or not at all…
And we got down to work.
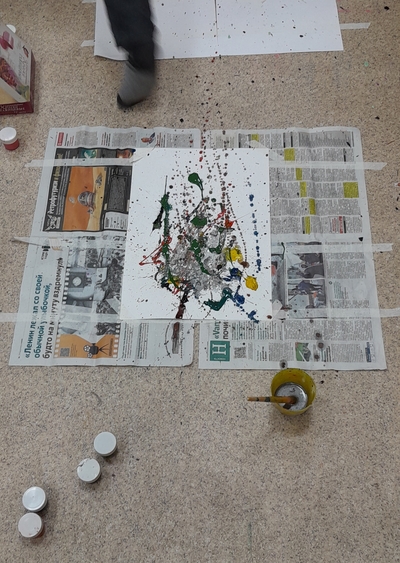
In methodology you call it ‘teacher monitoring the work of the students‘ and I do a lot of that but the truth is that I adore watching my kids work, take time to think, handle the materials, make decisions and focus on the beauty that they are creating. I cannot post the photos which feature my students, we take them only for the parents, but they are all so involved, so in the process, so concentrated, each in their own way.
What I noticed:
- the 10 shades of blue was a great idea and it helped them see how many options there are and I could that they were using it later. One of our youngest ones also applied the same technique in the following day, with another teacher. He really learnt something!
- everyone interpreted the topic in their own invidividual way
- one of our oldest students was a beginner painter and looking at the way he held and moved the brush, I could tell that there hadn’t been much of painting in his life until our lesson. For him, this kind of an easy task was a good introduction into the world of Art and by the end of the lesson he seemed a bit more relaxed and confident.
- the simple Turner was introduced to help the kids see the pattern in his paintings and to include all three elements.
- it was an achievable task for the youngest (5 y.o.) and the oldest of my students (9 y.o.)

Happy teaching!