First a few words of introduction…
It has been quite a while since I wrote in the series (the first episode is here, the most recent here). I was travelling in the beginning of March and I couldn’t write and later I just didn’t feel like putting together a piece, just because the schedule said so. I didn’t, I decided to be nice to myself. However, it also made me think that maybe the time has come to change things here a tiny little bit. Even in January and December, half of the post went along the lines of ‘no changes’ and I realised that we (the class) have changed so much that new solutions have to be put into use.
I will still keep notes here, because some of the things we use might be useful for other teachers and I still need this series as a way of reflecting on my teaching and their learning and progress but I will not be on monthly basis.
The routine et al.
All the new tricks I have added and how they work for us:
- the nicknames we still use although the question I ask now is ‘Am I writing your name or your nickname?’, just to give the students some freedom and flexibility. Those that feel creative on the day can express themselves (and some do a lot of that, our current record is 8 lines of a nickname) and some just use their names, sometimes written in a different colour or with a heart. The other kids are always curious to see who is choosing what each day and sometimes they add detail, help with translation or correct me when I, accidentally, use the wrong nickname or when I use the name instead of the nickname. Which, really, just shows that they are listening and paying attention. And that’s all I want. Plus, it is definitely something that we do together, a feature of our community. When someone comes late to class or when we exchange groups and Class A comes after Class B, they try to guess who chose what as their name.
- the improvisation song is still with us (and it has been now a year and three months). Sometimes we sing once, sometimes more than once and I love the kids continue to use it to express themselves in English, to talk about emotions, to experiment with different ways of singing certain words and how we started to use it as call – response song whenever there is a question or whenever they just feel like reacting in their own ways (instead of just repeating the verse). More creativity? Yes, please!
- give your teacher a grade: admittedly, it is not something I do every week but I try to included it once in a while, more or less twice a month. I am trying to use different techniques like leaving notes and grades on the board or preparing cards with specific questions (Was it difficult? Was it interesting? etc).
- the grades for the week: I still write notes to summarise the performance of the students over the week only now we have a few more categories, although these vary depending on the week. This week, for example, we had: English, Maths, Behaviour, Notebook (we are working on handwriting and neat notes) and Accuracy (a specific task we did in Maths). The kids usually get to see them on Monday and they are still really curious about them. And they care. Sometimes they want to tell everyone what they got, sometimes they check with me or ask additional questions, they always read.
- new rules were added, too, based on what we have been going through, emotions and lessons, basically the things that seemed like something that we might use in the future. These include ‘Get it together’ (a nice call to action from a song), ‘My feelings are the message from my brain’ (also from a song) and ‘Wait’ (just because we need it, still and desperately, too!).
Story, Socialising and Creativity
All our English classes have been about stories as the whole unit in our book has been devoted to adventures, superheroes, stories, adjectives to describe heroes and we used that opportunity!
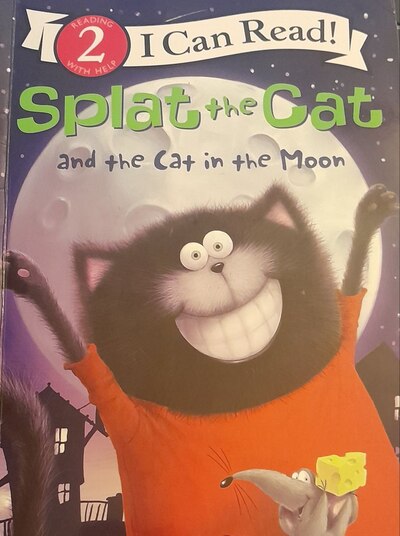
We have already finished but we managed to: introduce and properly practise Past Simple, lots of regular and irregular verbs and questions, talk about our yesterdays, we watched and talked about some clips from ‘How to Tame Your Dragon?, we talked about types of stories and why we have narrative and dialogue, we wrote and talked about our favourite stories, we wrote a short story and we read ‘Splat the Cat. The Name of the Game’ because it seems to be a perfect story for us and all the problems we still deal with while playing.
Our story lesson was particularly memorable because we created a few beautiful pieces, we had a reading session in two language, we praised everyone and I want to type up all the stories and turn them into another issue of our school magazine. I will only have to ask the kids to describe what kind of an illustration they would like to have with their story. We will only have to write some description for the kind A.I. to create them. Next week.
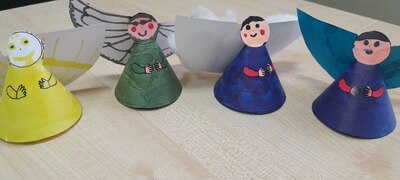
We haven’t done any other creative tasks, not properly, but I noticed that kids expressed a lot of interest in the creations that always dry on the window sill after my Art Explorers and I think it might be a sign that I need to think of something like that.
The teacher
I have been a tired teacher in February. I was busy with all the other project (term break camp, conference and the real life errands) but I have had quite a few good moments like realizing that we have really made progress regarding reading and writing and that we have actually learnt how to understand and use fractions and decimals.
The classroom management and bringing up the kids never stops (never never never) but we have made a lot of progress and I know we are going to be fine. It is great to know that while some of my kids keep repeating ‘I don’t like school’ or ‘I want to go home’, they also add, to each other, mostly, ‘I like English, though’ and ‘I really like Maths in English’ so there is some comfort in it, too.
Things to do in March / April
- another story
- going back to the more advanced phonics
- preparation for the YLE Cambridge
- more pairwork and speaking
- our garden
Happy teaching!