I am happy. As a teacher of English and a teacher of Art – I am happy. I have my Art Explorers classes twice a week, there are two groups so every lesson is not only taught twice and every idea trialled and trialled again. I am happy because I am getting better at coming up with ideas and with combining all the elements and finding the links between the artist, the language and the technique. And I can see how my kids are reacting to it and becoming more familiar with the paintings and more confident as artists.
I have also realised that all of us, we are more involved in the process and we are enjoying it more. The final product is important, of course, but so is the journey. It is all very rewarding and I am just happy that it is a part of my weekly schedule.
The art
As usual, out of the three components, one had to be prioritised and, this time, it was the art itself. I wanted to give my students an opportunity to experience the process of creating a non-figurative art piece. We tried doing it a little bit in our Jackson Pollock lesson but there the lead was taken by the very specific technique. The outcomes, amazing as they are, were absolutely accidental, and only at the very end of the lesson, we gave our paintings their names.
This time, I wanted it to be fully conscious, purposeful and planned, from A to Z for the kids to understand how a figurative painting may become a non-figurative piece and the artist (aka US!) takes the responsibility for that.
In order to achieve it we did the following:
- we decided what to paint. I suggested a fruit and veg still life since it was still our Fruit February but I allowed the kids to opt out of it if they really wanted to. Some did.
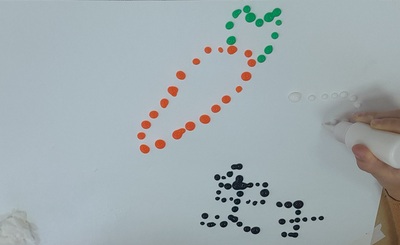
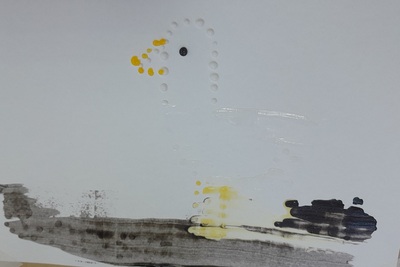
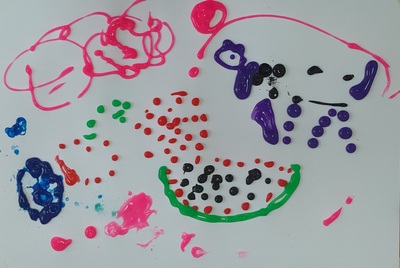
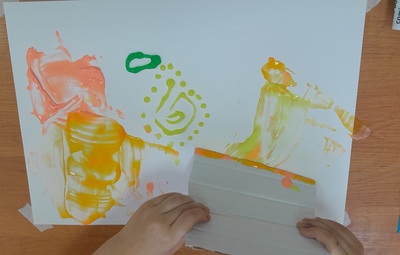
- we made decisions about the composition and started to drip draw with the paints. I had a set of paints that I bought for the stained glass lessons but they turned out to be of a very bad quality, too watery, to liquidy and I could not use them for stained glass. They spent about five months in the drawer and last week I had already taken them out to bin them when the hoarder in me hesitated and decided to use them somehow. Since they were so good at dripping, dripping was what I chose to be their destiny. We used a technique we experimented with before, spread painting.
- we drew the contours with drips of the paint (sharing the one set of paints, hooray to the social skills development!)
- we photographed the ready picture
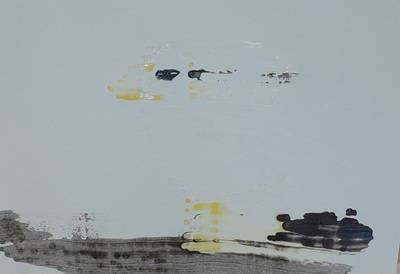
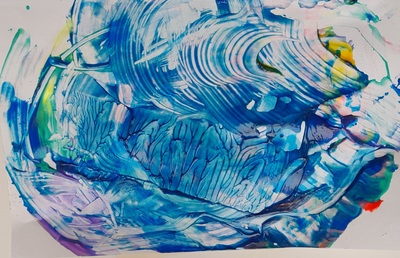
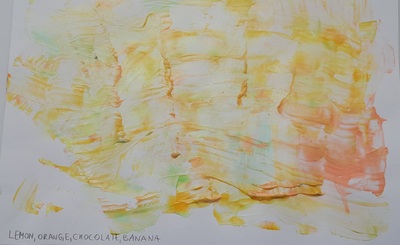
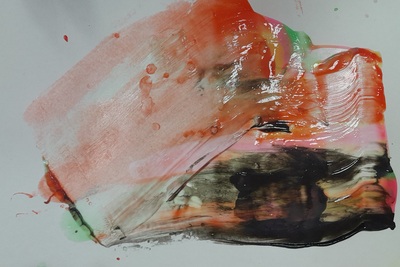
- we used pieces of thick cardboard to spread the paint and a decision had to be made here to, regarding the movement (or movements) of the hand.
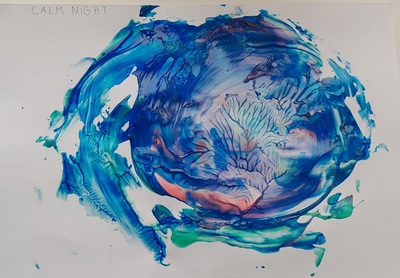
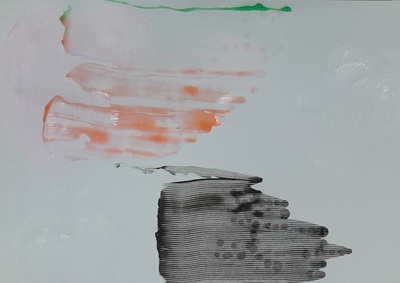
- we gave the paintings a name. In most cases, it was a list of the items of the picture but some of the children came up with different names, not related to what the painting first was. Real artists, I am telling you!
As usual, the creation started with a quick modelling session during which I produced a painting of a watermelon and then turned it into a non-figurative item.
The artist
This was one of the lessons in which we did not have one superhero but a whole dinner party. I divided them into two groups to illustrate what figurative and non-figurative art is. Our definitions were very simply, in order to convey the message even to my youngest students. ‘Figurative’ was defined as ‘I can see real things’ and represented by a still-life by Cezanne, by Rene Magritte’s Son of Man, by an apply by Yayoi Kusama and a still-life by Ilya Mashkov. ‘Non-figurative’ was defined as ‘I can see shapes and colours’ and represented by a piece by Jackson Pollock, Kandinsky’s circles, Mark Rothko and Yves Klein that I have just discovered for myself.
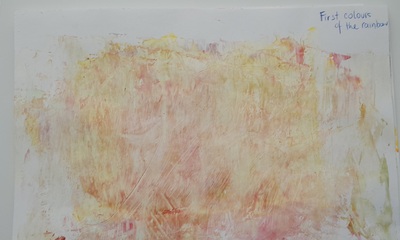
I also brought two pictures that I created at home and I asked the students to guess what fruit I tried to paint by the colours that they could see or the shapes that were still visible, just to highlight the fact that the fruit might be only represented by a fruit, not necessarily by shape.
The language
The langauge in this lesson was, as in every lesson of this month – fruit and vegetables. Apart from that I wanted to play with the language and to reinforce the idea of looking at the world from a different perspective. In order to do that, we looked at a set of pictures of the everyday objects and fruit and vegetables, seen either under a microscope or in a close up. This was a lot of fun and I am definitely going to use this resource again!

Outcomes
It’s not going to be the first time I say it, here or in the real life, but this, indeed, was one of my favourite Art lessons ever. The rest you can see in the paintings my students created.
Happy teaching!