The language
January is our jungle month (Jungle January!) and that is why we are talking about everything related. The first lesson can be found is here.
In this lesson we continued working with the verb ‘can’, still only with ‘I can see’ but we changed the focus a little bit. I wanted us to revise and to learn the names of the jungle animals, especially on their distinctive features. That is why we played a guessing game. In order to help us guess, I chose not one specific body parts, like in other games we played, but a very distinctive feature for each particular animal.
The artist
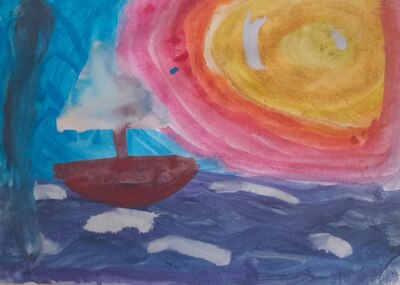
We invited Henri Rousseu to join us in class again, this time as the main guest. We looked at his paintings (presentation slides 8 – 15), just calling out the names of the things we can see.
I also wanted to show the kids different ways of depicting a tiger, a painting, a drawing, a child’s drawing, a photo, a logo and the Chinese symbol that represents this animal. We looked at how they are different and how they are similar and we tried to outline their distinctive features: black and orange, stripes, four legs and a tail.
I also told the kids that Rousseau never travelled to the jungle or even out of the country and that, still, he decided to paint the jungle because he wanted to do and he did, the best he could. We talked a bit where he could have got his ideas from. I realised that he is a really good role model for us, the budding artists.
The art
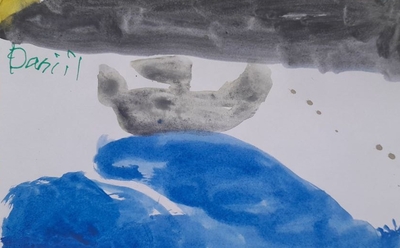
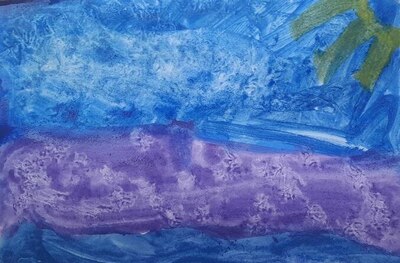
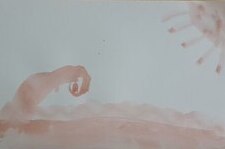
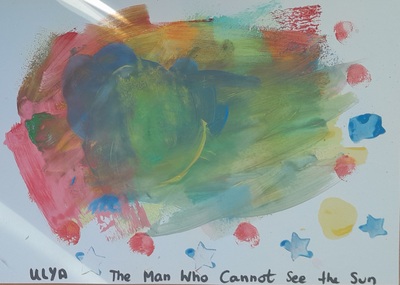
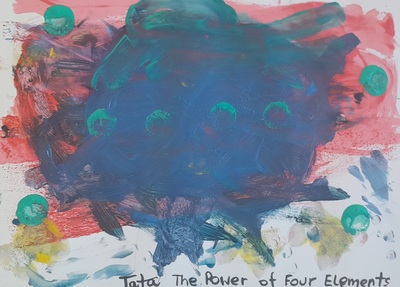
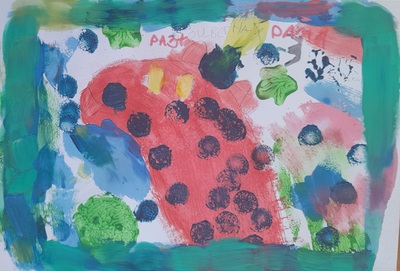
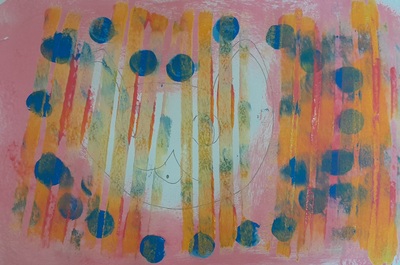
We started with describing what the task was: to choose one animal and to try to paint it using finger and handprint and our paints, focusing on these distinctive features that we would be able to tell that it is a flamingo, a tiger or whichever animal we choose.
I showed them a few examples of the finished tasks from the internet (see the presentation) as well as my model. Before the lesson, I printed a green hand on a piece of paper (also to check again how much time we will need to wait before drawing on the paint) and I showed it to kids. While they were watching I added the little bits with a marker and ended up with an elephant.

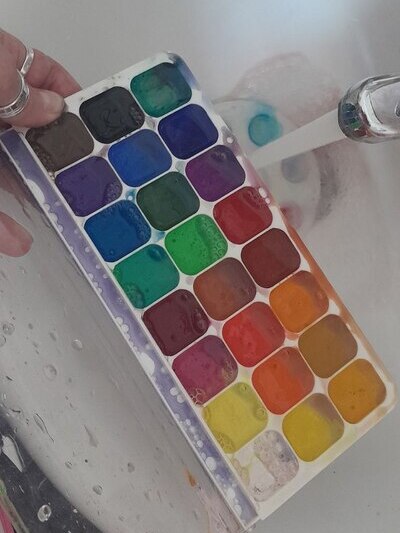
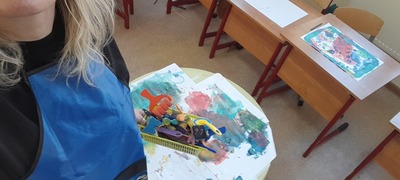
I also showed them how we would be working, moving from the paints station in one corner of the room, to the tables where I attached the paper for printing, I gave out the tissue paper and the wet tissues to clean our hands, too. I also showed them how we don’t need to smear the paint on the table (covered with paper) but that we can also spread it on the palm of the hand with a paintbrush. I prepared a paintbrush per colour and a few extras for the colours that we would mix.
And then we got down to work.
What I loved about this lesson was:
- how the kids were discovering the material and the technique, thinking about and developing ideas as we went along
- how they were learning from each other
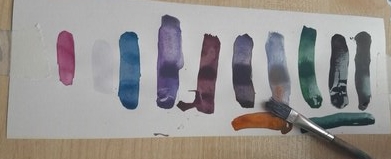
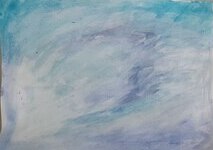
- how they experimented with the colours, mixing them and asking me to try getting new colours for them
- how they made their decisions about the distinctive features of the animals they chose
- and how sometimes they asked me to google the animals to check that they were doing a good job with certain body parts
- how we discovered that even our dirty tissues were pretty and that they could be Art. ‘Miss Anka, can we do some more tissue Art?’
- how children were making their own decisions. Some decided to choose very un-jungle animals, some loved the fingerpaint so much they they decided to use it in a more traditional way, with paintbrushes for colouring. And, as Pete the cat says, ‘It’s all good!’

Happy teaching!