Once upon a time…
This is how I daydream it: my primary kids go on to take their Starters (this is an old daydream, this year they will be taking Flyers), they are describing the pictures or telling the story. The examiner asks ‘How is this boy?’ and my kids answer ‘He is confused.’ and the examiner cannot believe her/his ears but she/he is, actually, impressed.
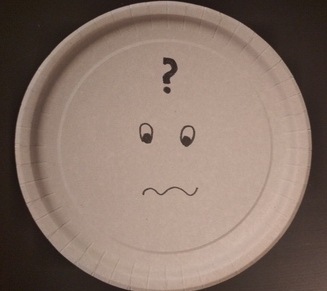
‘Confused’ is one of the many adjectives that my primary kids have learnt thanks to the sheep game that we’ve been playing for a few years now. We started with the normal adjectives, happy, sad, angry, sleepy but the kids noticed that I’ve been hiding some cards and they got curious. And because they were curious, they started to ask questions. Since the cards were wonderfully happy and funny, and since, together with some clarification from me, they did illustrated the concept very well (after all, they were created for children), we started using the ‘confused’ card (and with them ‘chatty’, ‘in love’, ‘crazy’).
That, in hindsight, was an excellent idea because this turned out to be a very useful words because I happen to be confused and my kids happen to be confused, too. Not to mention all the characters from all the stories. ‘Confused’ might be from the B1/B2 shelf, but, we found it very very useful, at the age of seven, in something that was the pre-A1 level.
The coursebook and the curriculum
A disclaimer first: my comments in this section are based only on a very un-thorough looking through the coursebooks for pre-schoolers, only a quick glance at the contents page and the units. I acknowledge that fact that I might have missed something and that a proper research might be necessary and, for that reason, I will refrain from quoting any titles here. However, having flipped through five recently published coursebooks for pre-primary learners, I did not find much as regards adjectives, apart from colours (all), some of the weather words (depending on the title) and some random happy, sad and hungry (also depending on the title). With one honourable exception that introduces quite a few emotions as well as some other opposites, either through stories or through CLIL projects. Overall, however – not good at all.
I also had a look at the primary books and here the situation is admittedly better because all of the modern publications tend to align their content with the YLE Cambridge wordlist and that, in turn, means about 50 adjectives on the pre-A1 level, including colours and possessive adjectives.
As it happens, my school is now getting ready for the YLE mock exams and I am putting together a set of materials for our teachers and kids and that made me look at the said wordlist with a great more deal of scrutiny. Starters kids (pre-A1) are supposed to know about 50 adjectives, Movers kids (A1) – additional 50 adjectives and Flyers kids (A2) – 70 more adjectives on top of that. I am aware of the fact that these lists were not created on a whim, quite the contrary – they are a result of a large-scale research and the effort of a huge team of people. But there are all these questions there, too. Why do the pre-A1 kids need to know the adjectives such as ‘double’ or ‘correct’ and ‘right’ (as correct) and ‘its’ (also an adjective) and some other ones, although not adjectives (‘coconut’, ‘pineapple’, ‘flat’ and ‘apartment’ or ‘lime’)? Why would these be more important, useful and appropriate for primary school children than ‘hot’, ‘cold’, ‘easy’, ‘difficult’ or ‘loud’ and ‘quiet’, which are only introduced at the A1 level?
I do not have the answers but I have been introducing them (or some of them) much earlier than that. And effectively so. If you are interested why and how, please continue reading.
Emotions and feelings
‘Sasha, how do feel today?‘ is one of the questions that we ask in every lesson. Why? Well, I guess, first and foremost it is for socialising. This is the question that we ask when we meet someone, just to make a conversation, at least with adults.
Since our students are children, however, there is a lot more to that. Children are growing, developing their social skills and learning about a variety of emotions available and, even more importantly, learning how to deal with these emotions and learning how to recognise these emotions in others. That is why giving them tools to do that, in their L1 and, naturally, in their L2, is absolutely crucial.
Ideally, all the Sashas in the world would walk into the classroom being happy, totally over the moon, brimming with joy and ready to conquer the world with us in the next 45 minutes. But it is not possible for every Sasha to be happy every day and, as a teacher, I want to know how they really are and during the hello circle I am, literally, all ears because if Sasha is sad or sleepy or hungry, or, sometimes, angry, I would like to know that. Not only to show empathy but also to look at the lesson and what I have prepared for today from the group’s and the individuals’ point of view. Maybe a bunch of sleepy children will not be able to deal very well with the story? Maybe it will be necessary to keep an eye on Sasha and accept that today she might not be able to focus as well as usually because she is feeling a bit under the weather. Maybe it is a good idea to start with this silly game of ours (although I did promise myself to ‘never ever’) because it might distract and cheer up this little human who walks in and announces ‘I am very, very, very angry.’
Having this range of emotions vocabulary is also very handy when it comes to behaviour management, even if in the simplest of terms.
Situation type #1: an unpleasant situation: someone draws on someone else’s paper, someone takes someone else’s toy /book / marker without asking, someone jumps the queue, no casualties, only a lot of unhappiness in the room and one person is on the verge of tears. ‘Look. Sasha is very sad now‘. Naturally, it might not be the case of ‘one size only’, one solution for all occasions but it is a good start.
Situation type #2: a 5 y.o. confrontation: both parties did have a disagreement, both parties are not very happy and, definitely, way too upset to just get over it and get involved in the lesson activities. ‘Sasha, are you angry?’ ‘Yes!’ ‘It’s ok.’ Again, some cases are more complex than that, but in many situations the very fact of calling the spade a spade and showing that it is natural to feel angry (and, by default, giving the human some time out to accept and recover) is the best solution. It applies also to all the negative emtions, as long as no comes to any harm.
To be perfectly honest, sometimes (only sometimes!) it feels like this brief and contained reaction, limited by the fact that extreme language grading is necessary, is the best solution. Anything to avoid a long lecture from the adult on ‘The negative impact and the long-term consequences of….’ that children sometimes receive from their teachers, baby-sitters, nannies, parents, grandparents…
Riddles
This is, by far, one of our favourite games: making riddles. The game is introduced in its simplest from, with a set of flashcards and with the students guessing the secret word which the teacher or one of the children keep close to their chest. That’s just the beginning, however, once the kids are comfortable and familiar with the format, a set of simple adjectives are added, first the colours (based on the visuals in the flashcards) and big / small. Then, depending on the topic, we introduce and play with the relevant adjectives, for example fast / slow / big / small / loud / quiet while talking about transport, big / small / friendly / dangerous while talking about animals, hot and cold while talking about food and big / small / soft / hard / light / heavy while talking about the everyday objects and so on.
The kids can either use the adjectives of their choice and affirmative sentences (It’s big, it is yellow) or they can react to teacher’s or kids’ questions (Is it big or small?).
A variation of this activity is also I spy with my little eye adopted (and limited) to the set of vocabulary that the students are familiar with, played with a set of flashcards or a poster.
Expressing opinion…
…or, rather, justifying your opinion, something that can become a part of pretty much every unit and every set of words. Not only does it create an opportunity to personalise the vocabulary by dividing it into the things we like and the things we don’t like but also to give more detail and to build a small discourse (I like it. It is beautiful) or even first complex sentences (I like it because it is beautiful).
Naturally, that will require a different set of adjectives but beautiful, ugly, easy difficult, interesting and boring to be the concepts that preschool children understand, even though the flashards and visuals will be based on some symbols.
Storytelling
Our storytelling has reached some new amazing levels since we started working extensively on adjectives, both with primary and pre-primary students. You can read more about in an earlier post on the Storytelling Campaign here and here.
In my classroom
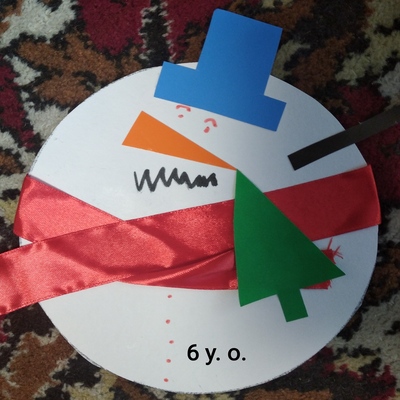
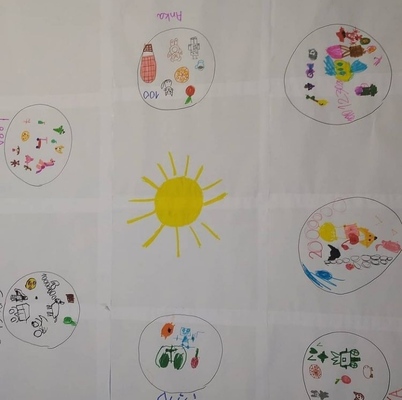
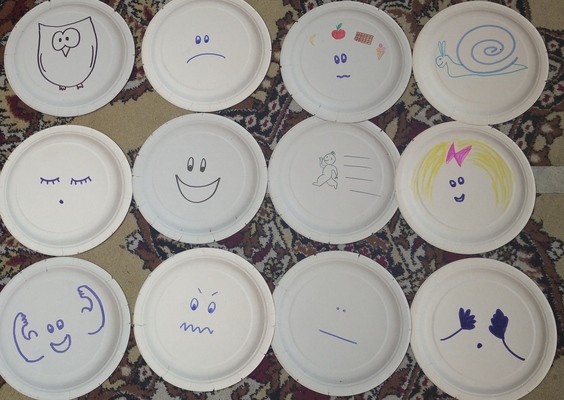
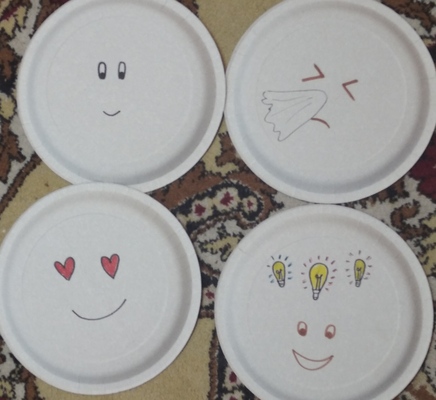
In this academic year, I am working with three pre-school groups, level 1, level 2 and level 3 and I am happy to say that even my youngest level 1 students are familiar with the set of 12 different adjectives that you can see in the first photograph plus a few more that we have learnt through songs. Level 2 group have got the basic set, quantifiers ‘very’ and ‘a little’ and a few more adjectives lined up. Level 3 group have got a nice set to describe food, transport and animals (including ‘scary‘) and they have already started working on extanding that range.
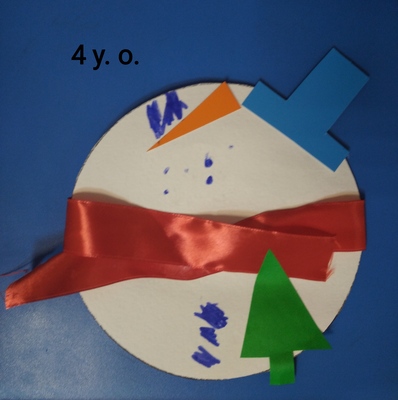
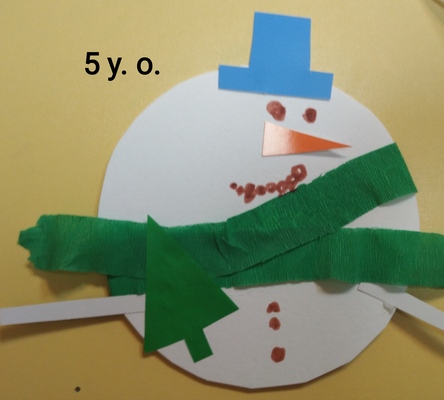
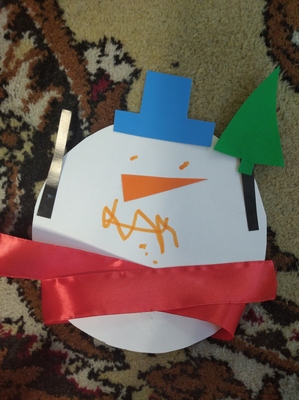
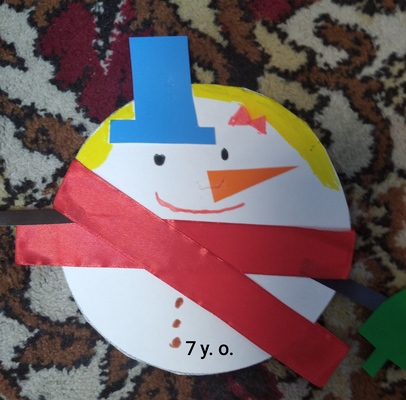
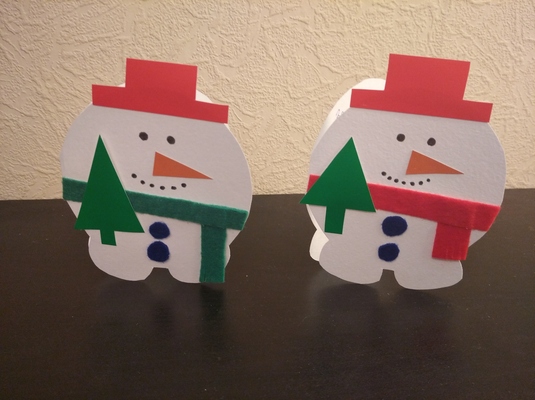
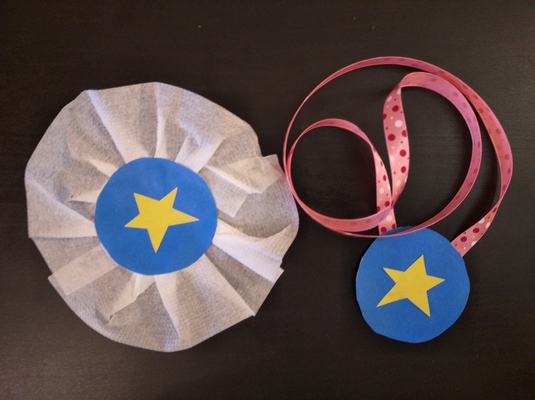
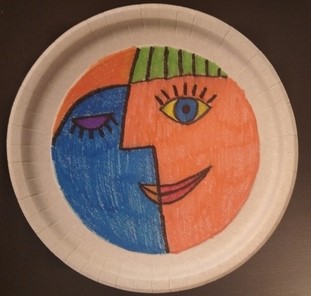
The photographs that were chosen to illustrate this post all come from the set that I have created for my pre-school group.
I have decided to use paper plates because they are durable, easy to stock and they have a shape of a circle aka they are a face. In the classroom, we put them in neat rows on the carpet, in the middle of the circle, to support production. My younger students like to pick up those that are relevant and hide behind them, showing how they really feel. This makes this part of the lesson a bit more kinesthetic.
I have drawn all of them myself but before making the decision on how to represent each adjective, I like to look at different emoticons to get inspired and to find something that meets two criteria a) I can draw it and b) my students will be able to associate it with a specific concept.
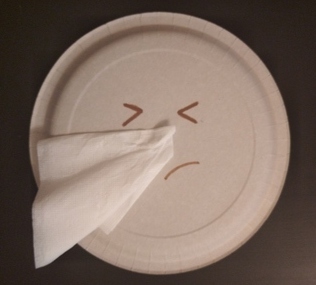
In some cases, the symbol was pretty easy for students to decode (for example: an owl = clever), in some others, I had to follow up with a brief clarification (for example: lightbulbs = ideas = creative). After the first lesson, I decided to upgrade the ill flashcard by adding a real tissue for the poor sneezing person.
There is another thing that I am considering at the moment. With my preschool students we start with the adjectives that help us describe how we feel and it must have been out of sheer linguistic greed that I decided to add those adjectives that describe personal characteristics rather than emotions such as ‘strong’, ‘beautiful’ or ‘clever’. Although, to be honest, we adults know very well that there are days when we feel particularly beautiful or not and the kids responded well to it. At the moment, I am considering different ways of organising all the adjectives that we already know and building up on that, in each category.
Basically, the best is yet to come.
Where to find the adjectives?
- Songs, for example Super Simple Songs such as Open Shut Them (all four parts), As Quiet As A Mouse,
- Kids TV 123, The Opposites Song
- Learn English Kids Feelings are feelings
- Dream English Kids The Opposites Action and Dance Song
- Video flashcards for example English Singsing Opposites
- Storybooks: you can find a nice selection in this blog post from The Measured Mum
- Realia and opposites with a magic bag, a scavenger hunt, categorising
Happy teaching!