
This post is a lesson I taught with a group of 4-year-olds in their first year of studying English, based on the materials from Playway to English 1, 2nd edition by Herbert Puchta and Gunter Gerngross from Cambridge University Press.
It was taken from unit 6 (The Weather) and it is called ‘The Little Seed’.
Pre-Story
- Vocabulary revision and practice with flashcards, the weather dice, the song, the weather sounds etc. Kids sit in a circle, on little stools.
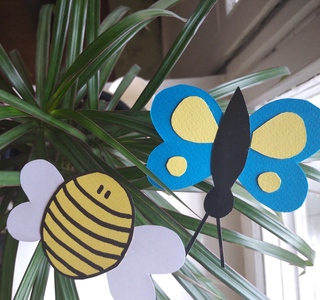
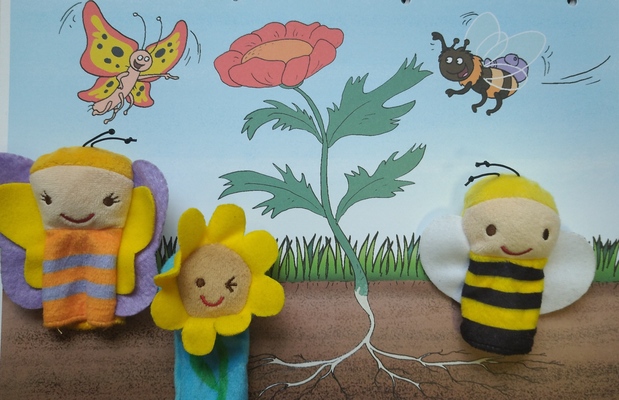
- New vocabulary introduction: a bee, a butterfly, a flower, a seed. We used finger puppets because these three feature in my garden finger puppet set (together with a ladybird and a caterpillar) which I once got as a present (thank you, Cheng <3). I put them on my fingers and we practised saying ‘Hello, bee!’ ‘Hello, butterfly!’ The kids got really excited so we did spend some time, playing with them, trying them on and saying ‘Hello, bee!’ ‘Hello, butterfly!’ These activities were done on the carpet, with kids sitting in a circle. I forgot to bring real seeds so this time, we skipped this stage but I am planning to include them in the follow-up lesson (see below). Of course, the same can be done with regular flashcards or handmade toy butterfly and bee.
While-Story
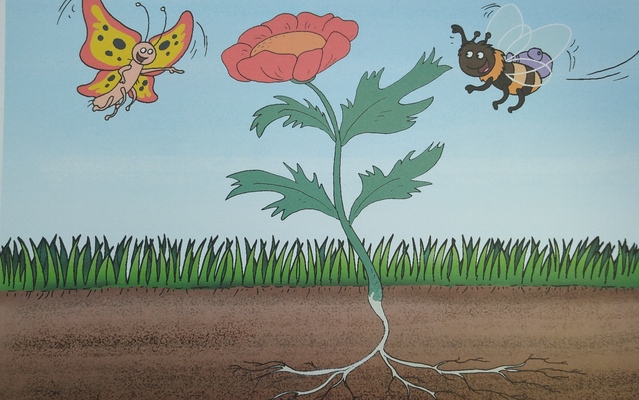
- Just look: I hold the cards and show them to the students, one by one, in silence. Kids just look. Sometimes, I draw the kids’ attention to some of the elements, by pointing at them. Sometimes, I point and say the words or encourage the kids to name things they can see but, really, that is not the priority here. I just want them to take the story in, to build it up in their heads, before we add the language layer to it.
- Listen: I play the audio and we listen to the story and look at the pictures. Again, I sometimes point to the key elements in each card. I also use the gestures to reinforce the ideas and concepts and to add another learning channel to the visual and the auditory. In this story we are using the following: hands together, under your cheek with the head slightly tilted (The little seed is sleeping), face up, as if enjoying the sun, with a smile and a happy sigh (It is sunny), hands moving up and down, with the fingers spread and wiggling (It is raining), hands going up and arms stretching high up for (The little seed is growing, growing, growing), pointing with one finger at the picture (Look, it’s a beautiful flower). Some of these gestures have been used so far (the weather), some are new. I don’t pre-teach them, the kids join in when they are ready.
- Listen and say: We retell the story together, using the cards. I lead but this time I pause frequently and elicit the words and structures that the students know or, alternatively, I produce the phrase and encourage the kids to repeat.
- What do you think? This is the stage for the students to personalise and to express opinion. Usually this is done through a very simple question of ‘Do you like the story?’ or ‘What’s your favourite…?’ In this particular story, we asked ‘Do you like the story?’ ‘Is it a happy story or a sad story?’ ‘Is it a beautiful flower?’
Post-Story
- Look at my picture: I show the kids the final product and we try to retell the story once again, in its simplified version, this time focusing on the structures that the kids can reproduce: The little seed is sleeping. It is raining. It is sunny. The little seed is growing and growing. Look, it’s a beautiful flower.
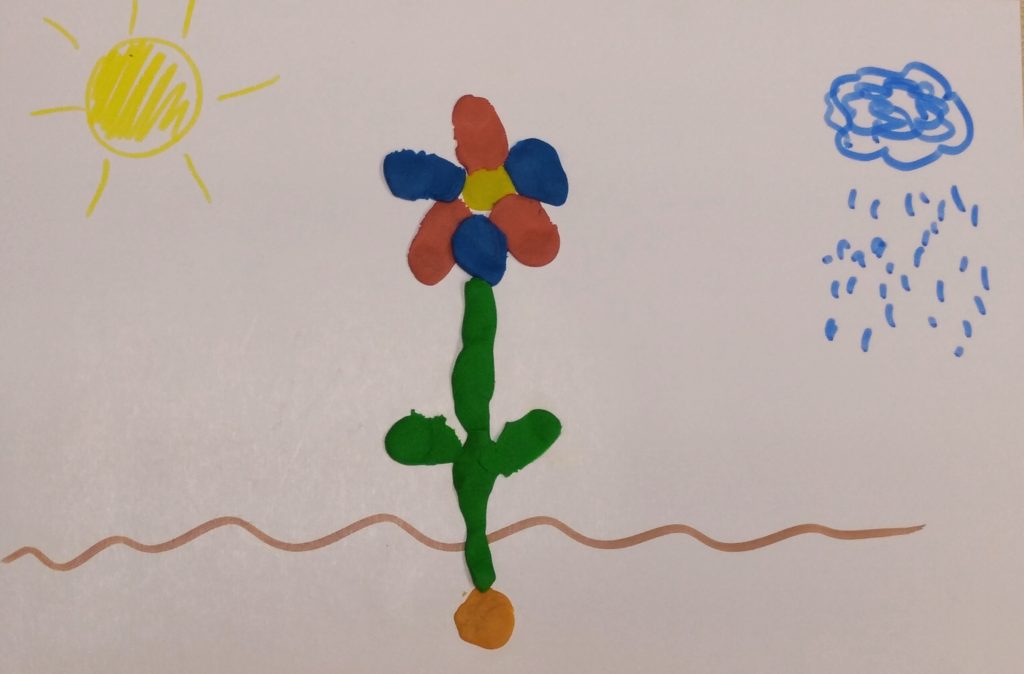
- Craft: I give out the cards and we create the pictures with kids, while retelling the story. I create another picture, step by step, to model the activity for the kids. This stage took about 10 minutes. I was considering adding the butterfly and the bee but decided that it would take too much time and that is why they do not feature in the picture.
- ‘The little seed is sleeping’, I give out a small blob of white plasticine, I stick it ‘underground’, ‘Stick and press’
- ‘It is sunny’, I give out yellow markers. We draw the sun in one corner. We repeat the key phrase as we draw. The kids who have finished drawing can also use the gestures for ‘It is sunny’. I collect the markers.
- ‘It is raining’, I give out blue markers. We draw the cloud and rain in the other corner. We repeat the key phrase as we draw. We use the gesture for ‘It is raining’. I collect the markers.
- ‘The little seed is growing, growing and growing’. I give out a piece of green plasticine. We kneed it and roll it to create a string. ‘Let’s roll and make one piece of spaghetti’. We stick it to the picture, as the stem of the flower. ‘Stick and press’.
- I give out two pieces of green plasticine, we make two blobs and attach them as leaves. ‘One leaf, two leaves’. ‘Stick and press’.
- ‘Look, it’s a beautiful flower!’ I give out two big pieces of blue and red plasticine. ‘We need three red pieces’ ‘Let’s make the flower’ ‘Stick and press’. ‘We need three blue pieces’ ‘Let’s make the flower’ ‘Stick and press’
3. Let’s tell the story: We show the pictures and go through the story again. The kids are now better able to tell and show the story.
4. Homework: Kids listen to the audio at home with parents, while looking at the pictures in their books. They complete the task in the book by sticking stickers in the gaps.
5. Follow-up: In the following lesson, we are going to retell the story again. I am also planning to start our own classroom garden with some flowers and beans, water them and watch how they grow.
This lesson plan is, of course, one of the many many ways of using this material and teaching this lesson. Enjoy!
Some other materials, potentially interesting.
A little seed by Mabel Watts here
Growing Sunflower Time Lapse here
From a seed to a flower here – a lovely video that I used when I was teaching Maths and Science to pre-schoolers in one of the lessons devoted to plants but it can be used as a follow-up activity in the story lesson.
How plants grow – an interactive game that demonstrates how much water and warmth a plant needs to grow. On the one hand, it is kind of cool and very informative, on the other, however, I could not apply the water and warm fast enough and ended up killing the plant. It made me sad (yeah, really) so, eventually, I decided not to use it in class, either.
Happy teaching!