If you are here, dear read, you have probably already read the first part of this post. If not – here it is.
In this part, I would like to share some practical activities to be used in the VYL and YL lessons to practise adjectives, verbs and Present Continous and to get closer to storytelling, even with the very young or the beginner students.
First steps
Tell me about this picture has quickly become one of our favourite games. We use wordwall Boxes for that. Players take turns to open the box and to describe the picture hidden there. If they complete the task successfully, they get the number of points also hidden in the box. The game can be used to practise both adjectives and Present Continous (or any other language) and the students can be asked to produce one, two or three sentences, depending on their skills and the teacher can keep count of the sentences produced using fingers. The best thing about the game is that the children choose themselves what they want to talk about, much as in the YLE Starters, Flyers and Movers.
Here are some of the sets we have used
- Animals: I can see a lion. It is big. It is brown. It is beautiful.
- Present Continous: It is a girl. She is drinking coffee. She is happy.
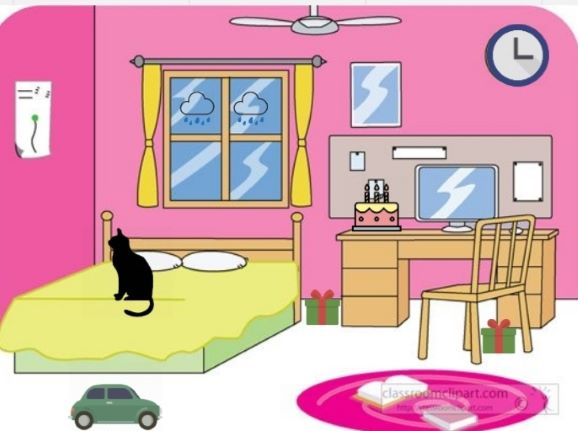
- Bedrooms: It is a bedroom. It is big. It is beautiful. I like it.
So far, I have only played it with my 1-1 students (player 1: the student, player 2: the teacher) but I am about to start using it with my groups, too (player 1: the class, player 2: the teacher).
Oups is a game in which students look at the picture (any picture) and listen to the sentences produced by the teacher. When they hear a sentence with a mistake, they should say ‘oups!’ and correct the sentence. In the beginning, they normally react only by producing a single word, replacing the incorrect one but later on, when they get used to it, they can produce full sentences. Even later, it is also possible for the students to lead the game and to produce correct or incorrect sentences for everyone else to listen and to react to.
With the youngest students it is better to limit the range of structures used to something super simple, for example ‘I can see…’, with the older (and more advanced ones), the structures can vary.
This activity can be used in class but it is also a great homework task, as long as you share the picture and record a few sentences and share it with parents.
An example can be found below. The picture was generated using makebeliefscomix.com and the recording can be found here.
In my picture…: This is a natural follow-up activity, a little bit more complex and a little bit more challenging. It is based on two pictures that are to be compared. They are not quite the actual YLE Movers or Flyers speaking tasks because these are too detailed and they contain the vocabulary that might be beyond the pre-A student’s level.
What you need is basically two pictures that are connected by the theme i.e. farm, kids in the park, in my bedroom etc and a very simple starter phrase, a proper all-rounder such as ‘I can see’. With 1-1 students, it is very straightforward – one picture for the teacher, the other for the student. With groups, the kids will be working as a group, comparing their picture with the teacher’s. At least in the beginning, before they are ready to work in pairs.
Some examples of pictures that can be used:


The next step will be telling stories using a set of pictures…(Please continue reading:-)
One story, many ideas.
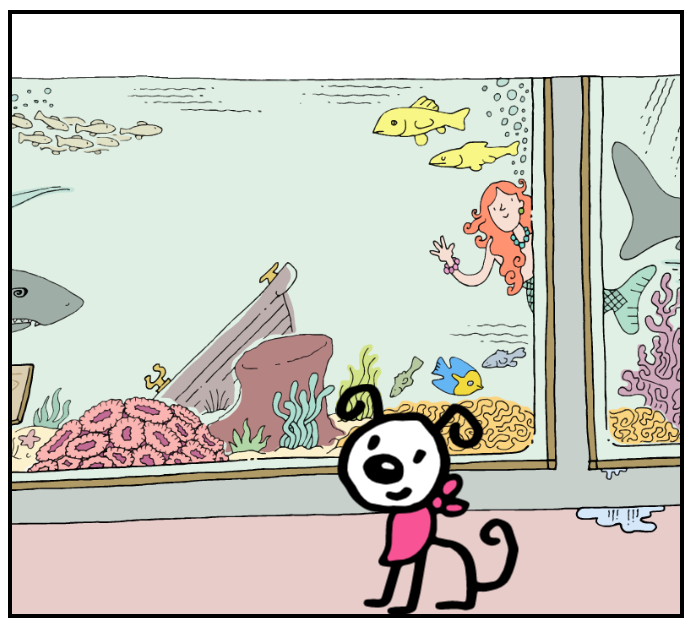
Here is one of the YLE Flyers stories (Flyers TESTS REFERECE), called ‘Charlie and the elephant‘ and some of the ways in which it can be used with pre-school and primary students.
‘Advanced’ preschool students
Step 1: look at the pictures and say what you can see. The kids can use very simple structures, for example ‘I can see…’ or some more complex structures, for example ‘It is a…’, ‘She’s got…’, ‘He’s got…’, ‘She is…’, ‘He is…’.
With 1-1 students, the teacher and the child take turns to describe pictures, with groups we all talk each picture, one by one. It might be a good idea to cover up all the pictures and uncover them progressively, to help the children focus only on one of them at a time.
Step 2: look at the pictures, listen and help me. This is basically an advanced version of Oups, the game I described above, only here a series of pictures is used. Here you can find a recording I created for my students.
Step 3: look at the pictures and help me tell the story, Similar but Different. The teacher first models, telling a story that has a similar framework (a woman, a boy, an animal, some fruit, going away, a show at the end) but which uses different details. Later on, the students tell their own version of the story, with the necessary amount of support from the teacher. The teacher can only start the senteces (‘A woman….’) or create almost an entire sentence with the students filling in only the essential details (‘A boy is eating a….’).
These steps were introduced in three consecutive lessons.
Primary beginner Flyers students
Step 1: Two words: students work in pairs. Each pair gets a copy of the story. Kids look at pictures and together write two things they can see in each of them. The teacher also participates in order to be able to model at each stage of the activity. Students exchange the handouts, in a circle. Each pair gets a new handout and the procedure is repeated: each pair writes two words next to each picture but these have to be two new words. The procedure is repeated until each pair writes their words on every handout.
By that point, each picture is accompanied by a set of words (2 words x the number of pairs). Kids look at the pictures and tell the story using the words they can see. They can be encouraged to cross out the words they have used to make sure that all the words have been used.
Step 2: Two crazy words: we start with retelling the story from the previous lesson, as a class. Then, the teacher shows the students the new handout – the familiar pictures but with two strange words next to each of them. The teacher tells them that these are the words you cannot see in any of the pictures and that now the students will tell the story again but including these words.
It is absolutely necessary to generate some ideas, for the first two pictures, for example. I have added ‘a teacher’ and ‘a monster’ for picture 1 and it went more or less like this: ‘Mmmm, a teacher. Maybe mum is a teacher. Maybe the book is about a teacher. Maybe the book is about a monster. Maybe…’ and I let the kids give some more ideas about these two words.
Afterwards, the students work in pairs, taking turns to retell the story with the new words.
If you are interested and if you would like to see the handouts that we used, you can find them here.
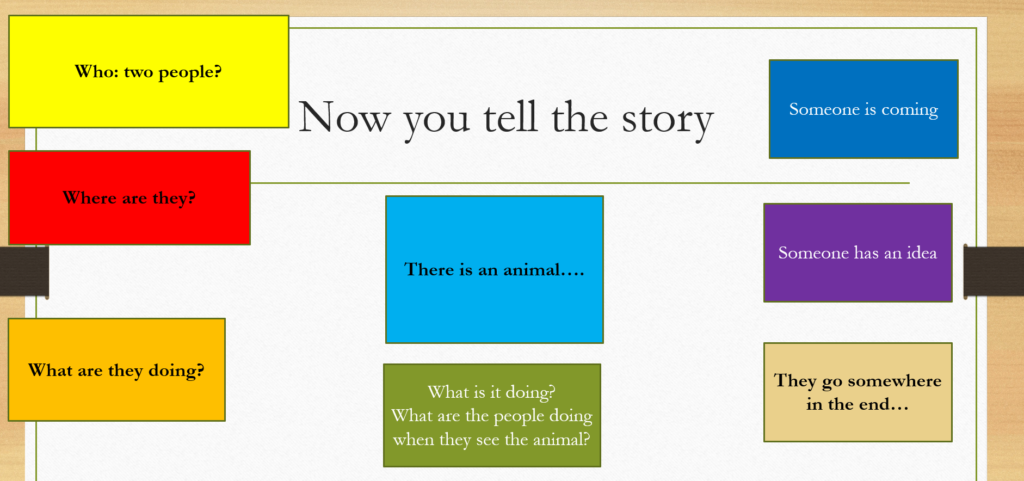
Step 3: Our own story: again, we start with retelling a story, together, as a group. Afterwards the teacher goes through the framework of the story, using a powerpoint presentation, highlightling the main ‘events’ of the story, at the same time eliciting ideas from the class. Then the students are given some silent ‘Thinking Time’ (something that we tried for the very first time and that worked like a dream) during which they prepare their story. Afterwards, they are telling their stories to their partners.
Action stories
One of the tools that will come in handy in and that can be used to accompany the activities mentioned above is the action story or the TPR stories promoted by Herbert Puchta (and Gunther Gerngross) in pretty much all of his coursebooks. They have been included in Playway to English, both editions and in Superminds 1 and 2. I have some vague recollections about the old Join Us series, too. There is a separate publication, Do and Understand: 50 Action Stories for Young Learners which they wrote together and which was published in 1996 (wow!) but which still can be found in libraries and on amazon.co.uk.
The idea behind those is that children, even the youngest ones, can be encouraged to listen to a story and to tell a story, using a multi-channel approach: there is a set of pictures to illustrate the main events and each of these comes with a sentence and a gesture.
Students listen to the story, retell the story using the gestures and, later on, also the sentences and they work with the visuals in the coursebook completing such exercises as listen and order the pictures and, in case of the primary students, read and number the sentences.
More ideas to work with pictures and stories on this blog
- Lots and lots of ideas for using visuals in class: All you need is…a picture!
- Noughts and crosses and storytelling
- Silly pictures
Happy teaching!
3 thoughts on “The Storytelling Campaign: Activities”