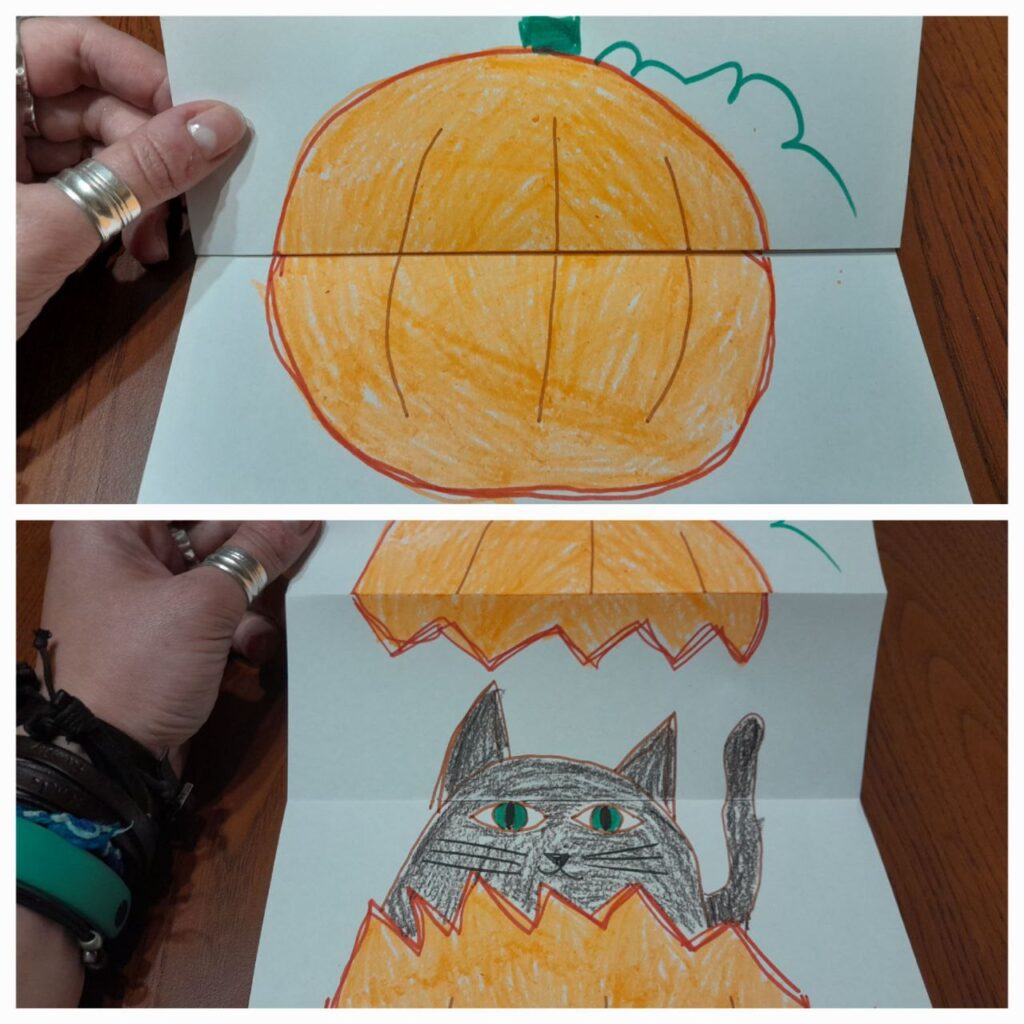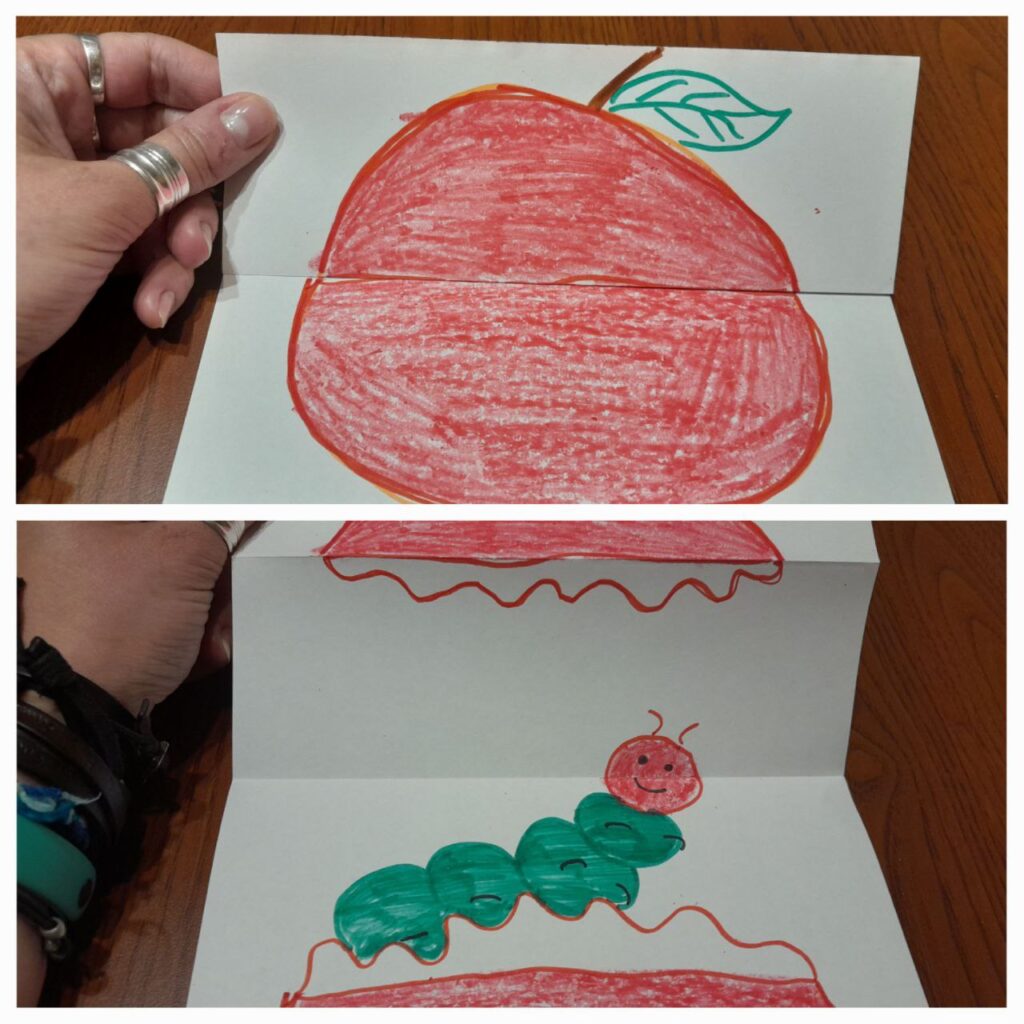
The language
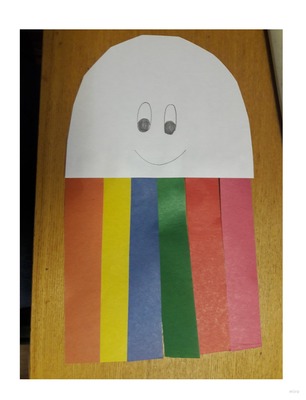
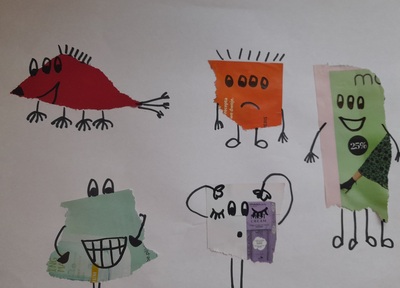
- The activities mentioned here were a part of the final lesson of the month and in the unit on animals. We practised the names of animals and we tried to make very simple riddles about animals (‘It is big. It is green. It can swim’). In this particular lesson, for the first time ever, I invited the children to make their own riddles and, with the help of the teacher, they managed.
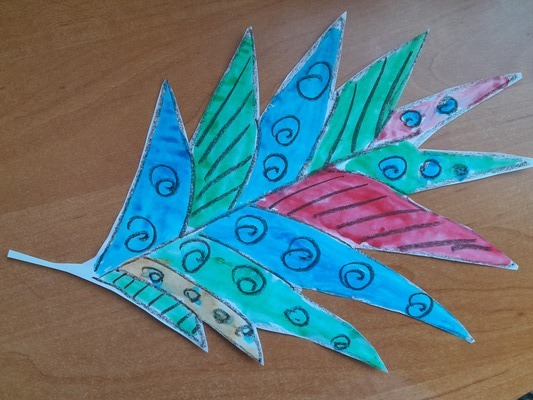
- I also introduced the forest version of ‘Walking in the jungle’, which very conveniently, includes a rabbit.
- We used the finished product for practising the target langauge (Rabbit, can you jump? Yes, I can). We created a few questions (and I say ‘we’ because I only needed to start and the kids took over), answered them and then followed that with singing the song that we learnt in this unit (Little bird, can you clap, from Super Simple Songs) which turned into our own conversation and / or a version of a song (‘Anka, Anka, can you dance?’) which is now one of our favourite parts of the lesson. Kids took a lot of pleasure in answering the questions about themselves.
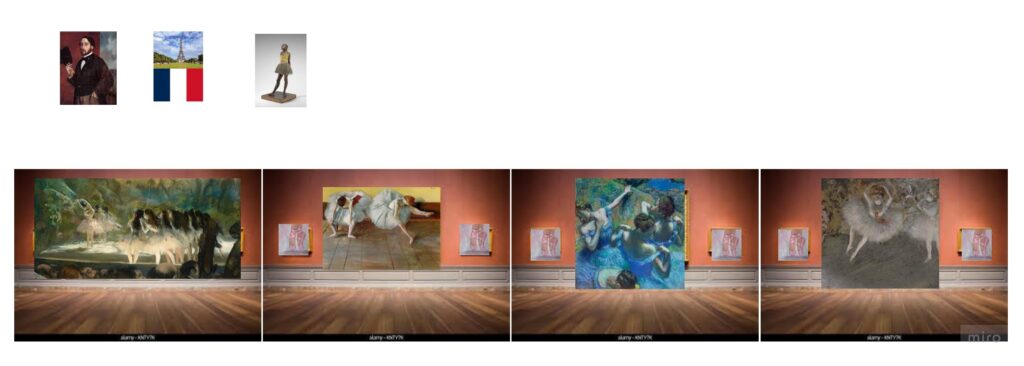
The artist
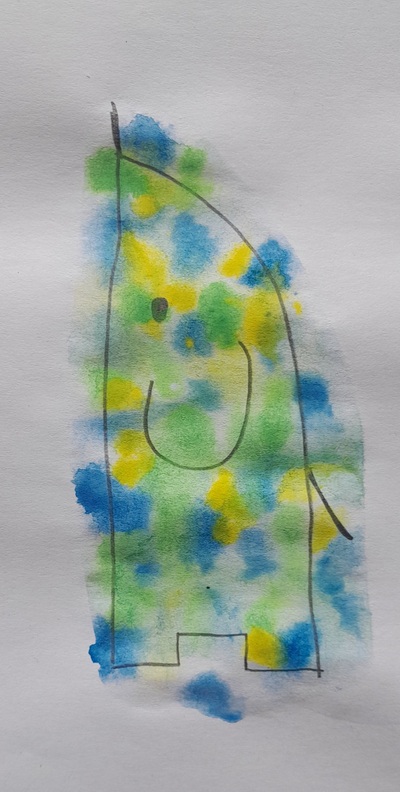
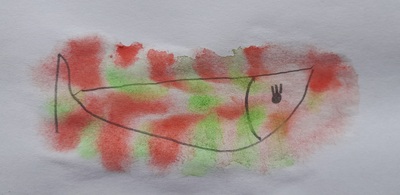
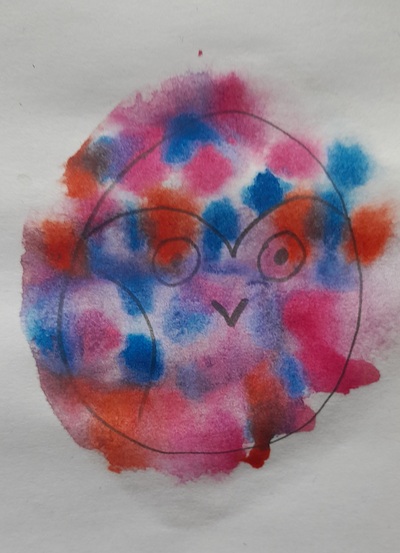
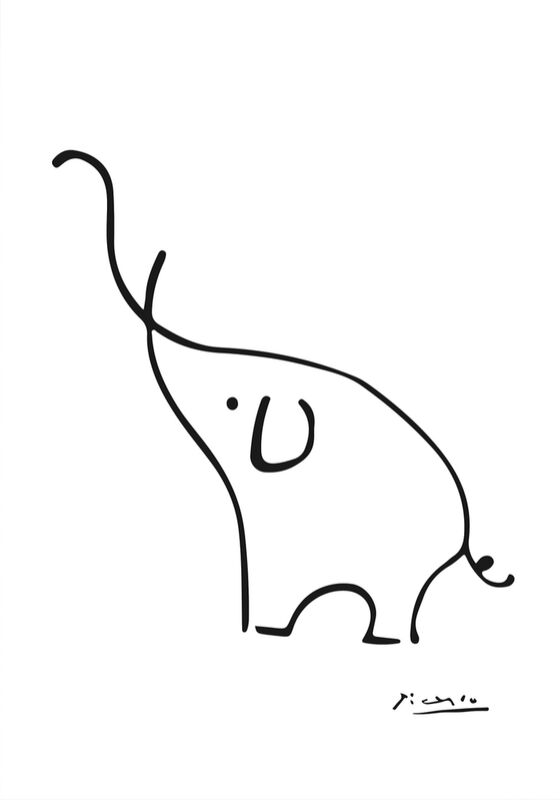
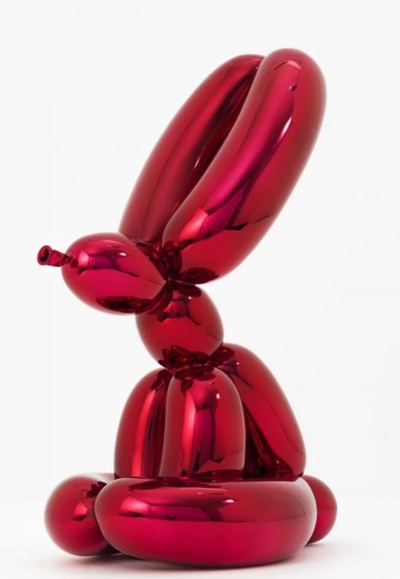
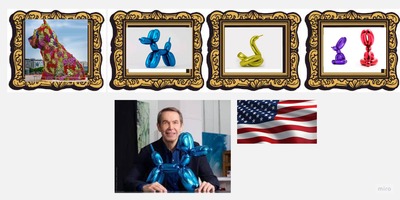
- Jeff Koons was chosen to be the artist of the day only because he was what came up as a result of the google search along the lines of ‘modern artists who drew animals’. His most famous animal is, of course, the balloon dog but I really could not think of a way of turning it into a fun craft activity in the online environment, without asking parents to purchase some unique resources. Plus, we made a puppy craft only a few weeks earlier and I wanted something else. Luckily, Jeff Koons created more than just one dog and a balloon rabbit was one of his creations.
- We introduced the artist (name, country, favourite things) and we looked at his animals and tried to guess what they are.
The art
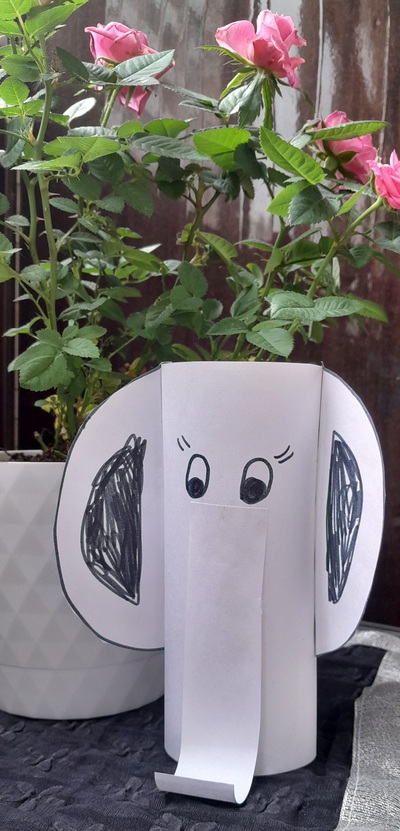
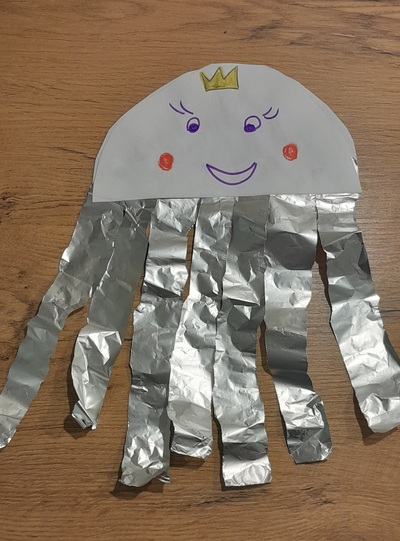
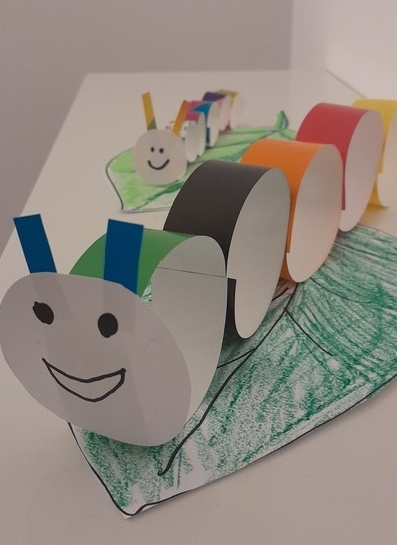
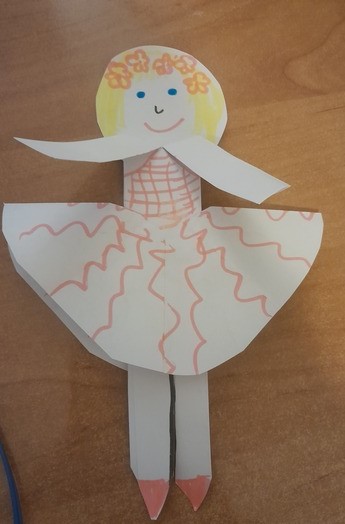
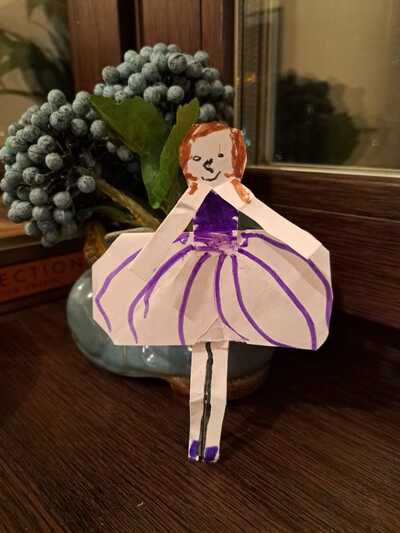
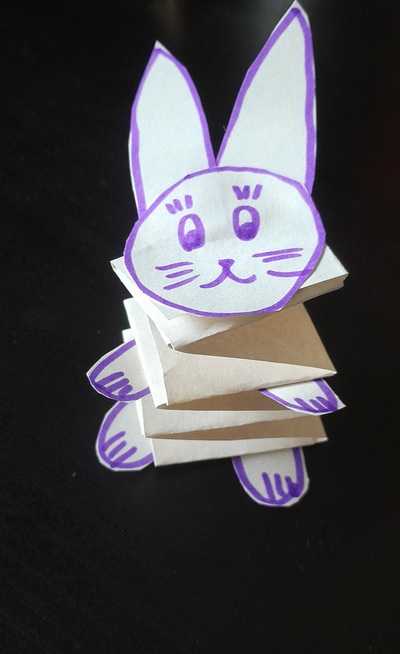
- We started with checking all the materials: an A4 piece of paper (either the drawing album paper or just regular photocopying paper), scissors, glue and marker. I also sent the photo of the finished product to the parents so that they could help, if necessary.
- As usual, I was modelling every step, then waiting for the kids to complete the action before moving on to the following stage.
- First we drew two lines along the long side of the piece of paper and we cut along them.
- Then I put the two strips together into a letter L (although in class I used the references from Russian and we made a capital letter G) and glued the ends together. Then came the time for the most challenging step, making the harmonica (or the spring (the reference that came from the student who had a slinky and called it a spring). I used the phrase ‘on the top, on the top’ while demonstrating how I was folding the paper. We glued the ends, too.
- On the remaning piece of paper we drew a circle and drew the face of the rabbit on it. Afterwards we drew ‘two letters A’ for the ears and cut them out. We glued them together and then we glued them on the top of the spring.
- Next, we drew ‘4 zeros’ for the paws and we also cut them out and glued them on the pieces of spring, two at the base and two somewhere in the middle. The glue here can be applied on the top or at the bottom of the piece and glued on, it does not really matter.
- The rabbit was adapted from the original version from DIYArtPins to make it feasible in an online class but, still, it is the most complex and the most challenging craft that we have done in our online class. I had experiemented with it before the lesson, making my own copy, checking whether the quality of paper will or will not have an impact on the final product, visualising the stages and instructions. I was ready but I still got cold feel once we started to make it. However, my amazing kids who have been creative for two years and who have been creative online for one year managed. The youngest artist was supported by her mum and she managed, too. I would not recommend this activity for beginner online artists of beginner offline artists, either.
- Without doubt, the rabbit is just cool. It is a real toy, made of paper and when you press it, it springs back or, we could and we did say, ‘the rabbit can jump’.
Happy teaching!