Yes, the Halloween was approaching and my English+Art lesson was on the day. Yes, I was just googling random things hoping that if I find something interesting, I will have a Halloween-ish lesson and if I don’t find anything, well, we will go in a different direction. At this point we have done colours, we have done leaves and, ideally, I was hoping to find some cool artist, some pumpkins and some technique that we have not tried before yet. Last year, around that time, we went to Ilya Mashkov as we tried to recreate his still-life with the magnificent cucurbita pepo but it was last year (aka we have done it already) and it was offline (aka it was more manageable)…I needed something different.
Surprisingly, googling ‘pumpkin in art’ can get you when you want to be)
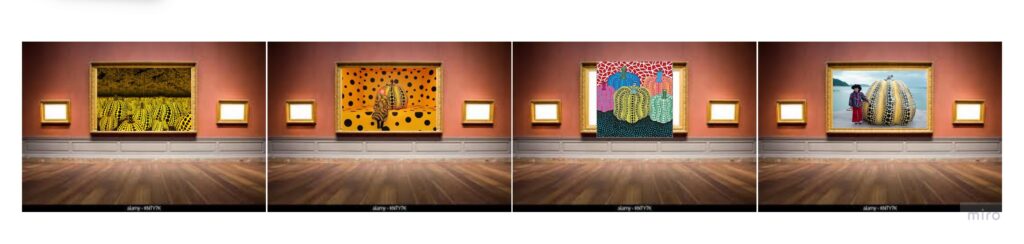
The artist of the day.
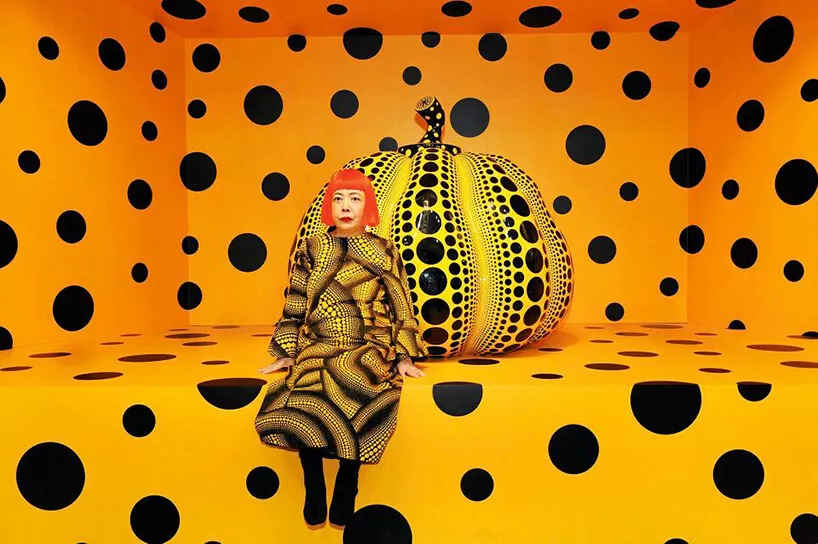
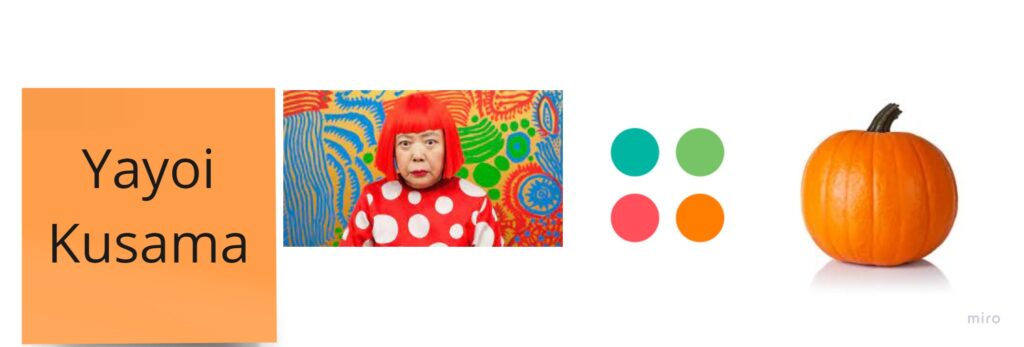
Enter Yayoi Kusama. Until last Monday, I had never heard of her. Since last Monday, I have been a great fan. Her art is exploding with colour and with energy and she makes me feel like being a part of the Wonderland, Alice in the real world, easily available, at hand. And she loves dots and dots are circles aka the best shape ever that can be easily used in class (here is an earlier post about that).
We met Yayoi and found out about her favourite things and we looked at some of her paintings in our gallery as is now our habit. We also talked about the paintings we like and don’t like.
The language
In this particular lesson I wanted to focus on practising expressing opinion using ‘I like’ and ‘I don’t like’ and that is exactly what we did. We looked at Yayoi Kusama’s pumpkins and said what we think of them (P.S. We like them!), we looked at a range of creative pumpkin (google) said what we think of them and we enjoyed the variety in which pumpkins can appear (photos, art, real pumpkins (yes, these were present) and, finally, the Surprise Pumpkin that I have brought. See below)
The craft
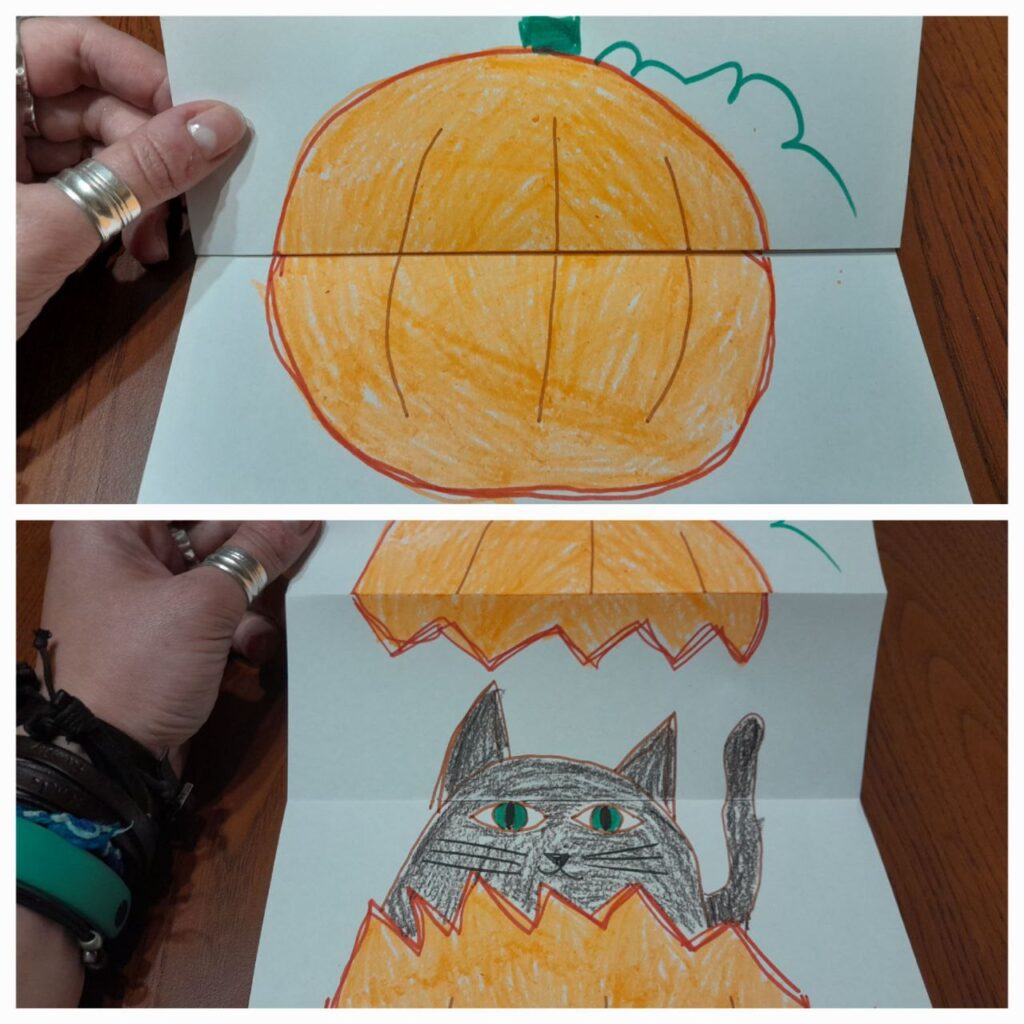
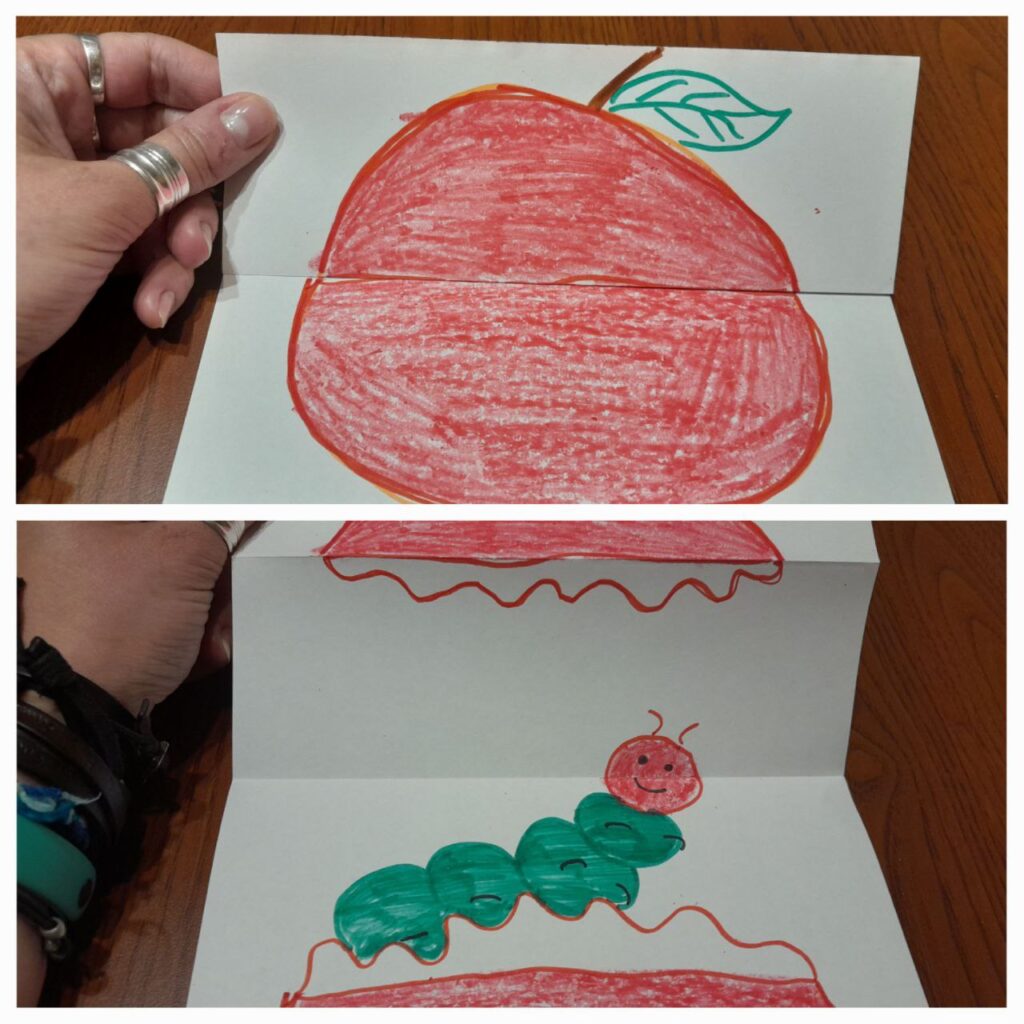
The final product here was a compilation or an adaptation of two ideas from the amazing Art for Kids Hub and their pumpkin folding surprise and the most amazing mouse.
- We looked at all the pumpkins, Kusama’s, the realia, the creative pumpkins
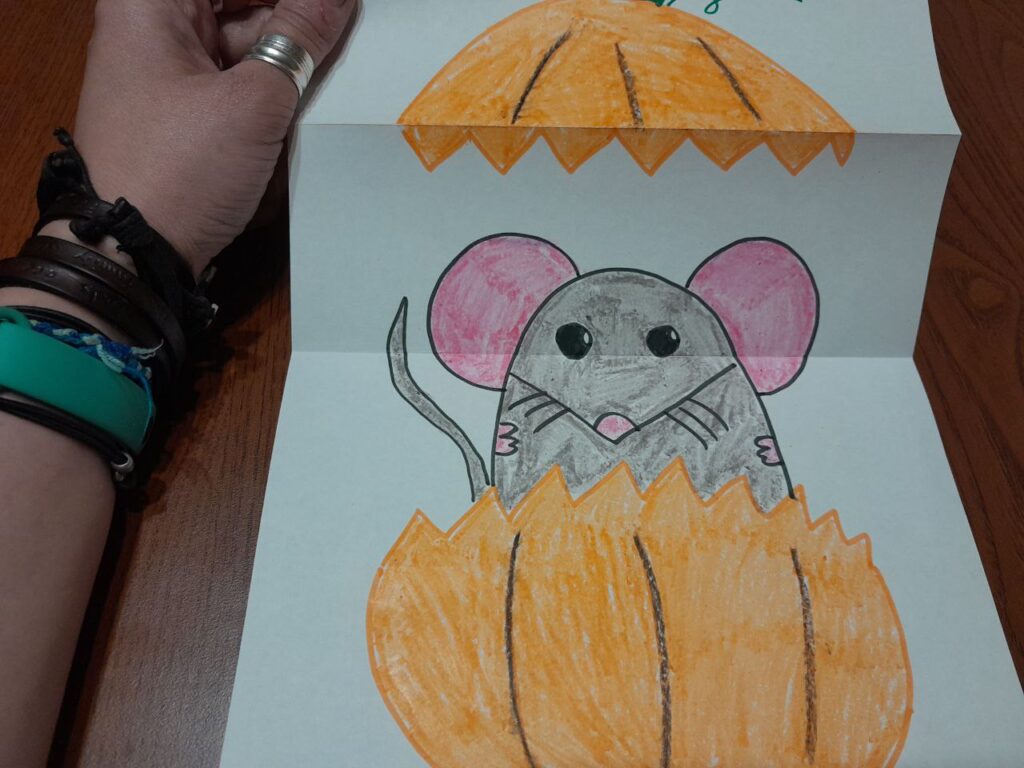
- I presented the ready made product making sure that the Surprise Pumpkin is a proper surprise (‘Look, this is a pumpkin. But it is also a surprise. Are you ready? 3…2…1….’)
- We went over the necessary materials with everyone (‘Have you got the paper? Have you got the pencils/markers/crayons?’)
- I was making one more copy together with the kids. I am drawing on the regular paper, holding it in my hands, on a thick pad. Going step by step, slowly, pausing and waiting for the kids to complete every single step. This is absolutely crucial.
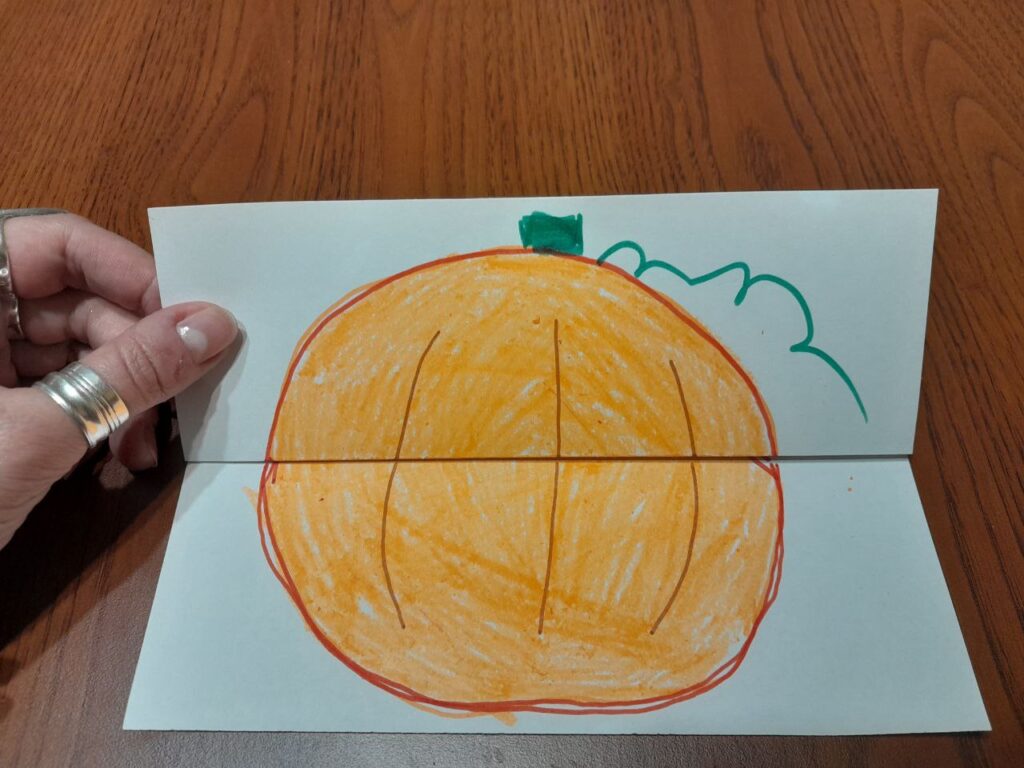
- We folded the paper, stopping after every stage, showing the page to the camera. There are four essential stages: 1) show the A4 paper 2) fold the paper in half, widthwise 3) press at the crease / fold 4) fold the top flap outwards (show the kids how the edge of the paper touches the crease / fold in the middle 5) press at the crease / fold
- Draw the pumpkin on the folded paper, that is at the 1/4 flap folded outwards and the 1/2 half at the bottom simultaneously, draw the stem and the leaf as well as three lines for the ribs. Don’t forget to pause at every stop, wait for the kids to complete every step and show you the result.
- Open the paper and place it flat on the table. Draw the edge of the top half (‘Let’s draw a zigzac’)
- Draw the edge of the bottom half (‘Let’s draw a zigzac here, too’)
- Draw the mouse step by step: the oval for the body, two lines for the nose, the ears, the eyes, the whiskers, the tail and the hands.
- Leave the colouring for after the lesson.
- Play a bit with the surprise pumpkins that everyone prepared. My students simply recreated the ‘presentation’ that I gave at the beginning of the lesson, of their own accord, just like that.
Some final notes
- Most of my students deal very well with the folding bit. Only one of us struggled a little bit and we needed mum’s help at the very beginning. It might be a good idea to let the parents know ahead of time and ask them to be at the ready, just in case.
- As regards the materials, absolutely anything goes: coloured pencils are great, crayons are great, markers work, too. I am at my personal happiest drawing with markers and colouring with crayons or with crayons and markers, for the extra shine and glow.
- Kids are amazing and they really can recreate the drawings or, rather, they can create their own versions of it. The only thing that is really necessary is the proper staging, going step by step, modelling and pausing, to give everyone time to complete the drawing.
- It does not matter how big or how small the mouse is. It will all be hidden in the folds of the paper.
- There are many variations of the craft. You can find some of them online. Below you can see what we have created ad hoc, just because we did everything that we needed and I could extend the lesson a bit. The pumpkin with a cat and the apple with a caterpillar were the result. These are only a few of the options!
Happy teaching!