Ingredients
- A Miro board or a powerpoint in the editing mode.
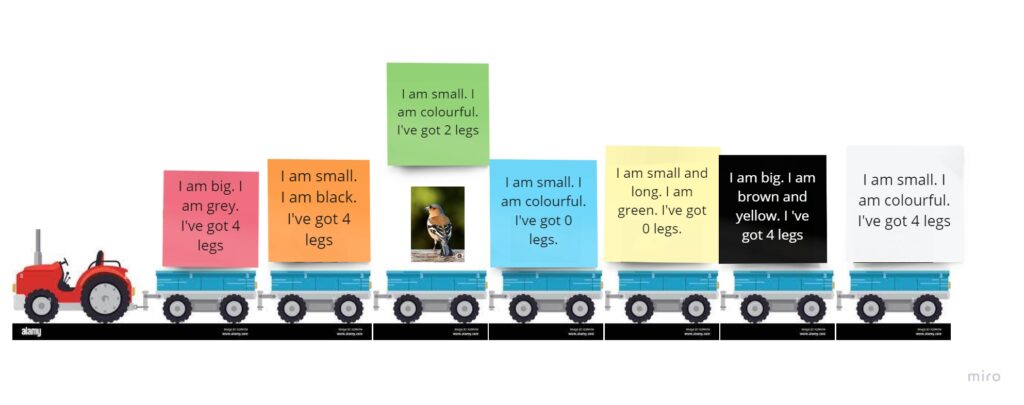
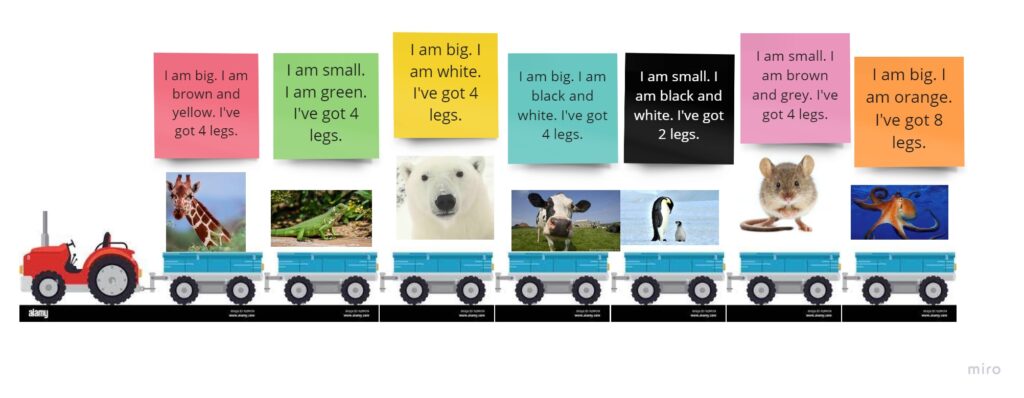
- A beautiful train with carriages or a tractor with trailers, with one animal on each trailer.
- A set of colourful cards, with a set of riddles following the same framework and the set of structures in each riddle.
Procedures
- Students take turns to choose the colour of the card.
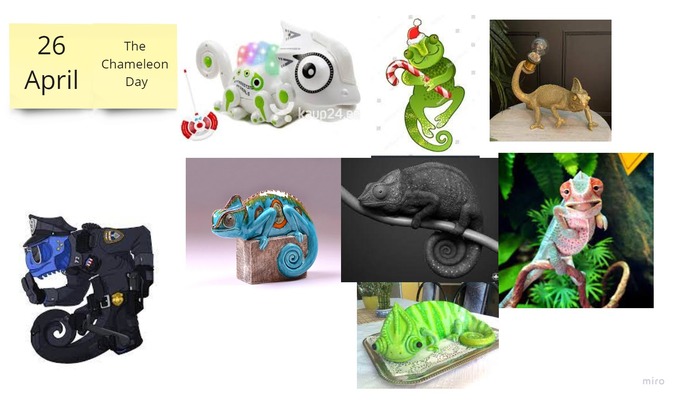
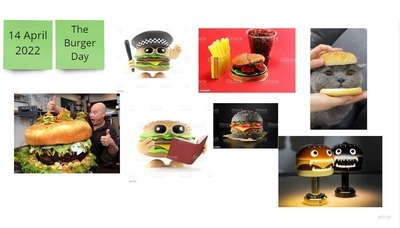
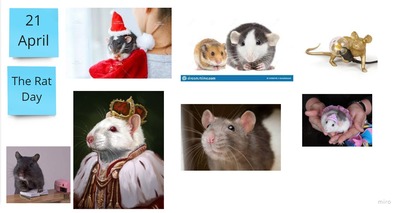
- Teacher reads the description of the animal. Kids listen and guess the animal. Teacher uncovers the picture to check the answers.
Why we like it
- First and foremost, this kind of an activity helps to develop listening skills in very young beginner students and focus as they need the information from all the sentences in order to guess the name of the animal.
- At the same time, since all the riddles use the same framwork and the same structures, this game is an opportunity to practise all the key structures. The set of these will depend on what the students are familiar with and can be simplified or extended.
- We use this kind of a game to prepare the students to produce the language, too and after playing the game for a few lessons in this very format, with the teacher reading and the kids guessing, we move on to the following stage with the students producing a set of sentences to describe an animal.
- Last but not least, with time and with the development of the literacy skills, this kind of an activity can also help develop reading skills.
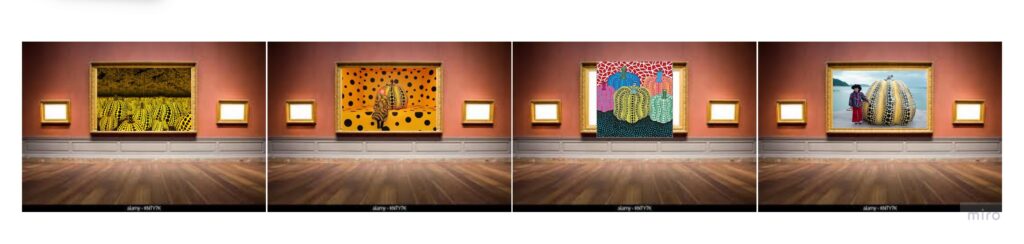
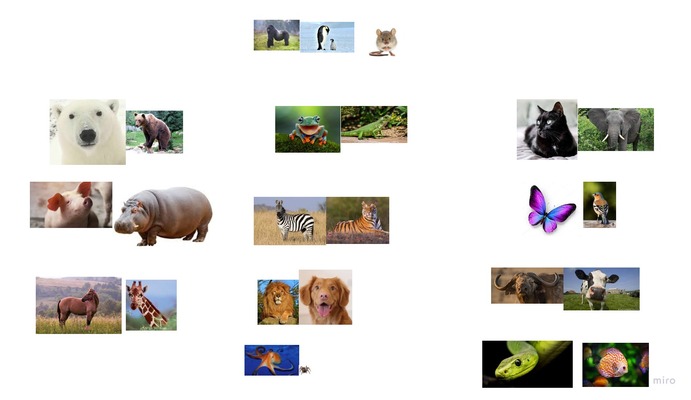
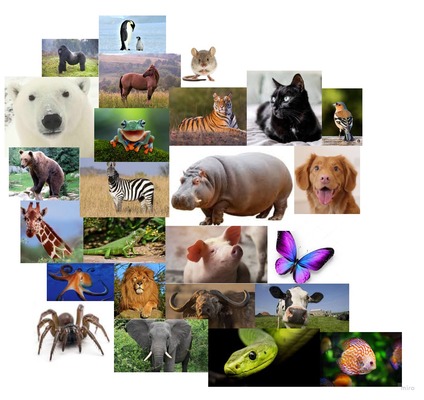
- The game is pretty and colourful, made with colourful cards, beautiful visuals from google. The students are usually curious to find out which animals are hidding on the trailers. The format of the presentation can be adapted, too. In the past we played with huge present box (partially inspired by Rod Campbell’s Dear Zoo) and with houses in which the animals were hiding and the miraculously appearing thanks to the funcion of ‘bring to the front’ or ‘move to the back’ on Miro or any powerpoint.
- It can be used with animals or with any other topic with the appropriate adaptation of the phrases ie toys (It is big. It is red, with the assumption that we refer to the visuals that the students are familiar with) or transport (It is big, it is fast, it is quiet) etc.
- If you are interested in riddles, please have a look at this post, too, where I write more about riddles for the older and more advanced students.
Happy teaching!