These are not all the activities that you can do with a video, these might not be the best activities for your groups. These are just some approaches that we like. Maybe you will find them useful.
Prediction
Procedure: The teacher introduces the topic of the video and gives the students a set of key words that appear in the video. The students discuss why these words might appear in the video and why they might be important. After a whole class feedback, the class watch the video to check whether they predictions were correct. As a follow-up, the students discuss the most (or the least) surprising / unusual / weird facts they have found out about.
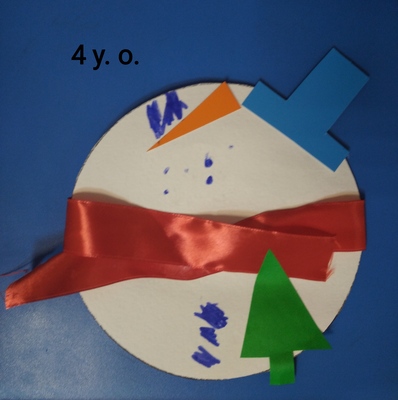
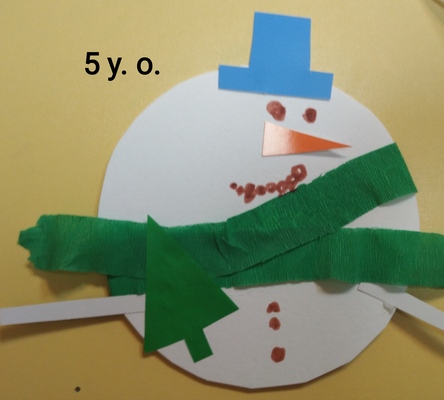
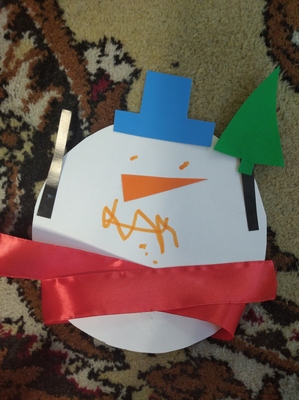
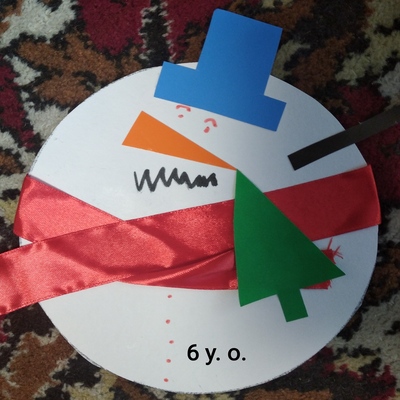
Example: We used this video to accompany a reading on extreme adventures and survival in which making a snow cave helped the people survive. We watched a real tutorial on making a snow cave and the key words we started with were: a candle, the letter T, the stick, a saw, the flat ceiling.

Back to the board
Procedure: The teacher divides the group into pairs, one student in each pair sits facing the TV, the other one sits with their back to the screen. the teacher plays the video, students work in pairs and they retell each other what is happening on the screen. Depending on the video, the students can watch the video with the sound on or with the sound muted. After a while, the students change seats and continue watching. Finally, they talk together and answer some questions related to the video. Usually it is a mix of questions, some of which check comprehension and some which help the students see the big picture or express opinion.
Example: We did this kind of an activity while discussing sports and unusual sports. The students watched the muted video on extreme extreme ironing, in two halves, about 60 seconds each and afterwards answered the following questions: What do you think is the name of this sport? How do you think Phil Shaw came up with the idea? What can be easy and difficult about this sport? Would you like to try? Which was the strangest place in which this sport was done? In the end, we watched it together, with the sound on and we compared ideas.

Pause and talk
Procedure: This is a great activity for the videos that consist of short blocks or include a set of examples of a certain item. The teacher writes the key question on the board, usually only one, and plays the video. The students watch a short clip. The teacher pauses the video and students discuss what they have just seen by answering the question. The biggest advantage of this approach is that the teacher is in charge as regards the duration, the activity can be stopped after only three items or the video can be played until the very end. As a follow-up, the students choose their favourite / their least favourite item and justify their choices. As in all of the other activities, there is also an option of the students changing partners and sharing their ideas with someone else in the group.
Example: While discussing food, we watched the video about school lunches around the world, we watched it bit by bit (after each item) and the students had to answer the following question ‘Would you like to try it? Why?’. Actually, this particular lesson included the video because we followed up with a video on American kids trying Russian food and we paused right after the food was introduced and we try to predict if the kids are going to like it or not.

Read my lips
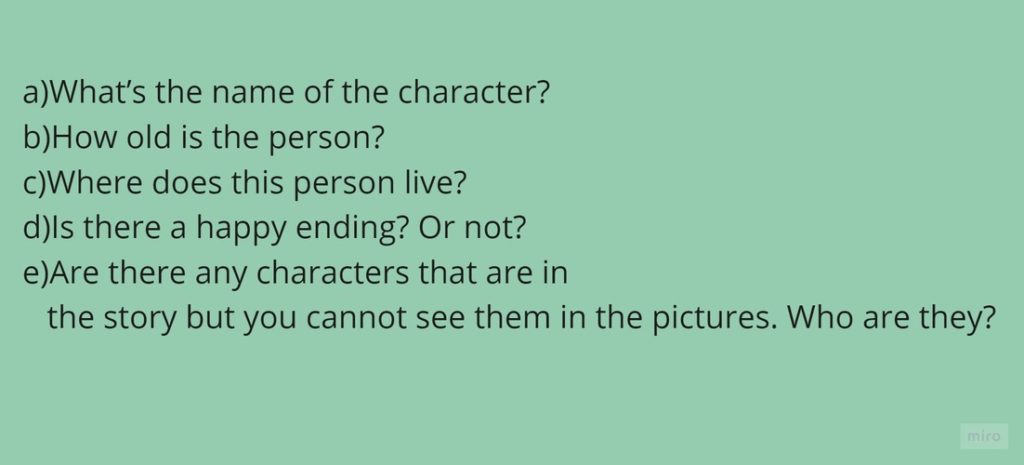
Procedure: It is used with the video with a very clear narrative that can be interpreted without the audio version as the students watch it muted. The teacher can start with the title of the film and ask the students to predict what they think it is about. Afterwards, the students watch the film and try to figure out what is happening, who the characters are, how they are feeling. The teacher can ask them to take notes while they are watching. Afterwards, students compare their notes in pairs or in groups of three. The teacher can also ask them about the main events or to try to connect the clip to the title of the film. Afterwards, the students watch the video again and as a group discuss their guesses. The teacher clarifies the main points, without going into too many details. The final activity is predicting what happens next.
Example: One of my top ten for this kind of an approach is a video like this excerpt from Big Fish, or actually a set of clips from the same film, for example this one here or this one here. In this one case, we did not really talk about the title of the film. After watching the film, the students were discussing what they saw but I also asked them to think about the following questions: Who was the big man? Why did he look scruffy? Why did the boy throw a stone at him? Why did the boy reach out a hand and closed the eyes? Why did they shake hands in the end?
After we finished watching and discussing, we also looked at the quote from the clip ‘You are a big man. You should be in a big city.’ and we talked about what it might mean and whether it is true.

Categorise
Procedure: The students are given a list of all the items that are shown in the video ie some extreme sports, some unusual holiday destinations, exotic animals etc. The students watch the video and they take notes about all the items, ie putting (+) and (-) next to those that they like or grading them from 1 – 5, depending on how interesting they are. After watching the video, they make their own list, organising all the items from the most to the least interesting one or dividing them into categories (like – don’t like, useful – not useful, interesting – boring) and so on. They work in pairs or small teams and compare and explain their decisions.
Example: This video was used in a lesson on technology as it presents the list of 10 Coolest Gadges. Some of the gadgets in the video have unusual names so we started with looking at these, trying to figure out what these might be. We actually divided the video into two and we discussed the first five gadgets and then, after the second half, the other five and then all ten, to round up. The students were choosing the most interesting gadgets that they might want to buy and those that they would not really even consider. In the end, we choose the most and the least popular gadget as a group.

None of the videos I use as examples were graded or created with the EFL /ESL learners so they can be considered authentic materials. I found all of them on youtube while looking for videos that would match the topic we were working on. I did not introduce any vocabulary, focusing rather on listening (or watching) for gist and general understanding, rather than on any specific details. Unless, of course, the students had any questions.
If you want to find out more about using authentic materials, have a look at some of the many resources online such as these post here: how to choose and adapt them, here from the Britsh Council, and here.
I have also found out a few posts on using video in class. If you are interested, you can find them here and here and this one here, although it has a wider scope and does not really focus on videos in the EFL/ESL classroom.
Happy teaching!