Ingredients
- 6 pieces of paper, A5-size aka 3 pages of A4 cut into halves.
- glue
- drawing materials: crayons, markers, felt tip pens, coloured pencils
Procedures
- Introduce and practise the weather vocabulary as usual. This is not our first year of English so we have been using the extended set of words and phrases. Over the series of lessons we have been describing the weather, miming riddles (and yes, I have come up with the gestures for ‘it’s foggy’ and ‘it’s cloudy’, it is not impossible:-) and we have also watched an episode of Peppa Pig, George catches a cold, because it gives us an opportunity to practise the weather, the clothes, some Present Continous and the feelings. Here you can find the set of wordwall cards that we use for the retelling exercises. As you can see, the weather topic became the opportunity to introduce and to revise a whole range of vocabulary sets and structures and it will be reflected in the Weather Book. We are also using the songs and here are our three favourite ones: How is the weather?, What’s your favourite season? and Put on your shoes.
- First it is necessary to make the book itself. We study online so I asked the parents to prepare the materials before the lesson (six pages, glue, markers), in the offline classroom there is the option of making the book first or the teacher preparing the booklets before the lesson, depending on the age of the students.
- Making the booklet in class is easy if you follow these few steps: check that everyone has all the necessary materials (‘Have you got the glue? Show me!’), counting all the pieces of paper together etc. Then we draw the line alongside the edge of the paper, page by page and putting the ready pages away. These lines will be help the kids to apply the glue and stick the papers together. The teacher needs to model all the stages and it is absolutely necessary to wait up for the kids, to make sure that everyone is on the same page (no pun intended:-). Afterwards, the teacher shows how to apply the glue (‘Put some glue on the line’) and how to add another page on top, repeating until all pages are glued together into a book (‘Look, we’ve got a book!’)
- Kids, together with the teacher, number the pages. The numbers will help the teacher and the kids to navigate the booklet throughout the activity. We also write our names on the front page.
- The next step is to start filling the booklet, one topic per lesson. When we are ready, we put the books away until the next lesson. Once there is something in the book, we start the activity with talking about what we already have got.
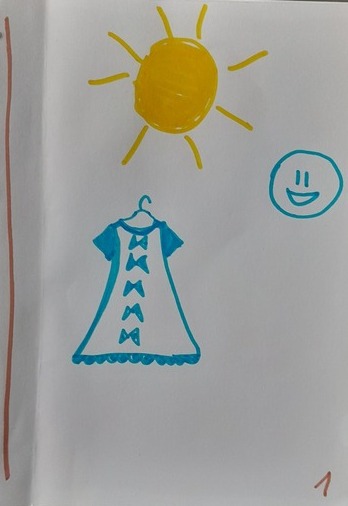
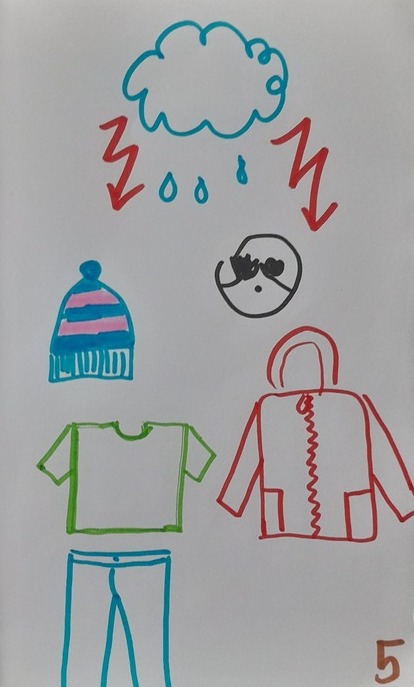
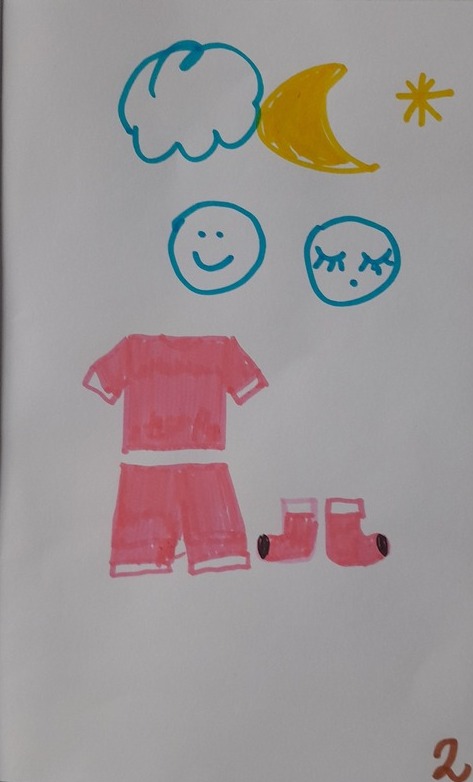
- The topics that we have included so far include: the weather, the emotions (‘It is sunny, I am happy’), the clothes (‘It is sunny, I am wearing a dress’). In the future, I would like to add to it some basic accessories (‘It is sunny, I’ve got my sunglasses’) and some basic Present Continous (‘It is sunny, I am riding a bike’).
Why we like it?
- There is a lot of potential for craft as the book activity can be extended over a series of lessons.
- The book also allows for personalising the topic of the weather by associating it with emotions, clothes etc.
- And, last but not least, it gives us a lot of opportunities for producing the language and, since a large part of the content is revised and repeated over and over again, the kids become a lot more confident at producing it and becoming creative with it, too. After a few lessons, we started to make up silly sentences not matching the weather for the other student(s) to correct the information that they have already heard and have become familiar with.
- It can be used with a variety of topics, not only the weather, for example food (with pages devoted to fruit, vegetables, drinks, lunch and desserts) or animals (with pages devoted to big and small animals, animals which can fly, swim, run etc) although so far, I have been using the weather book only as a long-term project, with my 1-1 online student. We made the food book with my online group, as a one-off project. It was also a success.
- There is more flexibility as regards the format, too. We made the booklets and starting filling them in in the same lesson because my kids were ready but it is also possible to divide it into two stages: lesson 1: making the book, lesson 2: start filling it in.
- The same can be done with all the other lessons. The weather words and the emotions are quite easy to write and adding these in is feasible enough, one lesson (or a ten-minute slot) is going to be enough. The clothes or the accessories might take longer and it can be divided into two lessons to avoid the risk of the activity taking too long and the kids getting bored.
Happy teaching!