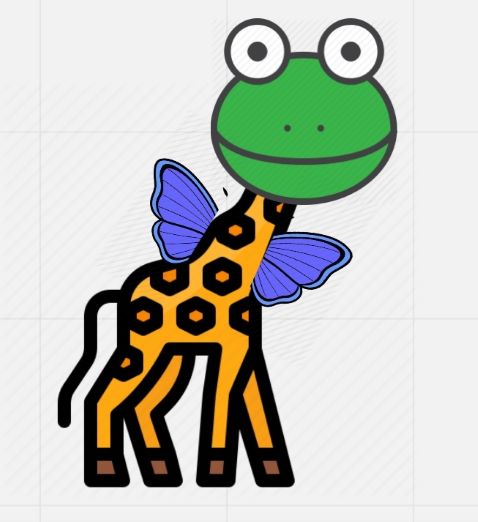
So here is a picture, have a look.
Can you see what I see? Are you thinking what I am thinking?
This adventure started like many others, really, with google and one of those straightforwardly mindless searches and a hope that the engine can actually pleasantly surprise you once more. this time it was ‘silly pictures for kids, clip art’ or something similar.
When I came up, I tried to take in all the absurdities all at once but at the same time, my teaching brain was firing at me with the many ideas of how I could use it in class. If I had been an ancient Greek philospher, most likely, I would be running around shouting ‘Eureka’ but since I am only a humble teacher, the only reaction was a rather excited mumble ‘THIS is going to be SO good!’
Now, this Crumbs post is going to be slightly different. We are still in the middle of winter holidays so there hasn’t been a chance to properly trial and test it with mu kids. but I am going to share it anyway, now, and the real classroom experience is going to be added in a week.
Here are the activities I am planning for next week
Preschoolers: Yes and No.
With my second year preschoolers, we are going to use the winter scene as this one is most relevant due to the what’s happening in the world outside of our windows and because the vocabulary and structures that we are already familiar and this picture has a chance of being most productive.
Yes and No is a game that my kids are familiar with. The teacher makes a sentence about the picture, which can be true or false and the kids have to react to it and correct it, using either a full sentence or only a phrase, depending on their abilities.
For example:
T: I can see a girl. She is sliding on a doughnut.
SS or S 1: Yes / Yes, it’s true.
T: I can see a girl. She is wearing one yellow hat.
SS or S: No. She is wearing 5 hats.

Primary: Can you see something really silly?
Step 1: Prediction
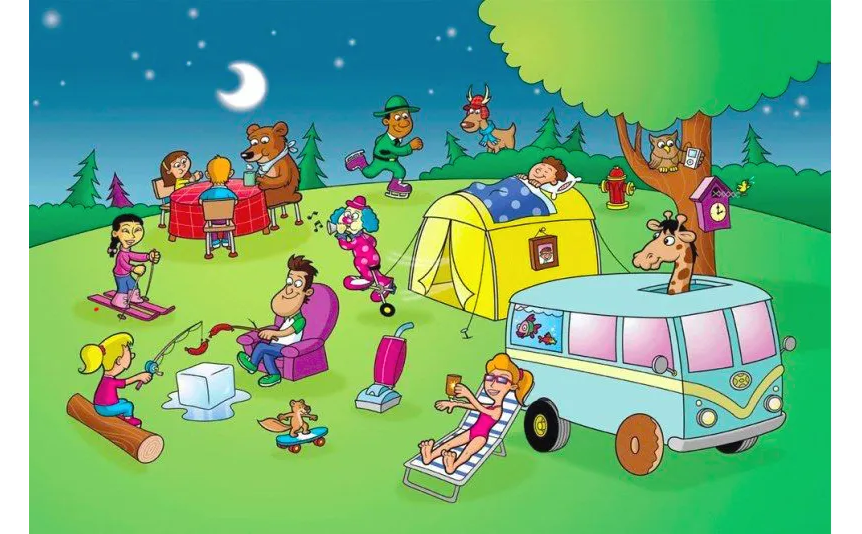
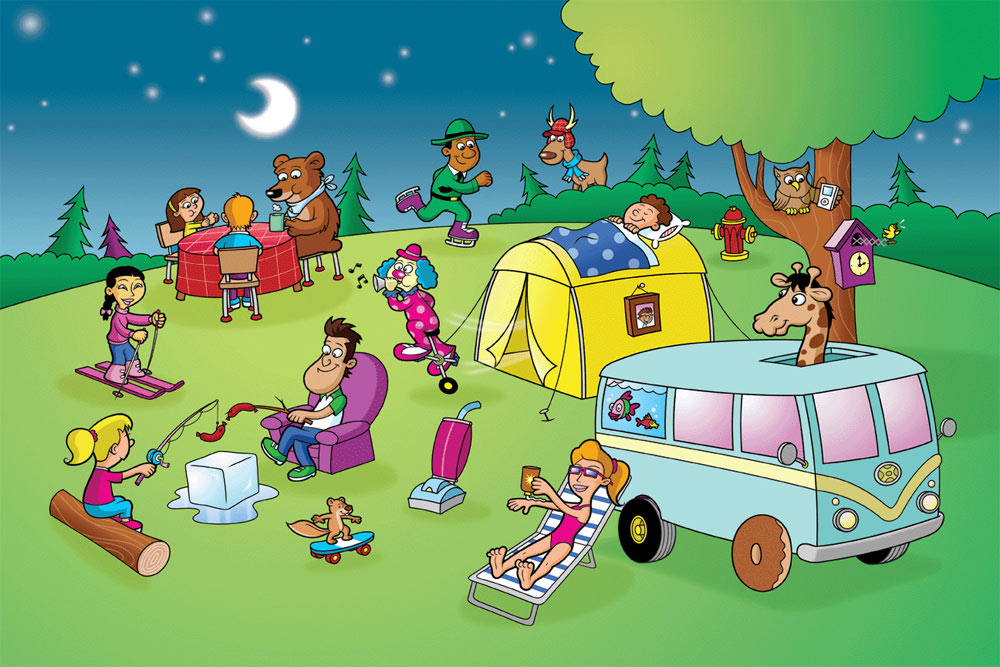
T tells the kids that they are going to see a picture of a campsite. T asks the whole class to guess what might be in the picture. To make it even more dramatic, T can ask the kids to close their eyes, imagine that they are in the forest and say what is happening. T may preteach some of the campsite-related words that kids might not be familiar with yet.
Step 2: Silly campsite
T tells the students that the campsite that they are going to see is a little silly. Kids work in pairs. T gives out a copy of the picture per pair. Kids circle and describe all the silly things they can see.
Step 3: What’s the silliest thing in the picture?
To round up, each student chooses one thing in the picture that they think is the silliest one.
Primary: Silly pictures reading practice
This one was inspired by an activity I found on aulapt.org and, automatically, I wanted to have my own. Here is it, created on wordwall and it will be shared as an additional homework task.
Primary: Tell me about this boy…Because
All these silly picture scenes are going to be the main character in our free speaking activities that has become a regular feature in our lessons recently.
One of the easiest activities to apply here is ‘Tell me about this boy‘. In the beginning, the teacher is leading the activity, chosing the people, animals or objects to describe and the students, in turns, decide what information they want to share. Now we have reached the stage when the kids are comfortable enough with working in pairs and taking turns in choosing the parts of the illustration for their partners and describing what was selected for them.
Now, with this new resources and all the absurdity, I would like to go in the direction of looking for rationale for their actions. We will try to play ‘Because‘. It might not always be easy but since the students are in charge of their discourse (well, ok, their mini-discourse), they can focus on how the people are feeling, what they like or don’t like or what they did before that might have had an impact on their non-standard behaviour now. Especially that we have just started talking about the past, using was/were and the affirmative forms of the regular and irregular verbs so that might be just a perfect opportunity to practise these.
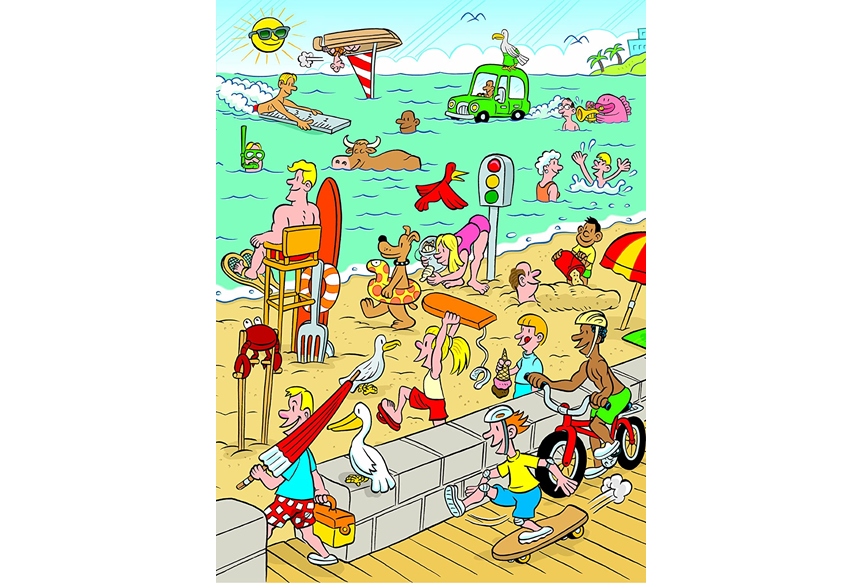
Stage 1: Extended modelling
T: Tell me about this animal.
S1: It is a bull. It is swimming.
T: Because he likes water.
T: Tell me about this man.
S2: He is sitting. He’s got a big fork.
T: Because he is very hungry.
Stage 2: Because
Since this is a new kind of an activity and it might quite challenging to find the rationale for all the actions, we will play it together, to ensure a good brainstorming session. Kids will be choosing what they want to talk about and the whole class will try to say what everyone is doing and why.
In the worst case scenario, we might resort to our ‘Because because’ answer which they sometimes use or we might just go for a simple ‘Because it’s fun’.
This ia brand new adventure for us. I will be back in a few weeks to let you know whether it was a story of success or yet another epic fail story to post on this blog, too.
If you are interested in our free speaking practice circle, have a look at this post and if you would like to know more about what EFL teachers can learn from speech therapists – here is another post to check out!
If you are looking for more ideas on using pictures in speaking activities, here are two posts from the series of ‘All you need is…a picture’ and, its Volume 2 (because activities are accumulating:-)
PS A word of confession: it was very difficult to resource these illustrations. They have been posted, reposted and shared a million times, sometimes losing the artist on the way. I did my best!
Happy teaching!
P.S. A request!
It is very simple.
I would like to know a tiny little bit more about my readers. There are so many of you, popping in here, again and again, and the numbers of visitors and visits are going up and make my heart sweel with joy. But I realised I don’t know anything about my readers and I would love to know, a tiny little bit more.
Hence the survey.