Today is the 8th of May and, at least in Russia, we have about three weeks left until the final lesson with our young learners before they say their good-byes and rush to enjoy the summer. I don’t know about your students but mine have already started counting down the days.
As for us, the teachers, it is the high time to start thinking about the ways of finishing the course. I know, I know, we can just write the final tests, prepare the reports and diplomas, give them out and wave ‘good-bye’, to go for the minimum because it has been a long year and we are tired but I would like to encourage you to go one step further because this is how you build a community and how you create beautiful memories.
Here are my eight favourite activities for the final lessons of the course.
Main aims? To acknowledge the hard work throughout the course, to reflect, to praise, to celebrate the end of the year and the beginning of the summer.
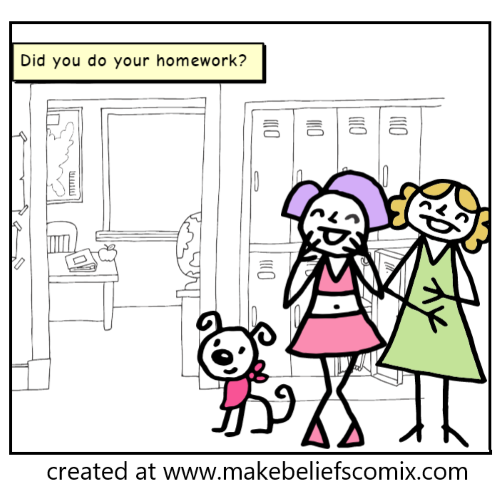
Good-bye letters
This is an activity that I have always done at the end of my summer camp sessions and I wrote a post about it a while ago and you can find all the details here.
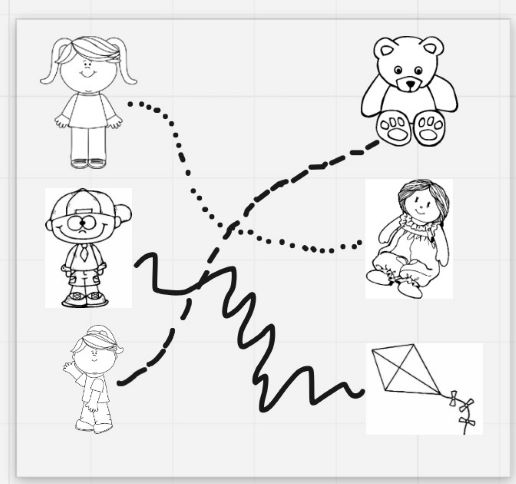
Storybird.com
This is the only tool that involves a website and, apart from the first stage of the pandemic and in a limited version, is a tool that has to be paid for. I would not recommend purchasing the subscription only for the purpose of the graduation party but the website periodically offers a free trial so the end of the year might be a perfect opportunity to have a look and see how it works and then, perhaps fall in love with it and decide to use it more extensively in your lesson just like I did last year.
Storybird is a website where aspiring illustrators’ works can be assembled in a book, the text added and the whole thing can be downloaded and printed or accessed in the pdf version. The stories can be published on the website or kept in a private library. Naturally, as the user, you also get access to everything that has been published and these stories can be used in class.
We have written a few stories with my primary groups already. Usually it means that before the lesson I prepare the illustrations by choosing the artist and selecting the images that might be appealing to my students (plus a few extra so that everyone has a chance to pick something they like). In class, we look at all of these and I ask the students to choose one image for themselves. Later on, the class is divided into two, the group works on a task in the book or the exercise book and students take turns to dictate what they want to say. I type up.
The end-of-the year contributions might include the following:
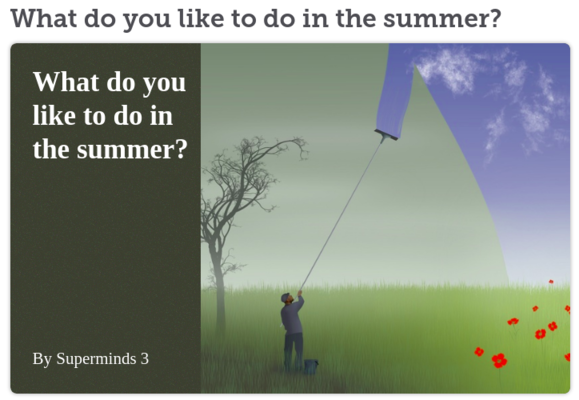
- What are you going to do in the summer?
- About you
- Tell me about this picture
When everyone has finished, we delete the unnecessary pages, we save the story and read it together, with each child presenting their page. After the lesson I proofread it, save it and pdf it to send it to all the parents. They can print it or just keep it in the electronic from.
Anyway, it is a great souvenir and there is a chance that kids will read the whole book and a few times, too.
The Oscars or The Best Toilet Paper Dress Designer
This is the activity that we prepared first with my friend Stephanie at the end of the summer camp in the UK. We had an amazing group of teens that we used to teach in a team and we wanted some great ceremony at the end of the session. This is how we came up with the Oscars. It takes some work but it is definitely worth it. I used it with some of my teens’ groups later on as well as with my trainees on the IH CYLT course.
The idea was inspired by the Oscars ceremony and all the different categories in which the winners are announced, the Oscar figures (papers ones) and diplomas are awarded and a round of applause is given. There is also an option of including a thank you speech, you know the drill.
The only difference is that in the group absolutely every student (or trainee) has to end up with an award and so the teacher (or the trainer) makes up new (and amazing) categories to highlight everyone’s achievements and contributions throughout the year (or the course). They can include some real achievements like the best test results, the funniest story, the most creative role-play or the most interesting project but they can also draw on the students’ personalities and their roles in the group.
During the final lesson can announce the category and have the group guess the potential winner before they are officially announced. When we organised the ceremony the first time, at the camp, all these years ago, we also included a bag with trinkets – a set of most random items that we gave out as awards such as a pencil, a rubber, a plastic glove, etc. The kids would accept the award and then fish out their ‘amazing’ prize. It was a lot of fun.
Self-evaluation
I found the idea for this activity in Carol Read and her ‘500 Activities…‘ and, so far, I have only used it only once with my teenagers. Only once it this was a great lesson and I will definitely will be going back to it this year.
The idea is that the feedback and the evaluation of progress is put in the hands of the students, the teacher is only the faciliator here.
The end-of-course self-evaluation could be staged in the following way
- speaking: discussion in groups or pairs, monitored by the teachers, the students are encouraged to talk about their favourite and least favourite lessons during the year, favourite and least favourite activities, most difficult and easiest topics and tasks.
- writing A: students are given the report form to fill in for themselves, writing about their achievements and potential areas to improve
- writing B: the teacher adds his/her comments to the report, when applicable.
All these should be done in the last-but-one lesson so that the reports are ready to be handed out in the final lesson of the course.
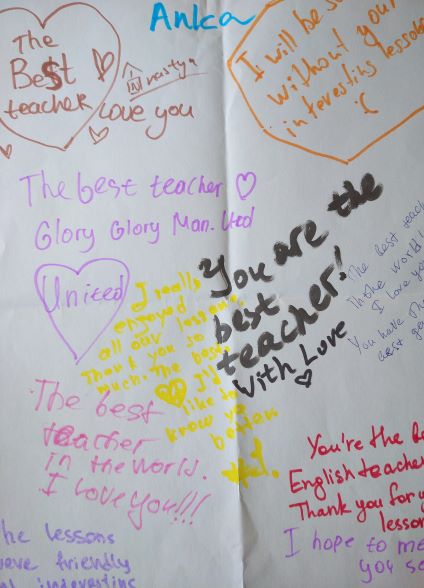
When I did it with my teens a while ago, I was a little bit apprehensive, not quite sure how my students will take the task but, as it turned out, they were heart-breakingly honest and serious about it and I really did not need to add anything to their self-evaluation. It was all to the point, very much I would have wanted to write myself. But before we started, they did ask ‘Are the parents going to see it?’ so perhaps this is an issue that should be taken into consideration and, perhaps, the end-of-year evaluation should be done two-ways, the internal students’ self-evaluation and the official report for the parents and carers. A question without the answer yet.
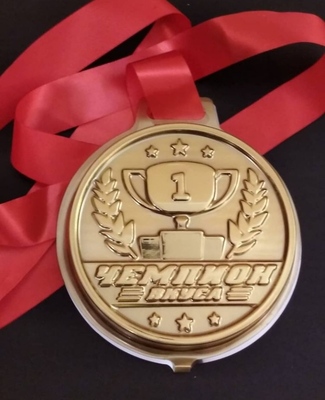
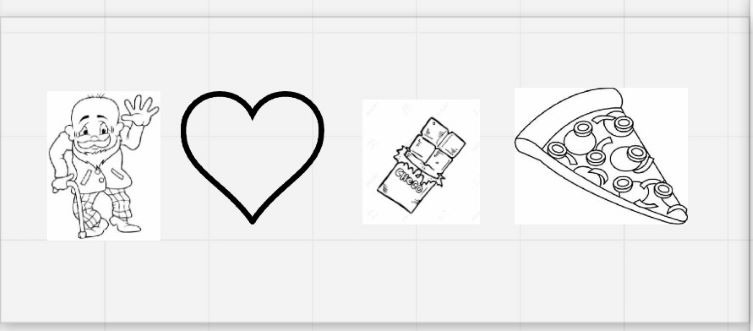
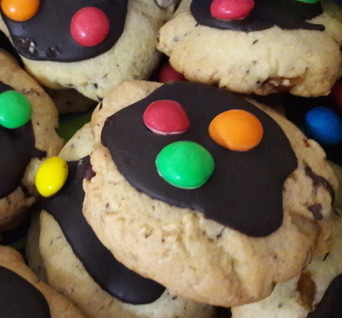
Medals
Medals are an obvious symbol that even the youngest students understand.
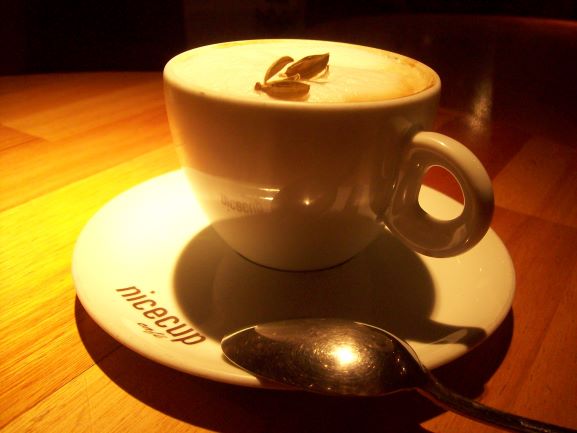
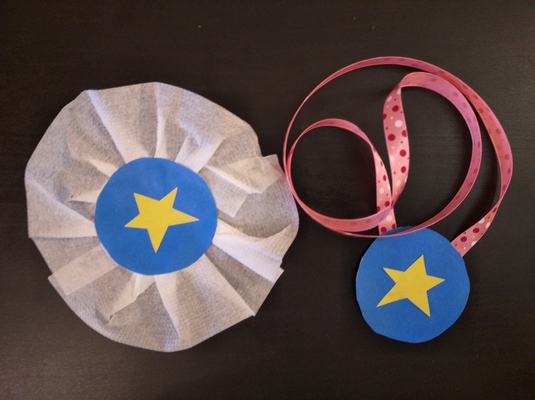
The teacher can purchase chocolate medals (like the one in the photograph which my educational parents bought for the end-of-year celebrations) which will be exciting, for sure, but feeding kids chocolate is not absolutely necessary. Handmade paper medals work equally well. They can be made by the teacher and given out at the end of the final lesson but it is even better if the students are involved in creating them.
Here you can find some of the websites with the ideas and templates from notimeforflashcards.com, artfulparent.com, redtedart.com. You can also get inpired by the one I put together while experimenting with the format for this year’s end-of-course with my youngest group.
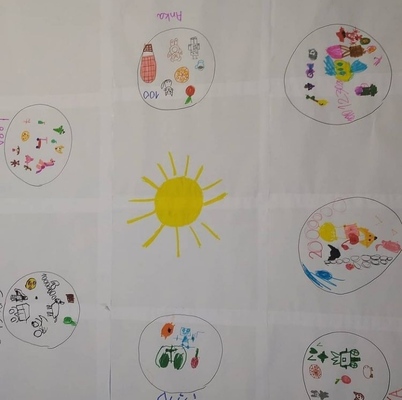
Our Solar System 7
This is an activity that, initially, came to be as a part of our pre-primary space and Yuri Gagarin-themed lessons but there is a lot more potential here. Thanks, Rory, for pointing it out! Here you can find the post on how to do it.
A tea-party
Well, there is never any tea, the name comes from one of my students чайпите which translates as ‘tea-drinking’ and which, in real life, involves having a cup of tea and eating something with it, sweet or savoury. In our classroom life, it is the term for when we sit down and eat together, essentially.
The first question to always ask is to find out what the parents think about it and to present what food items you have in mind. In the last few years, even pre-pandemic, I have limited the food to separately packed juice, biscuits, mandarins and the occasional child-friendly chocolates. It is not about the exquisite food or drink but an opportunity to share food together.
The parents can be asked to buy the food and split the costs or it can be funded by the school.
Such a lesson is a wonderful opportunity to build a community and to practise the language that we do not normally have a chance to use related to lining up, going to the bathroom to wash hands, sitting down, serving food, asking for food, etc. After we have eaten, there can be a small dancing party, with a song or two and dancing. With my older students, juniors and teens, we always have a pizza in the last class. Now, it is almost a tradition.
Now, there are a few disclaimers and points on the obligatory check-list. First of all, the full list of items that will be served has to be run by and agreed with the parents. The children might be suffering from allergies, the parents might have the food items that are a no-go in their families and, in the times of covid or in any other year, some parents might not be happy with ‘strangers’ feeding their children anything. This has to be respected.
Open lessons for parents
This is something that I have been doing with my younger students since I started to work at BKC IH Moscow because this is the tradition of the school.
It is something that can be quite stressful for the teacher (yes, even for an experienced teacher who has well-behaved groups) but the benefits definitely outweigh the challenges and the potential difficulties. The parents have a chance to see the kids in action, in their ‘natural English environment’, with the teacher and, at the end of the year, they can see how much the kids have learnt and how they interact in a foreign language.
There are different approaches to organising open lesson but I have to admit that, personally, I am not a fan of any kind of performances. One reason for that is definitely the fact that, as a child, I was forced to sing, dance and recite at school and I hated it, from the bottom of my heart. The other reason, the more important one, though, is that I believe that an opportunity to participate and to observe a typical lesson, ‘just a lesson’, as some might say, is a lot more beneficial and representative of what we do, how we play, how we interact. Not to mention that this is the routine that the children are most familiar with.
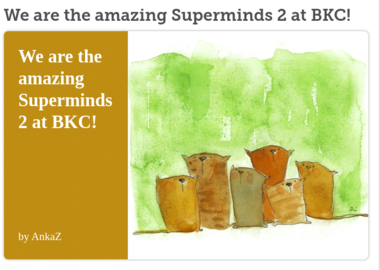
Before the lesson, we prepare the invitation for the parents which can be themed according to the final units of the coursebook, for example jungle animals in Playway 1, holidays in Superminds 1 and 2. This way the craft activity can be also a revision lesson.
In real life…
…we never just do one of these things and in case of my classes, we mix and match, depending on the day, on the group and on the mood on the day.
Happy teaching!