Today a post about a post about one of my favourite games ever: noughts and crosses. I have written about it already on this blog because I use with illustrations, to practise vocabulary and with my preschoolers, too, to increase production.
Today it is storytelling noughts and crosses!
Instructions
- Demonstrate or check that all your students know how to play noughts and crosses, in the traditional, non-EFL way. It can be done with one of the stronger students, on the board.
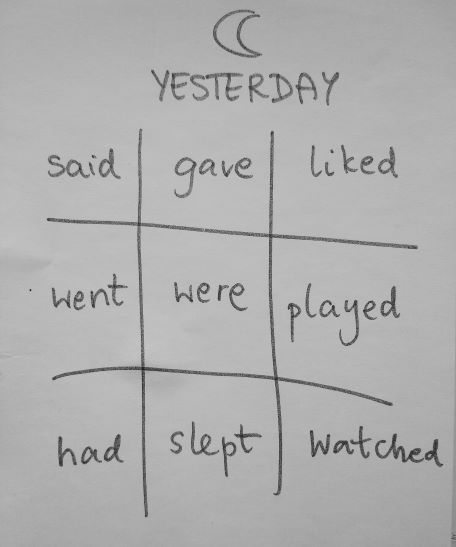
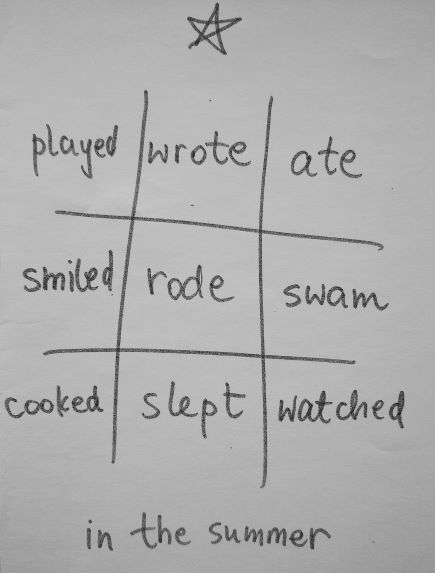
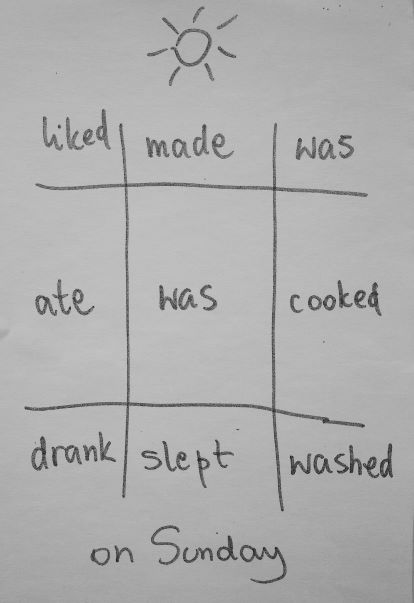
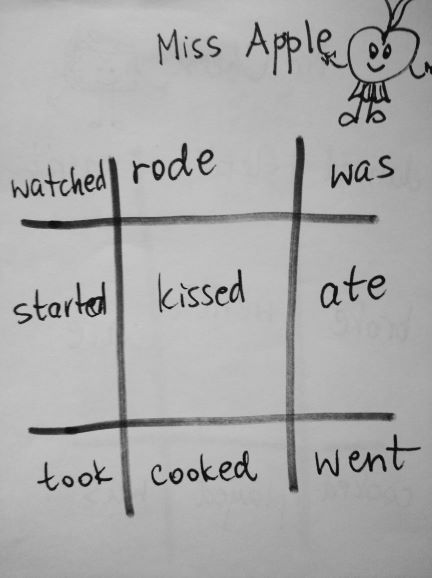
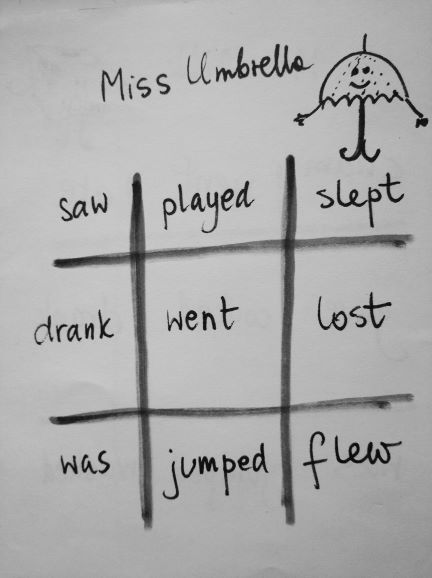
- Draw an EFL grid of the game, on the board, filling it up with the words you want the students to use. I normally start to use it to tell stories when we get to the lessons with the Past Simple and normally we play the game just to talk about our ‘yesterday’, our ‘last weekend’ or ‘last summer’, not to put too much pressure on the kids and to get them into the habit of using the language. These are some of the grids that we used with my A1 primary, aged 7 – 9. The symbols at the top mean nothing and they just help us identify different grids.
- Introduce the characters that the kids are going to talk about. One of the unsung heroes of my lessons has been one Mr Milk who has been with us for a good few years* and who has been kind enough to bring some of his friends along. For that reason, figuring out who can be the character is never a problem. Mr Milk always goes first, the others follow suit.
- Demonstrate how to play the game on the board. This time we have done it: teacher vs the group, represented by one of the students at the board and the whole class participating, choosing the verbs and telling the story.
- This version of the game is slightly more challenging because you not only have to use the verb. It is very necessary that you also continue a story. Of course, students are allowed to use more than one sentence (yes, please, do!!!) but the key verb (or the key word) is the one that they have to use. These are some of the grids we used this week. As you can see, they are all very basic but hey, that’s what it is, the real classroom life. Sometimes the handouts are pretty and picture perfect, sometimes they are not. Sorry – not sorry.

- Students play in pairs and they are told to play until the very end, when all the verbs have been used in the story.
- The teacher monitors and eavesdrop on some of the precious lines created such as ‘Miss Apple ate an apple (a normal one, not a person!)‘ or ‘Miss Umbrella drank the rain‘.
- In the end, when everybody has finished, the teacher asks some feedback questions, for example ‘Was it a happy story or a sad story?‘, ‘What happened in the end?‘, ‘What was the best part?’ and all the pairs are invited to share something about their stories.
- Next step is the scores. I usually prepare a few sets, like this one in the photo. One of the students chooses one of the letters and the teacher draws the grid on the board. Students count their points and we write them on the board.

- We normally play two or three rounds, depending on the time we have.
Why we love it
- We love Mr Milk and all his friends.
- We love stories.
- It takes a few minutes to prepare (High five to all the lazy teachers!)
- It generates lots and lots of language (High five to production greedy teachers!)
- It is motivating because of the scoring system but it is not very competitive since we use the most random points sets and you never know what you might get, 1 point or 1 000 000 points.
- It helps to develp creativity and imagination.
- It has a lot more potential for developing listening skills (if only one round is played and the kids have to retell the story to the rest of the group) or reading and writing skills, too (if the sets are given for homework and the students are asked to write a short story using the same nine verbs that they have used in class. During the following lessons, the kids can exchange and read their stories, too).
Happy teaching!
*) I have just realised that Mr Milk has been accompanying my teaching life for about twelve years now… And that he might actually deserve his own post. Just a second, please!