A VYL classroom. Part 3: In a kindergarten

@vectorpouch @freepic.com

Case C: Off-site classes in kindergartens

The off-site EFL classes, with the teachers arriving to the kindergarten and teaching their lessons there are quite common.

Advantages

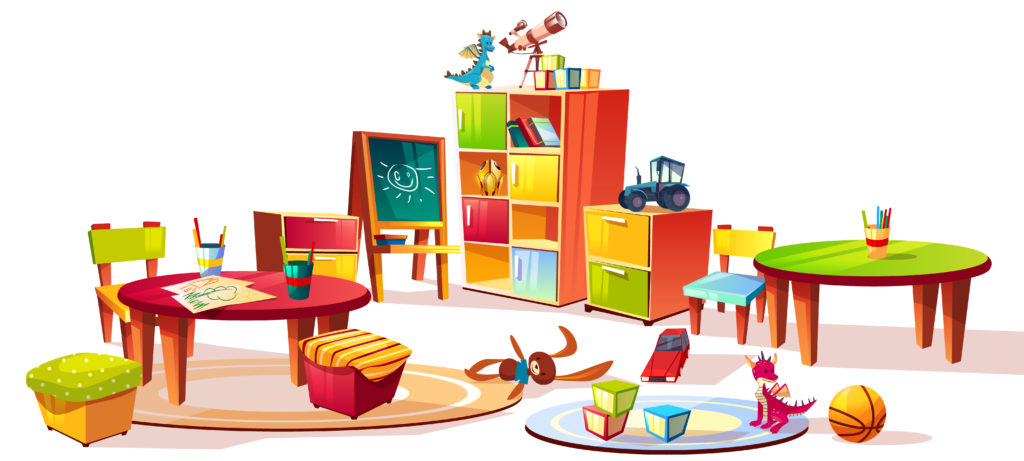
  • The environment is by default child-friendly and safe
  • There are carpets, small tables, small tables or chairs boards and posters are hung on the level of the children
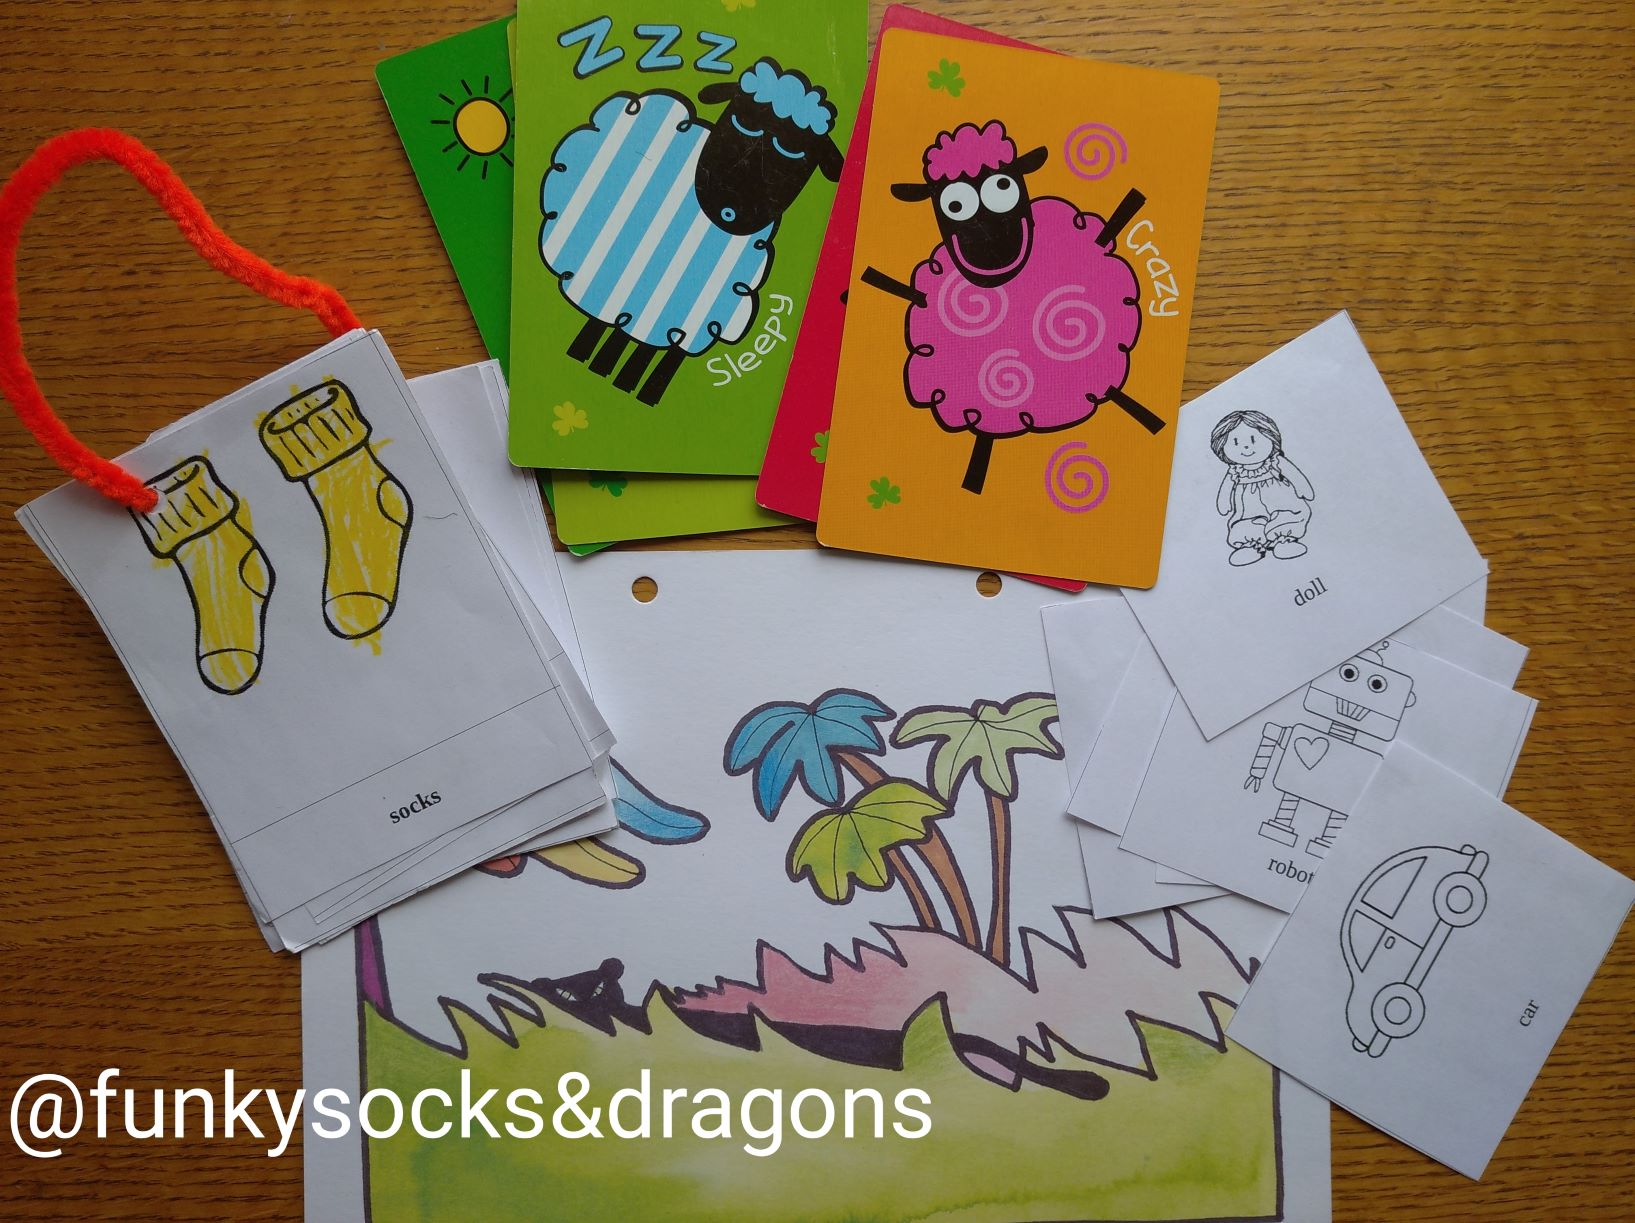
  • There are plenty of posters, toys, craft and stationery products that are child-friendly (ie crayons or safety scissors), books
  • Children feel comfortable in the place, they know where to find the toilet, the spare shoe, their shelves
  • Children already know their classmates
  • There will be plenty of people who already know the children from the day activities and it will be a great advantage as the EFL teachers can use them as the source of information or even ideas.

Disadvantages

  • Children are made to study English in a classroom that might be used for some other purposes, they might feel lost or confused when the room that they normally associate with playing will be the classroom in which they need to do some serious ‘studying’
  • There might be too many distractors such as toys
  • There might be some rules, routines and procedures in the institution that will also have to be taken into consideration, it is best to find out what these are and to try to combine them with the rules and procedures of the English lessons
  • Children might struggle with transitioning between the regular kindergarten activities and the English lessons, provisions must be made for that, for example special routines
  • Any kindergarten activities will have an impact on the flow of the English classes. There might be some specific holidays or trips that might influence the timetable or the curriculum but it is also quite likely that all the children might be tired or, on the contrary, excited on some days, due to the course of the day activities. They might also bring in their emotions and even animosities from the kindergarten.

Solutions

Where to look for ideas for the classroom

  • Have a look at the classroom before the lesson and figure out how you can make it fit your aims and ideas, adapt when necessary and talk to the directors or supervisors to find out as much as possible about the institution and their procedures. If you are planning to introduce some changes, first and foremost focus on explaining the rationale for them. They might not be quite clear to people who are not language teachers but when you provide a rationale, they might be willing to take your suggestions into consideration. Involve your supervisor if you have one.
  • Make the necessary decisions regarding the course such as the coursebooks, photocopying, homework and contacting the parents. These are not quite related to the classroom itself but a lot will be influenced here by the procedures and policies of the kindergarten and they might be different for one kindergarten to the other.
  • Decide where you are going to start the lesson. Ideally, it should take place in a circle, on the carpet but there are other options, too: at the door, in a circle standing. Even if it is a classroom with small desks, there will be some space in-between the board and the first rows or at the back, behind the last row.
  • Decide where in the classroom you are going to have the storytelling corner, the movement corner and where you are going to sit to work with the coursebooks or handouts.
  • Build up your routine and stick to it.
  • Remove the distractors if possible or as many of them as possible.
  • Find out which of the kindergarten resources you are allowed to use.
  • Decide where you are going to keep your things and resources such as crayons or markers for the lesson, handouts, flashcards for the lesson. Please use the same place and make sure you establish with the children that they are not allowed to touch anything that is on the table. It might help to keep everything in a box (as it can be easily lifted to keep it away from the children), it is easy to store and it makes cleaning easy. What is more, if you keep all your resources in one container, you gain a lot of flexibility as all your toys are there, in case you need to change your lesson plan. I have had groups with whom I had to keep all my resources in my rucksack, zipped shut in the begining of the course.
  • Talk to the kindergarten’s stuff and ask them to find a place for you to store your resources in-between the lesson. Otherwise you will have to carry all your resources with you all the time.
  • It is a good idea to talk to the kindergarten’s admin to find out whether and where you can put the students’ work on display. There might be some room in the classroom or in the hallway and it is quite likely that the administration will like the idea of assigning a noticeboard for you and the English classes work. They will also benefit from promoting the classes to the parents whom the teacher most likely is not going to meet in person.

Where to find more ideas?

Sandie Mourao and Gail Ellis ,Teaching English to Pre-primary Children, Delta Publishing

Vanessa Reilly and Sheila Ward, Very young learners, OUP

Herbert Puchta and a big group, there is a semi-circle of small chairs but the room is big enough for the kids to be able to stand up and play some movement games without actually moving too much around the room

A realistic preschool classroom, not quite EFL pre-school but real life.

And another one from PreKPages a great channel on youtube where you can find lots and lots of ideas for working with preschoolers.

A lesson and a classroom from WOW English

And a lesson from Japan from a big sports hall.

And another classroom from China.

Here are also the links to the other two posts in this mini-series, both devoted to teaching in language schools, in a classroom that is used only by the VYL students and the classroom that the little people have to share with other classes.

A VYL classroom. Part 2: Just a regular classroom

Our hello circle in a big classroom

Case B: Just a regular classroom

The EFL settings, a private language school, a regular classroom adapted to the needs of a group of pre-school children. There are usually big tables and chairs or the foldable desks and materials such as posters that are not necessarily child-friendly.

Advantages

  • The classroom is quite likely to be big and that means that the adult furniture ( frequently the foldable tables) can be moved around to create the space for the hello circle, the kids tables, the story corner etc.
  • Using the big chairs and tables can be an advantage, actually, as the children are sitting far apart and they are not invading each other’s space which might happen when you use a small table. Plus, sitting at the big table is a clear sign that the serious work is about to begin.
  • You can involve the kids in arranging the classroom, that will make them feel responsible for it and it will help the teacher, too.
  • The children might feel ‘honoured’ to be studying in an adult classroom as this way they will become ‘real students’, especially if they are already 5 or 6 and start dreaming of starting school.

Disadvantages

  • The likelihood of sharp corners and not very child-friendly items is much higher.
  • The teacher has to unfold the VYL kingdom before each lesson and fold it back at the end of the lesson because there might be older children or adults coming. And all of that eats up the teacher’s precious break time.
  • The board might be too high up and the only person who can reach it is the teacher (but it is not the worst thing in the world, you can put up things in places where the kids cannot reach them)

Solutions

  • Have a look at the classroom before the lesson and figure out how you can make it fit your aims and ideas. Talk to the admin of the school (and the other teacher using the room) and request permission to move the things around and to rearrange things. It is always worth checking the other rooms in the school. Perhaps one of them is more suited to the needs of the little children and perhaps swapping rooms or furniture is possible. It is always worth asking.
  • Make sure that the classroom is safe. Look out for the sockets, sharp edges, anything that is not stable or sticking out. There are easy ways of making the place child-proof ie moving out the furniture, swapping the classroom, getting the socket plugs etc.
  • Decide where you want to start the lesson. I am a huge fan of lining up outside of the classroom but it might not be always possible.
  • The photo that you can see as the cover photo above is our hello circle that I created in one of the corners of our very adult classroom. In a regular lesson with my pre-schoolers, we would spend here about half or even two-thirds of our lesson. A regular lesson started here with a hello circle, songs, revision and the new langauge introduction. Later on, we would move to the big tables for the more serious work with the coursebook and handouts and we would go back to the small circle for the final game, story and song. This lasted a good few years, even after we moved to the primary and we stopped here only when my students, already A2 and as ‘mature’ as 8 and 9 y.o.
  • Think of the routine that you are planning to have and build it with your specific classroom in mind. Decide where you are going to do the hello circle, where you are going to have your storytelling, where you are going to sit during the focused task. After you have built it, stick to your routine.
  • Assign a corner or the area for the movement games. Perhaps the classroom is big enough and one of the corners can be kept empty. Perhaps it is not very big and you will have to move the small stools or the carpet out of the way to make room for the movement games.
  • The same applies to the storytelling corner. If the classroom allows for that, it would be great to have the space dedicated only to the storytelling activities. Ideally, that would be a carpet for the kids to sit on and a chair for the teacher, to sit slightly above the students’ level. If there is no carpet, the kids can also sit on cushions or on small mats or even the foam puzzle pieces which are easily stored and can be dealt with by the children themselves. Having said that, I have also been teaching in the classrooms where the only option was for us to be either sitting straight on the floor, under the board or sitting on the big chairs in a semi-circle around the teacher.
  • As regards the focused task, it is normally done at the big desks / foldable tables or at a small table that the teacher puts out in the centre. The small table means that we have all the students around us but it is not going to work for groups bigger than six. Everthing becomes very crowded all of a sudden, as soon as the sixth student comes. Using two small tables mean more work and time invested in setting them up and if they are round tables the teacher spends the entire focused task looking to the left and to the right, back and forth. With larger groups, it is almost better to use the adult seats.
  • Think how you are going to store your resources and your materials. Sometimes scissors and crayons will have to be shared with the other teachers at the school (and hence stored in the teacher’s room), sometimes you will be able to keep them in your classroom. Think of a safe space that is not within the children’s reach ie the higher shelves of the cupboard, a locked-up cupboard etc.
  • Decide where you are going to keep your things and resources for the lesson such as crayons or markers, handouts, flashcards for the lesson. Please use the same place and make sure you establish with the children that they are not allowed to touch anything that is on the table. It might help to keep everything in a box (as it can be easily lifted to keep it away from the children), it is easy to store and it makes cleaning easy. What is more, if you keep all your resources in one container, you gain a lot of flexibility as all your toys are there, in case you need to change your lesson plan. I have had groups with whom I had to keep all my resources in my rucksack, zipped shut in the begining of the course.
  • Decide where you are going to put all the kids’ stuff such as their bags and books (which you are not going to use at all times during the lesson and for that reason it is better to keep them in a special place ie on the window-sill, on a special table etc) or even the kids’ jackets and boots. Sometimes it is possible to hang them outside, sometimes they will be hanging in the corner of the classroom. Make sure you keep your activities away from that corner
  • It is good to have at least one noticeboard where you can display your students’ work. It can be a noticeboard in the classroom but it can be a noticeboard in the hallway, too. I have had classrooms in which the door was the only available space and we used to put up pictures there using blutack.
  • Try to make the classroom child-friendly. Perhaps it is possible to decorate one of the corners of the room with the colourful kids’ posters or to decorate the windows with snowflakes or colourful leaves in winter and in autumn. Even if there is cupboard or boxes with toys, by bringing just one puppet, your class assistant, you can create great atmosphere in the room and make a huge difference. If there are more toys, it is a good idea to have a container for them, a basket or a box, in order to be able to keep them stored (and out of sight) when you don’t need them.

Here you can find the other two posts in this mini-series: on the classroom that is used only by the VYL students and their teachers and about the classrooms in kindergartens. This last post also includes some bibliography, if you would like to read more.

Happy teaching!

A VYL classroom. Part 1: Our little pre-school kingdom

This is my beloved classroom, mid-planning

I have decided to write this article inspired by my trainees on the IH VYL course and to collect, in one post, everything that I have learnt about a classroom that is appropriate for the lessons with the EFL preschoolers.

This post was meant as a short, one piece (emotionally-loaded, perhaps) description of a classroom. But then, as soon as I started writing, I realised that there is a lot more to say and that I myself have worked in so many different places that were made into VYL classrooms that, abracadabra, three posts came out of it. The other two can be found here: about the regular classroom that becomes a VYL classroom and about teaching in kindergartens

Well, enjoy! And if you have any other ideas to add, there is the comments box!

Case A: Our pre-school kingdom

This is a classroom in a language school that was set aside for the lessons with pre-schoolers. The furniture has been bought for the little people and there are no big tables or chairs. There are no other classes than those with pre-schoolers.

Advantages

  • The classroom is used only by the pre-primary students and teachers and all the furniture and the design can be adapted to the needs of the students.
  • The classroom is safe.
  • The room can be fully decorated in a child-friendly way, even if it is not all done at once, the elements can be added to it step by step.
  • There is plenty of room to display the kids’ work
  • It is easy to store resources and they are all at hand which gives the teacher a lot of flexibility while already in class.
  • The students feel comfortable in class and it is much easier to build up the routine.
  • With some investments, there is a lot of potential for some interesting solutions such as educational carpets (yes, in English!), lines painted on the floor that help to divide the classroom into sections (or just a hop-scotch grid that is always there, l saw it once in a classroom at IH Bucharest), wall hangings that now come with some of the coursebooks and can be left on the walls and so on.

Disadvantage

  • I cannot think of any, sorry)

Solutions

  • Have a look at the classroom before the lesson and figure out how you can make it fit your aims and ideas. Do not worry if at the start of the year you do not have a clear idea of what you want your classroom should be like. There is always room to experiement, to try new ideas and to improve the classroom, based your research, ideas or the group that you currently work with.
  • Make sure that the classroom is safe. Look out for the sockets, sharp edges, anything that is not stable or sticking out. There are easy ways of making the place child-proof ie moving out the furniture, swapping the classroom, getting the socket plugs etc.
  • The routine and the classroom go together and one can influence the other. They can also change through the year.
  • My dream classroom actually does exist and everything that I am going to include in this section of the post is based on a real experience.
  • My classroom is a rectangle and it has been divided into three sections: the carpeted area with a set of small chairs in a circle, a circle of small triangular tables arranged in a circle in the middle and another carpeted area by the window.
  • We start the lesson outside of the classroom. I am a huge fan of lining up. Kids walk in one by one, they put their books on the table, at their seats and then take a place on one of the chairs in the hello circle.
  • Afterwards, we move to the carpet by the window and this is where we study, we revise and play the flashcards games and this is also where we get up to do our movement games. We used to spend more time in the circle but then, last year, my students started to suggest, more and more frequently, to go to the carpet and that is exactly what we did. Now we spend there a lot more time. One of the reasons for that might be the fact that we got a big TV that hangs on the wall by the window. In order to make sure that we don’t sit too close to the screen, I put a piece of painter’s scotch onto the carpet and this is the line behind which we always have to sit while we are watching anything on the screen. Here we also do all of our movement games.
  • Afterwards we move to the tables in a circle and this is where we work with the book or the handouts. This is where we write and this is where we do craft.
  • The lesson finishes on the carpet that is also our storytelling corner. Sometimes our story is a video and in that case we sit in front of the TV. Sometimes it is a storybook with me sitting on a small chair and the kids sitting in a semi-circle on the carpet.
  • We finish the lesson on the carpet, too. We sing a song, talk about the homework and choose stickers.
  • In the corner of the classroom, there is a bookcase and on the shelves we keep the most immediate resources such as markers, scissors in a closed box on the top shelf, glue in another box, crayons, our notebooks and two big boxes with dice, blocks, plastic toys. I don’t have to share them with anyone else, these are just used by the little kids. Outside of the classroom we have to cupboards, too and a chest of drawers for flashcards and all the other things we might need.
  • My resources for the lesson, for my groups are kept in three different baskets. I keep there flashcards we are using currently as well as few other sets we revise as well as our favourite games, dice, etc. The children do not touch them, mostly because they are too big and we have learnt on developing the idea that this is Anka’s basket and we do not touch it. Keeping things in a basket also makes it very easy for us to be moving around from the circle to the carpet and to the table etc. In the past, we would move between two or three different classrooms in one lesson and the basket was superuseful then, too.
  • I have three little tricks, too. First of all, since our table is made of small triangular tables, I have some room in the centre and this is where I put a stool. This is where I leave all the materials for the focused task for the lesson. The small tables are also very easy to be moved apart which makes it possible for me to enter the centre and sit there, having all my kids around and all the resources at hand.
  • There is also a small cupboard under the table and I use it to keep a selection of storybooks, coursebooks and posters which I can use in class.
  • And since the same cupboard has a small section underneath, a section that I can close and that is why it is used to hide all the secrets and surprises
  • I display the kids’ work on two noticeboards in the classroom but also on the noticeboards in the hallway.
  • There are no toys in the classroom. We are lucky enough to have another small room where kids can play before or after the lesson and this where we keep all the toys.

Happy teaching!

Your 10 basic flashcards games

One hundred.

It is the number of things in which you can manipulate the set of flashcards during the lesson and call it ‘a game’. That means that to teach, to introduce and to practise, to have fun and to change activities fast not to lose kids attention you really only need a set of flashcards and a table or a carpet. No more.

That means that you can mix and match, engage the kids and keep them involved for hours on end. Almost.

But before I take on the challenge of typing all those 100 up, here are the staple ten. The basics of the basic, the everyday. Five to practise receptive skills and five to focus productive skills.

Imagine that you have drilled all your words already (this will be another post, too!)

1. Finger up! (group)

Put all the flashcards face up on the table. Ask the kids to show you the indicative finger and put the hand up. This will be your punctuation mark here. Say ‘Finger up’ and all the kids and the teacher put their hands up, with the indicative finger out. Say ‘Touch the banana’ and encourage all the kids to lower their hands and put the finger on the banana flashcard. Then again say ‘Finger up’ and repeat with other words.

It is a great game especially for the beginning of a new unit or the beginning of the course as the kids will be basically following what you are doing and doing the same thing at the same time.

Variations: You can include different verbs i.e. pat the bananas, scratch the bananas, knock, stroke, etc.

Production: After a while, regardless of the variation, you let them lead the game and they are…producing!!!!

2. Yes and No (group)

Put all the flashcards face up on the table or on the carpet. Use your favourite punctuation mark. Point at one of the cards (banana) and ask ‘It’s a banana.’ ‘Yes?’, when kids start answering, by nodding or using their L1, provide the English word ‘Yes!’ and encourage them to repeat. Don’t forget to nod your head here. Point at another card (grapes) and ask ‘It’s a banana’ Yes?’ when the kids start answering, provide the English word ‘No!’ and encourage them to repeat. Don’t forget to shake your head. Repeat with the other words. The first time you play, it might be a good idea to use only singly words, to make sure that the rules of the game are perfectly clear but you can quickly start using full sentences, in singular and in plural, to model the language. There is no need to make things overtly simple.

Variation: Depending on the topic, it is a good idea to use the structures, too, for example with fruit: I like bananas (and picking up the banana flashcard), clothes: I am wearing jeans (picking up a t-shirt), I’ve got a kite (toys flashcards or pets) etc. This way they are not only going to learn to recognise the key words but they will be practising listening for detail with more challenge and getting a lot of exposure of the target language.

Production: After a while, regardless of the variation, you let them lead the game and they are…producing!!!!

3. Apple, please (group)

Give out all the flashcards, one per child. Use your punctuation mark and say ‘Apple, please’. Reach out your hand, towards the child who is holding the apple (if you can see who it is😊). After you have received it, say ‘Thank you’ and ask for another fruit. After a few rounds, add ‘Here you are’, too.

Variation: If you have a big group, you can ask for two words at the same time. Using a full question form is a good idea, too ‘Can I have an apple, please?’ All the flashcards on the carpet or on the table, and with calling the kid’s name to ensure that everyone gets a chance to play and that they don’t fight over cards.

Production: After a while, regardless of the variation, you let them lead the game and they are…producing!!!!

4. The duo (individual students)

Sit in a circle, put two cards on the carpet ie a banana and an apple, in a place where everyone can access them. Say ‘Masha, it’s a banana’. Masha picks up the banana flashcard and puts it away. Add another flashcard so that there are always two ie an apple and a pear. Say ‘Katia, it’s a pear’, Katia picks up the pear card and puts it away. The teacher adds another card etc.

Variation: You can change and vary the structures, even with the same set of flashcards i.e. with fruit: it’s a pear, I like pears, I don’t like pears, pears are green and so on. You can also ask the students to leave the flashcards that corresponds with the sentence and take away the incorrect one.

Production: After the kids have learnt how to play the game, nominate two students, they make simple sentences for each other. Then, another pair etc.

5. Get up! (pairs or trios)

Give out the flashcards to students, one per person. Go around the circle and call out all the words, one by one, slowly. Use your regular punctuation mark for starting an activity* and play the game. Call out two of the words (‘banana’ and ‘apple’) and motion the kids to stand up in the circle. Praise them and ask them to sit down. Call out two other words, wait for the kids, praise and ask them to sit down. Repeat with any combination you see fit. Then start calling out three words or even four. Kids listen and get up.

Variations: If it is a revision activity and they know the vocabulary, they can be holding two or even three cards.

If they already know a structure, instead of using single words, the teacher can use them in a structure, either very simple and generic ‘I can see a banana and an apple’) or something more connected to the set of vocabulary that you are practising ie I like bananas and apples.

Instead of getting up, the kids can also raise a hand, stamp their feet or clap their hands.

Production: After a while, regardless of the variation, you let them lead the game and they are…producing!!!!

6. Open your eyes (the group)

Put all the cards on the table or on the carpet, encourage the kids to call out all the words. Say ‘Close your eyes’ and make sure that they all cover their eyes, turn over one of the cards. Say ‘Open your eyes’ and call out all the words, in the end point at the card that has been turned over. After they guess, make sure everyone says the word out loud. Repeat.

Production: Let the kids take turns to lead the game.

7. Mime it! (whole class)

Very easy if you start preparing kids for it while introducing the vocabulary and helping them associate each word with a gesture.

Pick up one of the flashcards, say ‘3…2…1!’ and show the word for the kids to guess. Encourage them to produce a full sentence i.e. ‘It is a cat’. Let the kids lead the game as soon as possible!

Variations: If you have introduced some of the simple adjective you can start miming sentences. Pick up two flashcards (differentiated either by colour or size, to make it all go smoothly), say ‘3…2…1’ and mime the adjective and then the noun. Kids produce the sentence ‘It is a funny cat’ etc and it is quite likely that most of the sentences will be a bit ridiculous (but memorable).

8. Merry-go-round (group)

Start with one travelling flashcard. Have the kids sit or stand in a circle. Give the student on your left one of the flashcards, encourage and motion for them to pass the card to the student on their left. Let the card travel, then say stop and ask the student who is holding it to say the word out loud. Repeat a few times for them to get used to the idea.

Start the game all over but keep adding cards so that there are a few of them travelling. Say stop and have the kids call out the word they are holding at the moment.

Variations: There is a lot of potential for producing full sentences as soon as the kids get the idea and the key structure used will be related to the vocabulary, i.e. ‘I like’ with fruit, ‘I am wearing’ with clothes, ‘I can’ with verbs, ‘I’ve got’ with pets or toys, ‘I go to school by’ with transport etc.

This is also a great opportunity to teach the kids the word ‘nothing’.

9. Disappearing words (whole class)

Put five flashcards in a row, on the floor or up on the board, go from the beginning and call out all the words. Ask the kids to close their eyes and turn over the last card in a row. Call out all the words from the first one, in the same order and when you get to the last one, pause and wait for the students to say / shout / whisper the last word. Check quickly if they were right, show the cards to the kids, put it up covered again.

Ask the kids to close their eyes and turn over the last but one card. Ask the kids to open their eyes and call out all the words starting from the first one. When you get to the last but one, pause and wait for the kids to say the word, then the same with the fifth one. Proceed until all the words are covered up.

Variation: To help the kids remember, you can use a different gesture for each card, it can be either something related to the meaning of the word ie by miming the words or something that will help them remember ie knocking at the card, snapping, touching, clicking fingers, stroking it.

If you teach a big group, you can divide the class into two teams, one team will be holding the cards, one each, the other team will be guessing the words.

It might be also a good idea to use a full sentence ie I like to eat bananas, apples, peaches, plums and grapes, instead of single words.

10. Secret word! (whole class, pairs)

Revise the flashcards that you are going to be playing with so that the kids have a chance to become familiar with the images, the set of words and the colours. Then hold the flashcards to your chest. Ask ‘What’s the secret word?’ and model ‘Is it a kite?’ ‘No’. ‘Is it a doll?’ ‘No’ etc.

Variations: When they are playing the first time, they are quite likely to give you only separate words but it is worth encouraging them to produce full questions. You can either use ‘Is it…?’ or ‘Have you got…?’

Production: After a while, the students are given a chance to lead the game, first a student vs the rest of the group, later on in pairs, too.

*) ‘Punctuation marks’ are all the signals that the teacher uses to announce a start of a new activity. It can be clapping of the hands, it can be counting down from 5 to 1, it can be a bell, it can be snapping your fingers, it can be a chat ‘1, 2, 3! Eyes on me!’