I decided to put all of these together in one post and share them here in case someone is looking for some try and tested activities. Some of them were done as part of our Art Explorers afternoon club, some were done in class, some were even completed during the long break and we made them just because some students (mine and not mine) wandered into the classroom with ‘Miss Anka, can you give us something to do? You have many interesting things here.’
Meaning? They can be turned into a real, productive lesson, with additional vocabulary and activities and song or they can be the add-on to some regular classes that simply take place in December. It is up to you, dear teacher.
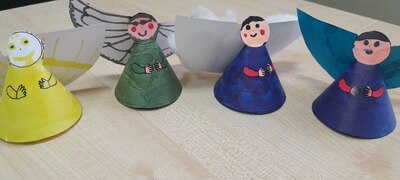
Little angels
My, oh my, this craft activity is about ten years old. I have not invented it myself, I saw it somewhere online or in a book ages ago and I loved it so much that I decided to make my own template. Imperfect as it is, it works and the final result is still pretty. You can find the template here and some basic instructions are included there, too.
You can use some cardboard (if it is thin enough for your printer) but the majority of the angels we made were printed on the regular photocopying paper and they are all pretty and amazing. There are four main elements to be drawn and coloured: the face, the clothes, the wings and the thing that the angel is holding (and these can be also the four main elements that the kids are talking about in the end: I am happy, I am wearing, I’ve got, My wings are..) before the angels are cut up. Cutting is actually the one tricky element and for my youngest students I draw the coloured lines where they should cut. For the youngest of them or those who need help, I was helping with cutting the tricky bits.
In the end, the angels can also be decorated with the glitter glue markers or with the cotton which can be glued on the wings. The finished angels can be hung on the tree or they can stand on the shelf.
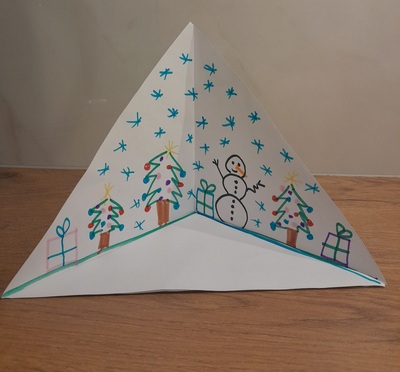
Christmas cards
I really wanted us to make the cards that can be given out to teachers, friends or parents and that is how this craft made an appearance. It had to!
There are many many templates for a card and many of them for the specific simple triangle Christmas tree silhouette, like this one here, but I got really inspired by my own friend, Jill, who made those with her son. However, instead of using scotch to form the triangle (I know my scotch likes to stick and destroy the surface), I cut out simple silhouettes in cardboard cards (destined to be destroyed or recycled).
I showed the kids the finished cards, we prepared the working space (the silouettes over the cards) and started to work on our trees. We used a variety of materials: regular markers, acrylic markers and crayons and pencils. Then we took off the silouettes and finished the cards with the glitter glue markers.
The finished cards that you can see were created by a mixed ability group, some were 5 years old and some were almost 9, some were made by everyone in-between!
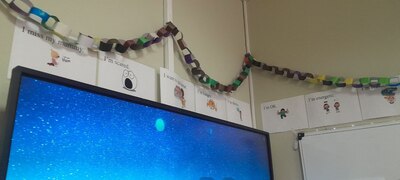
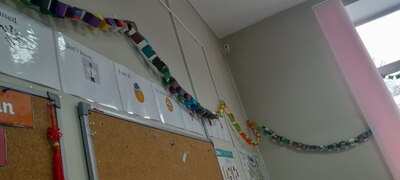
Christmas garland
It has been a few years now, since I use the garland making as the whole class team building activity. What you need is a lot of glue sticks and lots and lots of strips of paper but because of the task and the volume, here, literally: ANYTHING WILL DO: coloured paper, photocopying paper, ready to be recycled photocopying paper, old newspapers and glossy magazines, all of it, as long as it is cut up into strips.
Modelling is easy, just showing the kids how to make hoops and how to connect them. Then the kids should be divided into groups, if they want to, or allowed to work on their own. This is good, because everyone can work in their own way and at their own pace and what matters is that, in the end, all of the pieces will be connected together to decorate the classroom.
It is a lovely bonding task with the aim (to decorate the classroom) that unites the whole group. I normally do it within a group but in the past I also did it as a cool end-of-the-lesson activity during an open lesson, with the parents helping out and one year, we also did it as a whole school competition, with a time limit for each class. Later, of course, we had meters and meters of garlands to decorate the whole school. Highly recommended!
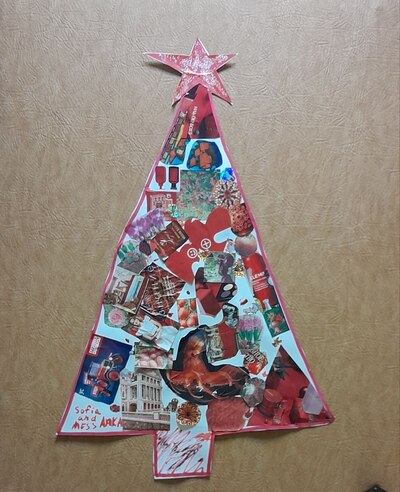
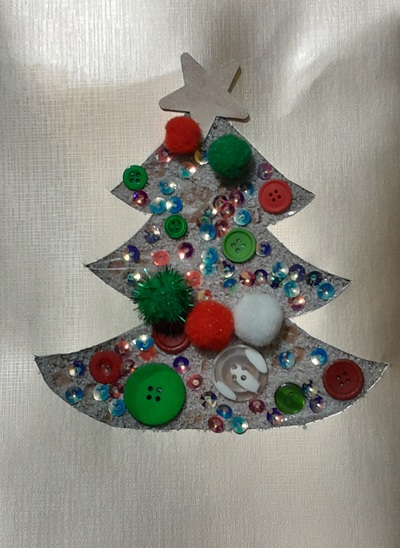
Christmas tree
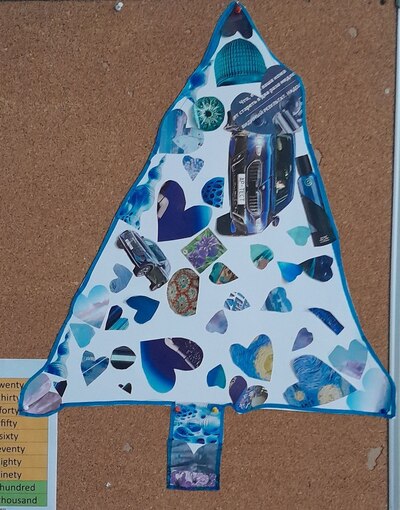
It was last year that I found out about the love that Andy Warhol had for Christmas and it was last year that I fell in love with the Christmas tree that he created. We followed suit and made our own last year and you can read about it here.
This year, I decided we would do it again but this time as a team effort. The task is not a small one and it takes time to decide on the theme, the colour and then look for and cut out and assemble the pieces (especially if you really want to stay within your theme), even if your tree is not very big. For that reason and to help build social skills in the group, we went for pairs. Truth be told, I also wanted to have a few trees to decorate the room…
Here are our beautiful trees, the one in red and the other one in blue. We will be making more with the younger group on Monday.
Christmas Marker Printing
This is to prove that marker printing can be adapted to any season and holiday! This year it happened only because the kids asked to do it during the break. We did.
You will need: permanent markers, regular markers, tinfoil, scotch, paper and sprinkler to do it and the more detailed instructions can be found here, in the November post on printing.
Here only a few photos (that I will add on Monday).
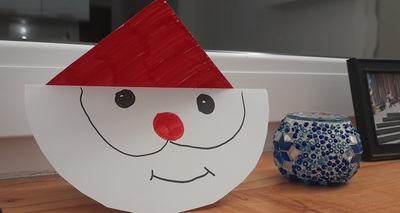
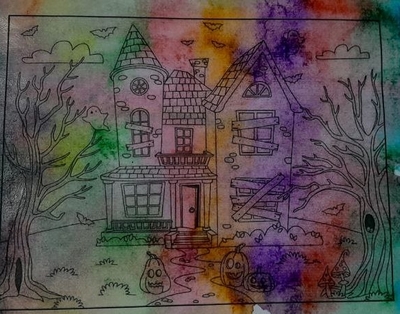
Christmas in style
Here is another lesson we had in December, devoted to style and Christmas symbols, easy and fun! I do recommend.
To be continued next year!
Happy teaching!