Crumbs #8: Storytelling treasure hunt

Instructions

  • Prepare a set of vocabulary sets for example: characters, adjectives, verbs, places, objects and animals, one, two or three per team of students. Cut these up and put them in the envelopes. I have used a set like that one here.
  • Prepare a treasure hunt around the classroom or the school. Students will walk around the school, as a whole group, they will be looking for the clues. At each station, they will collect their words, for example station 1: a character or two characters, station 2: a verb or two verbs etc.
  • Divide the students into pairs or groups of three.
  • Go on the treasure hunt, collect the cards.Take a set for yourself, it will come in handy for modelling and giving instructions in the second part of the activity
  • Once back in the classroom, let the kids sit with their partner. Check out that the kids have all the cards, ask ‘Have you got a character?’ and let the kids call out their words.
  • Explain that all these words come from a story. Tell your story using all your words. The structures used will depend on how advanced the students are. With my A1 students, we used only Present Simple and Present Continous.
  • It might be a good idea to write the key structures on the board, to support production.
  • Students are asked to work in pairs and prepare for telling their story.
  • Students tell their stories to the rest of the class.
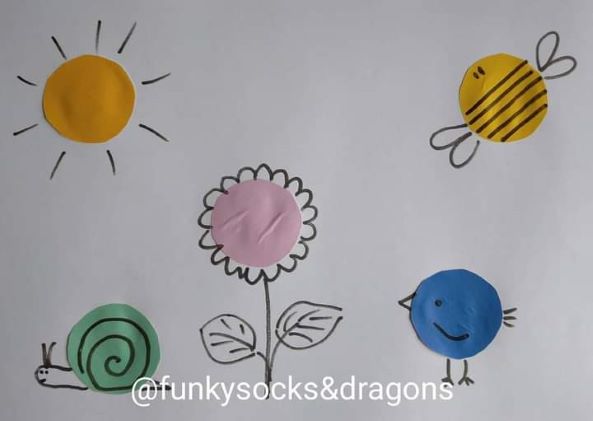
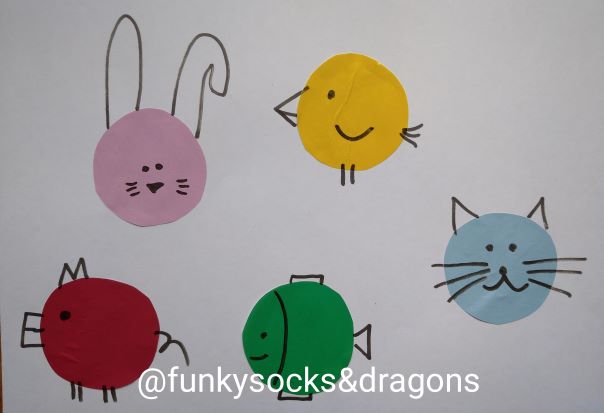
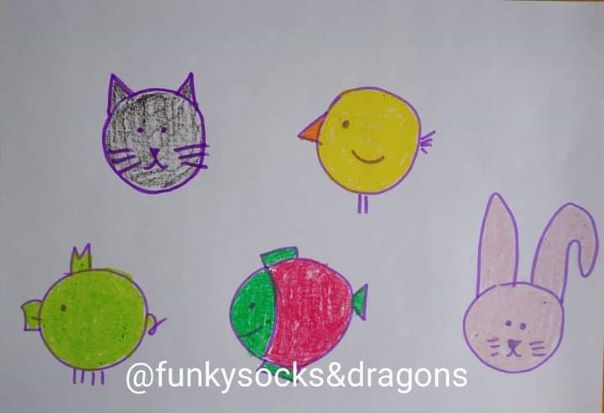
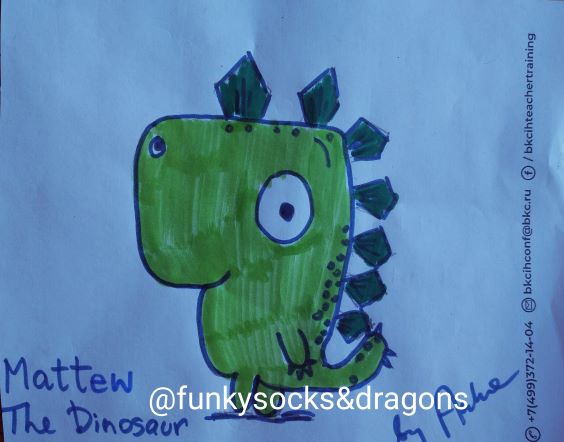
  • For homework, students are asked to draw their character(s) or an illustration to their story.
  • In the following lesson, they show their pictures and talk about them. All the pictures are put on display in the classroom.

Why we love it

  • The treasure hunt was an adventure in itself and it gave us an opportunity to use preposions of place in a real context and to practise our reading skills.
  • The students were given a chance to work in pairs and giving them the time to prepare really made a difference. The basically told the story twice, first in pairs, while getting ready, then once more while retelling the story to the rest of the class.
  • All the cards were displayed on the table and while telling the story, we were putting the cards back into the boxes in which we were collecting them during the treasure hunt. This small trick added a small kinesthetic element to the story and it helped them to remember to use all the words.
  • The treasure hunt element can be skipped and the cards can be used on their own. It will definitely minimise the preparation time. The cards can be re-used, too and students can choose their own characters, objects, verbs etc.
  • In the future, when the stuents become a lot more comfortable with the format of the task, I would want them to mingle and tell and retell their stories in pairs, to ensure that everyone is producing the language.

Crumbs #7: Line up, everybody!

Today about a little and very un-revolutionary change in the routine that has, nonetheless, made a huge difference to my VYL and YL classes.

Instructions

  • Make sure the door to your classroom is closed and that the children wait for the lesson outside.
  • When it is the time to start, come out and line them up, perhaps with the parents’ help in the beginning, until they get used to the new routine
  • Wait for them to be ready, say hello to everyone and count together how many students are present
  • Say hello to the first student, ask how they are, let them into the classroom, wait until they book the books and bags away, choose their seat and sit down.
  • Let the second student in.
  • If setting homework is a part of your routine and programme, this is when you can check the homework, asking each student a few questions about it.
  • If there is no homework, this time can be devoted to a short individual conversation with each student. It can be a short revision of the vocabulary, talking about a picture or, if the students are already in one of the primary levels – some reading practice with flashcards or a few questions about any material covered in class. We often use it for practice with ‘Tell me about…’ with the use of a picture.
  • When the students get used to the first part (entering the room), you can add the second element and make sure that the students already sitting in the classroom are occupied, too. They can either play a simple guessing game if this game has been practised in class and if they have been given a set of flashcards. They can also play some games on the phone or the tablet, for example to practise reading with phonics. Again, they have to first to try it under your close supervision, to get used to taking turns etc.

Why we love it

  • It helps to introduce the order from the very start of the lesson since the kids are not waiting in the classroom and the teacher’s arrival is not an interruption of something that they are doing.
  • It is obvious who is responsible for the students during that time, the teacher’s take-over is clearly marked. It might not be as obvious if the kids enter the room during the break or before the teacher, especially if the teacher wants or has to spend the break time outside of the classroom, for whatever the reason.
  • The parents are of a great help in the beginning of the course, they can help explain what the kids are supposed to do, they can help with the name etc.
  • This part of the lesson is a fantastic opportunity for the 1-1 conversation with each child. Regardless of whether the teacher uses this time to check the homework or to ask and answer questions or to read, they are giving each child all their attention (almost all, the eyes at the back of the teacher’s head are watching the kids already in the room, of course:-) and they can check the progress and language use.
  • For the parents, this is a wonderful opportunity to find out how their children are interacting in English, without the parents’ supervision and this is how they can, indirectly find out about their child’s progress, before every single lesson if they wish to do so.
  • For the parents, this is also a chance to find out how the homework handouts or materials are used, what questions the teacher asks and how much language can be generated out of a page that, to the untrained eye, looks like a simple colouring page. If they want to and they have have the time, they can later use this knowledge to practise English at home.
  • In the beginning, when the children are just getting used to the new routine or if they are really young, this part of the lesson can be kept short, later it can be made longer. Similarly, in the begining, the T leads the activity but, later on, the kids can ask each other at least some of the questions, too.
  • I have been using this technique for about six years now. My first ever group for which this has been created (because there were ten of them and we hardly ever got to talk 1-1 in class), now in the third year of primary, still line up to chat with me on entering the room. I have been using it with my pre-primary students, too, groups and individuals, too. The parents always wait in the hallway, at the back of the line and they always wait to hear how their children talk to me. If they leave the school, it is only after their kids have walked into the classroom. They always wait and not because they don’t trust us/me but because they are curious and want to know how it goes.

Happy teaching!

Crumbs #6 The easiest craft in the world aka Don’t you just love a circle?

Level 1 – 3 Pre-primary: In the garden

Instructions

Get the coloured paper ready. The basic photocopying paper will do but for a more sensory experience paper with different thickness, texture or surface.

Cut out a pile of colourful circles, about 3 cm in diameter but if the kids are really small it is better to make them a bit bigger, they will be easier to handle.

Prepare A4 sheets of paper on which you are going to stick things, glue sticks and markers that you can use to draw on your paper.

Choose a circle, glue it onto the paper, decorate it so that it resembles what you want it to resemble. Use simple instructions while demonstrating (‘Glue’ ‘Turn over’ ‘Stick’ ‘Draw). Give out the paper, the glue sticks and the first circle. Monitor.

Proceed with the following circles.

With the older students, it is fun to let the children decide what their circles are. And then learn the new words – whatever they draw.

Don’t forget to talk about your pictures, count all the blue circles and all the butterflies))

Level 1 Pre-Primary : Pets

Why we love it

  • It is super easy to prepare and to complete.
  • There is no set duration of the task. It can be kept very simple and short, limited to only three items or extended to six or seven, depending on the age of the students, level, motor skills development.
  • It can be easily made more or less challenging by grading the level of complexity of the drawings.
  • It can be adapted to many different topics. I have used it with the topic of shapes (focus: circle), spring (accompanied by the KidsTV123 song ‘In the garden’ https://www.youtube.com/watch?v=RCClYcU97PA) and in the beginning of the course with level 1 to practise the first colours.
  • It helps to develop cognitive skills (perception: noticing the shapes in the world around us, transforming the shapes into things we know etc)
  • If there is no time to cut out all the circles (or if the teacher has not done many craft activities and wants to start with something not as complicated), a template with circles can be used instead. In this case, the kids will only draw and colour.
Level 1: Pets, no-glue template
Assorted circle-related randomness
Assorted circle-related randomness part 2
Level 1 Pre-primary: Colours (lesson 3 of the course)
Christmas edition (the puppy is here because this is my student’s favourite thing:-)

Happy teaching!

Crumbs #5 End-of-course Goodbye-Letter

This is one of my favourite end-of-course activities for all young learners.

Instructions

You need a piece of A4 paper per student. You can use regular white or colourful photocopying paper.

Write the names of the students on the sheets, one per student, and put them up in the hallway, ideally at a distance from each other. Have a card with your name, too but keep it in the classroom. It will be used for demonstration.

Show your card and tell the students that everyone has a card like that in the hallway. Explain that they are going to walk around and write something for everyone.

If necessary, pre-teach or revise some language, for instance ‘You are…’ and adjectives or ‘Thank you for…’.

Clarify the rules: a) we don’t come up to the card with our name, b) we write something for everyone, c) we can leave anonymous notes or we can write our names, d) we only write nice things, e) if we have nothing nice to write, we only leave a smiley

Give our markers, line up and go out. Monitor and keep an eye on the clock. This part of the task takes about 15 minutes with a group of twelve.

Ask the students to go back into the classroom and quickly collect the letters. Give them out in the final lesson.

Why we love it

  • It is a great opportunity for the students to read and to write something that they really care about and it is a great souvenir from the course, handmade and personalised.
  • The students have a lot of freedom and can write as much as they want or only leave a smiley in case they really have nothing to say.
  • This activity can be adapted to the level and age of the students. It can be done in the classroom, with the papers being passed from student to student, until they make a full circle and return to the owner and the youngest kids can only draw some simple shapes for example a smiley, a heart, a sun, a star and their name.
  • The first time I did this activity, I planned for the kids to re-write the letters before handing them out to the addressee but they stopped me (‘But Anka, this is much cooler and more beautiful!!!!”) and they were right!
  • I keep my card on the board but I don’t actively encourage the students to write something for me, too. Somehow they always do anyway))

Happy teaching!

Crumbs #4 Sheppard Software

Are you thinking what I am thinking?

Does the name in the title look to you like the most uninspiring name and something that in no way could be related to teaching English to children or to children in general? Yes, same here.

Sheppard Software is a perfect example of how a random name can be a perfect cover up for a treasure chest, full of amazing tools that will make a VYL and a YL teacher happy.

www.sheppardsoftware.com

Instructions

Go to https://www.sheppardsoftware.com/ but first make sure that you have at least an hour to kill. There is so much there that even an adult (who is definitely NOT a fan of computer games) gets glued to the screen and wants to try out and play and play and play. Now that you have been warned, you are ready.

The VYL teachers: start with the preschool section https://www.sheppardsoftware.com/preschool/preschool.htm and start discovering. You can find here some games to practice colours, numbers, alphabet, shapes and animals.

The primary EFL teachers: you can start anywhere. It will all depend on what topic you are planning to teach. The website has a lot to offer to anyone who is teaching CLIL, for example Maths, Science, Art, Geography, Chemistry, Seasons, History… If you don’t have any specific idea in mind, you may as well start where I started at the Food Chain Game https://www.sheppardsoftware.com/science/animals/games/food-chain/ and think of all its potential while having fun playing. Then, slowly, bit by bit start browsing through the other gems

All the teachers: do yourself a favour and start with the sound off. It is great that practically everything on the page has got the audio added on, instructions, noises for animals and so but I can tell you that even a tiny little movement of the mouse/ cursor on the screen can lead to a lot maddening noise, so beware and tread lightly.

We loved it because

  • It it is beautiful
  • It has a lot of potential for speaking activities.
  • It can be used to teach a great range of CLIL topics but it can also be used to supplement any vocabulary / structure lessons with primary and pre-primary, online and offline.
  • the games can be shared with parents after the lesson and the students can play all of them at home again (and again and again)

Crumbs (#3): SwitchZoo Online!

Instructions

Go to www.switchzoo.com/zoo.htm.

Demonstrate for the students how you create an animal: choose the habitat, choose the head, the body and the tail.

Divide the students into teams, let them create their own animals and then present their animals.

The kids who are listening can also be involved by asking more questions, ‘interviewing’ the creators and the animal, depending on their level of English.

Print screen and save the animals. They can be used later in a bigger project – creating a zoo, describing the animals, writing the stories about them.

Make your own using MiroBoard!

Set it as homework, ask the kids to ‘compose’ their own animals and introduce them in the following lesson.

We loved it because…

First and foremost, it is a lot of fun.

It is a great follow-up activity to any language lessons on animals, habitats, body parts of even mythical creatures.

It makes kids want to talk and write about their creations.

The website is also a great tool to learn about animals, biology and geography, climate, habitats. You can build your own biome, listen to animal sounds or feed different animals.

Happy teaching!

Crumbs (#2): Cool homework ideas: Make Beliefs Comix

Instructions

Go to Make Beliefs Comix website (https://www.makebeliefscomix.com)

Click Create Your Comix and just create. There is a range of characters, balloons, prompts, objects, masks and backgrounds…

Save, print, send to your email and share with your students to read at home.

Use it in class in the following lesson. The easiest, no preparation tasks might be simple questions (ie What did the unicorn do? Where did the unicorn go? What was your favourite place? Where would you like to go?) but there is a lot more that can be done.  

We loved it because…

We can focus on practicing what we are learning at the moment and the teacher include all the tricky phrases and the words that no one likes and no one remembers.

We can make it as easy or as difficult and as long or as short as we want.

We can print it, save it on the desktop or send it via email.

We can include our names, our class puppets, jokes and stories and because it is about us, we want to read it.

We finally like to read!

P.S. I tried to make it in class, with my individual students, too but it was too time-consuming. Perhaps there is some potential for students creating their comix on their own, at home but that is something to do in the future.

P.P.S. Make Beliefs Comix has a lot more to offer. Make sure you check out the other bits, too.

Crumbs (#1): Cool homework ideas: drawing classes

Instructions:

  1. Get a drawing tutorial, like the one from Rob Biddulph (#DrawWithRob).
  2. Attempt to draw your own dinosaur aka Gregosaurus aka Matthew.
  3. Bring it to class and introduce Matthew to your kids. Let them ask questions.
  4. Share the video with kids, let them draw at home, colour and get ready to talk about their dinosaurs.
  5. Set aside enough time for everyone to present their creations.
  6. Ask questions, answer questions.
  7. Have fun and marvel at the amount of language that generates.

We loved it because…

  • It is a lot of additional exposure and listening skills practice outside of the classroom
  • The video was created for kids, not the efl/esl kids but they can still do it.
  • It is the first step to production, in speech or in writing.
  • We can learn how to draw (we, the teacher)
  • It is an additional task but the kids feel really motivated to do it.
  • We had fun and we will definitely do it again.