The language
This time, I decided to let the topic and the language lead the way in all the lessons this month. On the one hand, it has already proved to be a great way of revising the structures we know (I like, Do you like, adjectives) and, even more importantly, it will help us aling what we know beautifully with our artists and their ideas.
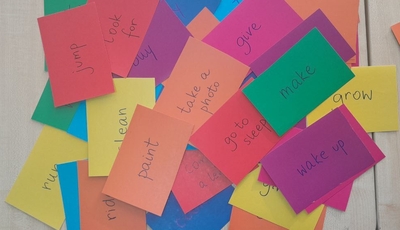
Andy Warhol and the idea for the lesson (that I owe to my friend, just like this whole idea for the series that was born during a conversation) was that instead of focusing on Andy, we focus on food and creating our amazing combinations of it. No suprise then, that the lesson had to include the amazing ‘Broccoli Ice-cream’ from Super Simple Songs and our own version of it, too, which we created with a set of flashcards. The kids were taking turn to pick out two flashcards randomly from the pile and sing a new version of the story (‘Do you like bananas? Do you like sandwiches? Do you like banana sandwiches?’). And the rest of us reacted.
The artist
‘Miss Anka! It’s him!’ It is precisely when the Art teacher smiles, upon hearing a comment like that! The kids were super excited to see Andy again because most of them have already met him, either in our Chebourashka lessons and our Christmas tree lessons or both.
This time, we invited Andy again, to introduce him as an artist and as a copywriter and the art director, too. As usual, I used a presentation (this one here) to show his advertising portfolio and the kids were calling out the products advertised.
We also looked at all the soup cans, read the flavours and chose our favourite one.
The art
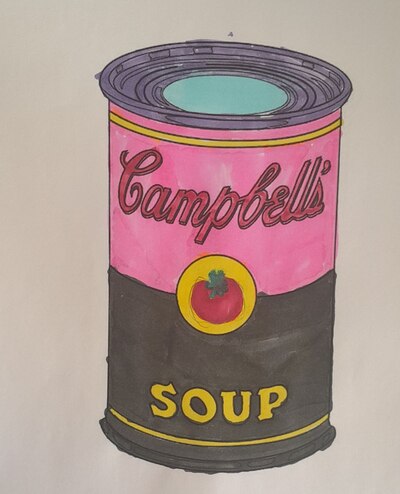
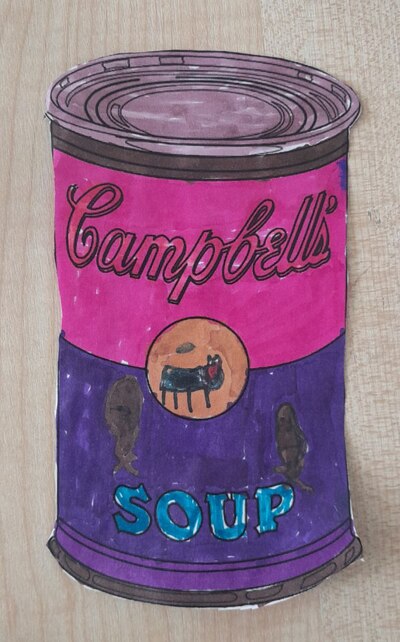
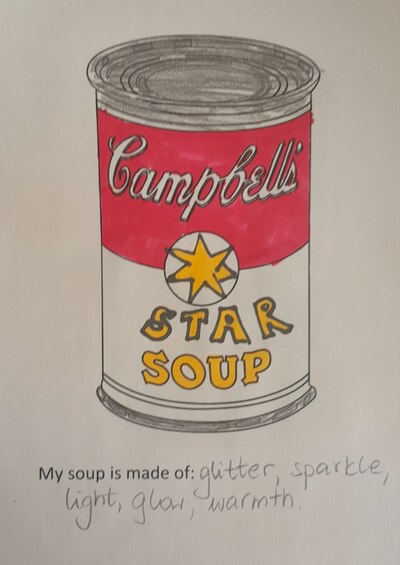
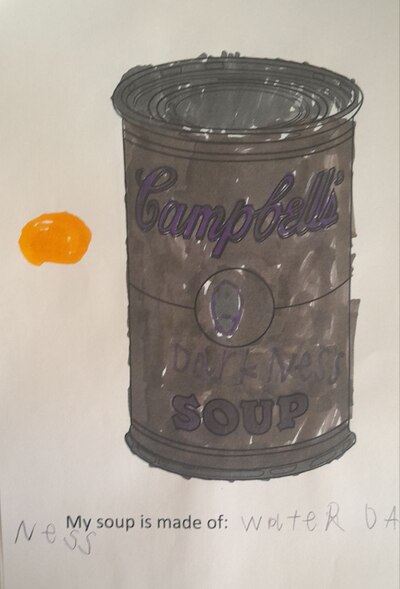
I showed the children the template of the Campbell soup can (I got mine from Fine Art Coloring Pages Archives · Art Projects for Kids, Thank you!) and explained that everyone can create their own. We made a list of all the decisions to make: flavour, name, logo, colours. This time I did not prepare my own model (I did not have a template available before the lesson, a rookie mistake) but I decided that this time we will have a chance to brainstorm together and that it might also be a source of inspiration for my students. It also so happened that I had my older / smaller group first so I prepared my soup cans with them and when I already ran the second lesson, with my younger / bigger group, I had lots to show to inspire them and it all worked out just fine.
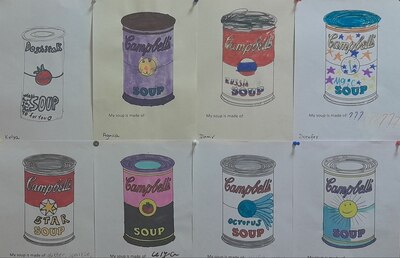
I was really happy because all the kids could accomplish this task and we had a lot of different types of soup posters and our noticeboard looks like a print by Andy.
All the kids worked very well, also the young ones and most of them had a very clear idea of what they wanted to get from the very beginning. The selection of colours took a bit longer but it was also beautiful to see how they were all coming together.
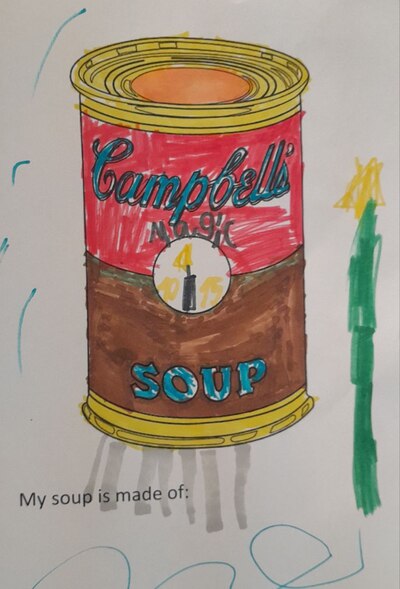
Not to mention that I love all the final products and, again, I could not but keep repeating ‘Oh, that is a lovely idea!’ My students treasured their creations, too! It was one of those lessons when I had to beg to at least get the permission to photograph the posters because so many of my students just snatched their works to take them home as soon as possible. At least I have the photos!
I was planning to ask the kids to make a list of all the ingredients but, somehow, it did not always work out. Next time, I will have to ask the kids to start with the writing, before we get to create properly.
But look at that! We’ve got some magic soup, some tomato soup, some garlic soup, some sun soup, some octopus soup as well as some darkness soup and some zombie soup. I am happy. I hope that Andy would be happy, too! Just look at all these colours!

Happy teaching!