The language
February is our month of food and fruit and this is what we focus on in the language part of the lesson. With my younger group we listened to a great song from the Singing Walrus and we used cards to guess the fruit and vegetables from the stencils. We did some drilling, too and we talked about whether we like them or not.
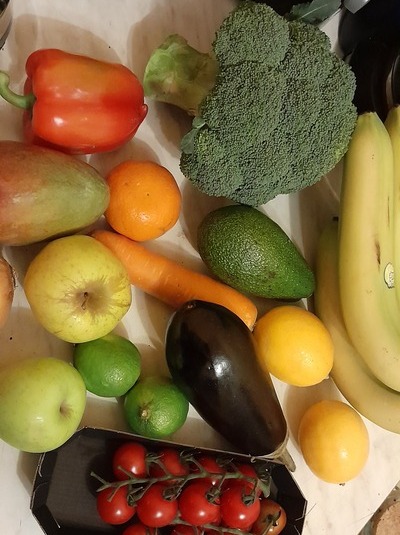
The older students needed a more advanced activity and for that I used my magic bag which, indeed, on the day was full of fruit and veg that I brought for the still-life installation. Kids put their hands into the bag and tried to describe the object they were holding using basic adjectives (big / small, hard / soft, smooth / rough, light / heavy). Despite the fact that some of the kids were as old as ten, they all did enjoy it. We also talked about the fruit and vegetables we like and don’t like.
The artist
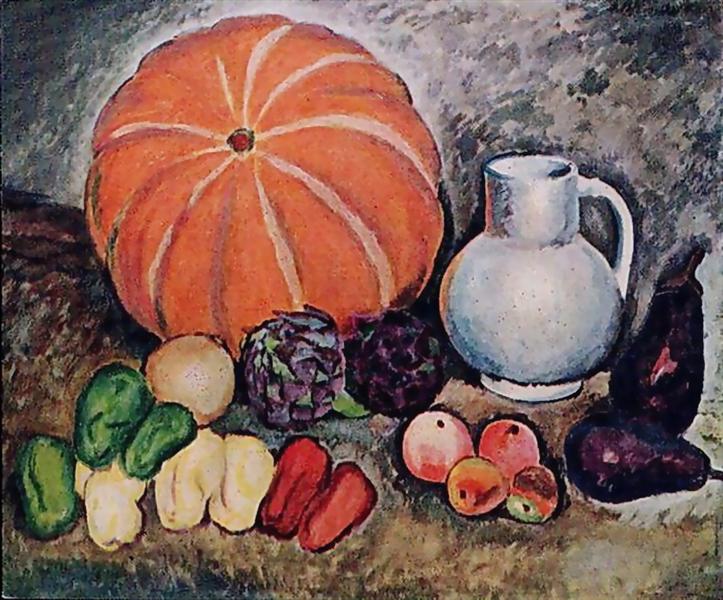
Our artist of the day was my still-life here, Ilya Mashkov. I have used his painting in my Art classes before and it was only natural that this time I would want to take it up to another level. I did and I am quite happy how it went.
First of all, we introduced the artist himself and his famous (in my opinion) painting ‘Pumpkin’. We defined what a still life is (‘a painting of things’) and we looked at a few chosen paintings by Mashkov. I put together a set of questions, inspired and adapted from the material online Essential Questions to ask about each still life photographs. My final, go-to set for this topic includes: What colour is it? What objects can you see? What shapes can you see? What is the biggest shape? What is the smallest shape? Is it light? Is it dark? Is it smooth? Is it light?, although in the lessons this week we have gone through only a few of them.
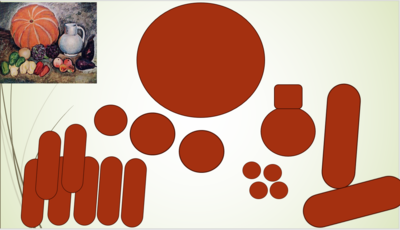
In order to prepare for our creative activity I prepared a special slide for ‘Pumpkin’ made entirely of shapes, one to represent every fruit and every vegetable. I was revealing them one by one and the task for the kids was to call out the object that they represent. In the end, I showed them the real painting and we checked our answers. I was a fun activity and it helped them the kids the basics of the composition of the painting and to prepare them for drawing.
The art
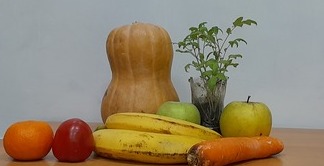
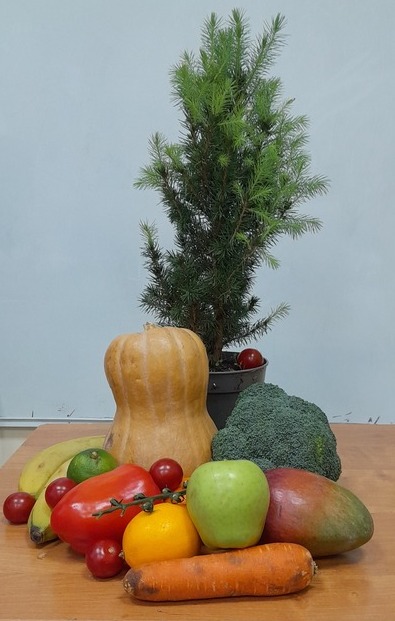
We started with putting together our installations and while I was the one responsible for arranging the items for the younger kids, my older group just took over the bag, the table and all the elements. And, it has to be said, not all the fruit made it to the table. Avocado and aubergine were not deemed worthy of our set. I accepted.
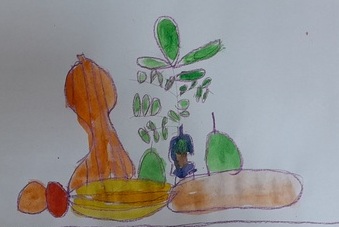
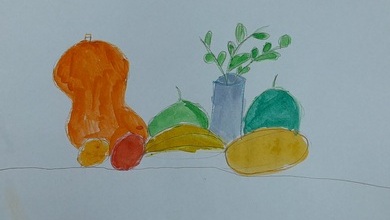
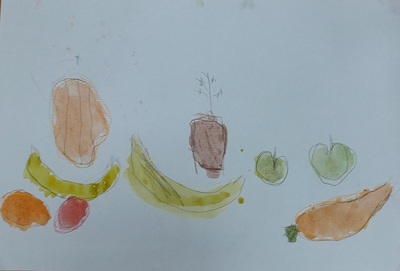
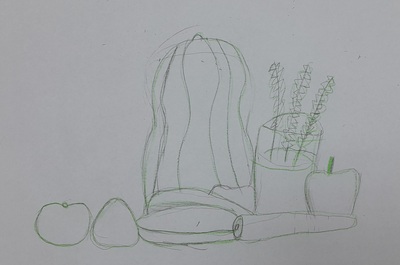
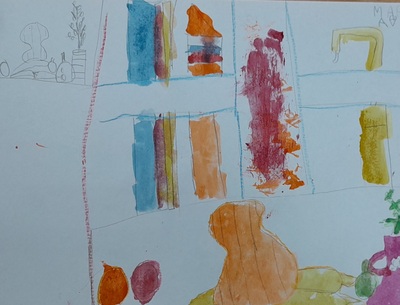
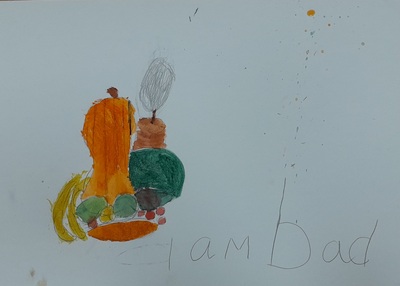
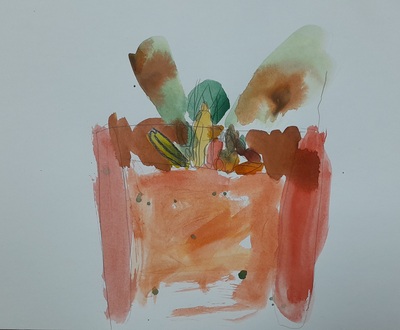
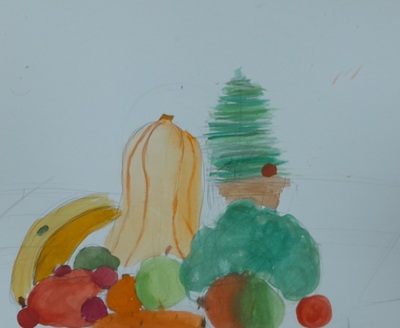
We outline the main stages of the lesson: 1. sketching with a pencil, 2. tracing the lines with crayons (one colour or a set of colours) and 3. colouring in with watercolours. I also showed my students the homework that I did before the lesson: a small still-life I painted at home and a photo of it, for comparison.
Since it was our first lesson with a still-life I did not want to invade too much and to direct the kids for example by guiding them in which order to draw the fruit. I wanted to let them try to face the task on their own and, also, to see what they can do. I was preparing my own copy and moving around, handing in the resources for each step (which also help with staging) and admiring what I was looking at. The only thing that I said to encourage them was something along the lines of ‘Don’t be scared, trust your hand. This is our first still-life. Let’s see how it goes’.
And guess what? It was beyond amazing. Some of my students are already very confident as regards drawing and they have a good eye for detail so I expected some good work but still they managed to surprise me, especially the little ones. They approached the task with curiosity, without fear and they were just working diligently on their paintings.
The only question left to answer is: What are we painting next?

Happy teaching!