Without any lengthy introduction, here are some things that you might want to get ready to help you create magic and to make sure that your EFL Kingdom is as amazing online as it is in the real world.
You will need…
….a way of managing the group, starting and finishing an activity
It is not quite about a rewards chart. First of all, not everyone is a fan of these (but that is a topic for another conversation). Second of all, you might not even need it with some groups. My kids have, for example, have grown out of it. They know what is expected of them and I can proudly say that this kind of external motivation is no longer necessary in their case. And, in case you still need it, Class Dojo will come to the rescue here.
….a way of rewarding your students.
What I was thinking about, however, was a way of showing my appreciation for their efforts, hard work and creativity. I can still smile, I can still clap my hands, I can show thumbs up or give a virtual high five.
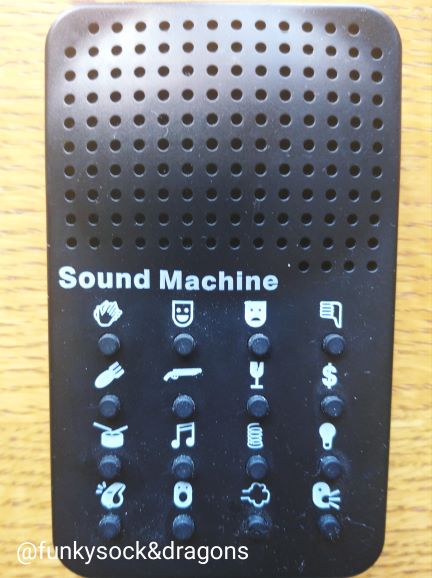
But, to make it more fun, you can also use a sound machine, with different sound effects and if you don’t have one, you can download your favourite sounds, free of charge, from one of the sound libraries, for example, zapsplat.com and use the sound of the cheering crowd to praise them or the sound of a crocodile growling to express your lack of approval in a fun way.
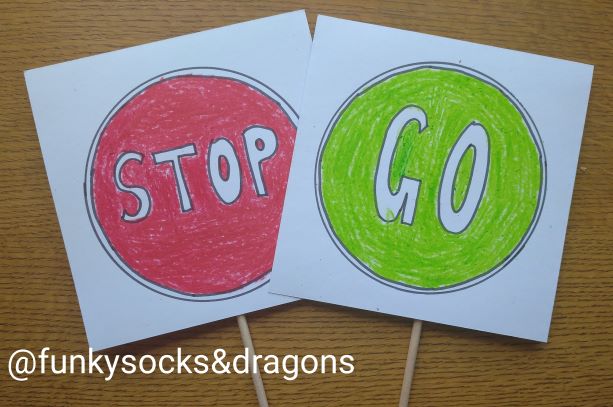
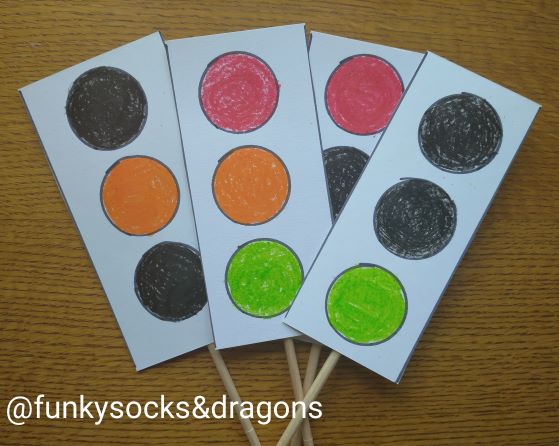
Some of the off-line tricks will still work here, 123 eyes on me or clapping your hands (to get their attention). As a virtual teacher you will also have the power of muting your students’ microphones to ensure that no one else is speaking but you (or, rather, that they can hear nothing else but you) but it still would be good to reinforce that with some visuals, too.
For that reason, I have prepared some road signs that we are going to use in our virtual class. They are pretty much universal around the world; the kids know them very well and you may have used them in the real classroom already. It’s best to start with a few basic ones, for example: Stop and Go, adding more with more specific symbols.
…a class puppet
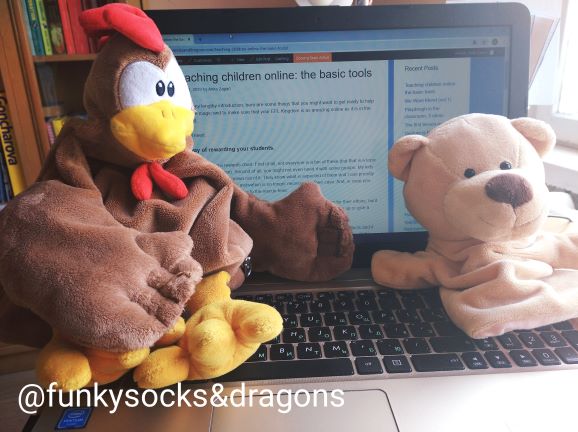
If you have used one in the real classroom, it will be good to invite it into the virtual world, too, even if the kids will not be able to hug it or to play with it. Even if you won’t be able to throw it and catch it in the Q&A session, like we do with our Flying Cow. It is good to have it because it will help you preserve the continuity and, especially in case of the younger children, it can be very useful with getting their attention or giving instructions (‘Let’s listen to Teddy’)
Saying hello and goodbye to your puppet will also give the lesson a nice frame. Not to mention that this can also be a perfect opportunity to involve the kids. They are at home, so bringing their favourite toy to class is not going to be a problem and, once they get used to it, they can start taking turns in leading the hellos / goodbyes with their puppets.
So if you haven’t been using a puppet yet, get one asap!
…a set of flashcards.
In the classroom it ss super easy. The set simple comes with the coursebook and you can just use it, adding a few extras that the coursebooks authors have not thought of.
You can share the cards with your students’ parents, to print, colour and cut up and this way, each student will have a set during the lesson.
However, that option might not be valid for all the parents as they simply might not have the printer at home.
Another option is to make your own set with Quizlet and the advantages are that first you will be able to use it in class to present and practise the language but you can also share it with your students and they can play with it, later.
If you use Super Simple Songs with your students, don’t forget to check out their flashcards, too. They have a set of beautiful cards for every song! You can download and print them, of course, but you can also use the pdf version during the lesson in your virtual classroom. https://supersimple.com/content-type/flashcards/
Last but not least, if you can, have a set of real flashcards, too. They can come in very handy, too!
…some ideas to get the kids out of their seats.
Whether they are at school already or only at kindergarten, our students are children and will need a mixture of settlers and stirrers that will help them remain focused and involved throughout the lesson.
You can play:
Abracadabra! In the classroom we do it with a magic wand but the good thing is that any (yes, any) pencil can easily become a magic wand! Abracadabra, 1..2..3..You are…a cat, a happy cat, a hungry monster, sleeping, flying… You don’t even need to get up for that!
Go to the Gym. Ask the kids to stand up, move the chair away and pretend that you are working out at the gym. Raise your arms… Wave your arms… Touch your knees… Touch your toes… Turn around…
Show me something green! Ask the kids to stand up and bring something green, yellow, pink, yellow and pink and show it to everyone else. You can ask ‘What colour is it?’ for all the kids to chorally answer ‘It’s green’
Touch your nose. A very easy game, if the students know body parts. It can be later extended by adding other verbs such as move, shake, clap, dance and freeze. In the real classroom we play it with the dice where 1 means clap, 2 means touch and so on. The kids can roll the dice and make a command for everyone to follow ie touch your nose, eyes, legs, clap your hands, feet etc.
Online, it is best to start with one verb and keep adding more, for the students to grow comfortable with them and not to overload them. Or the teacher can provide the verbs for each student. In the era of coronavirus it might also be better to replace touch with point, too.
Jump three times. This one is a more active game and it might be better to introduce it later when the kids get used familiar to the routine and the online reality.
Ask the kids to stand up and ask them to jump three times. Ask the students for suggestions: jump three times, five times, ten times…You can also introduce other verbs like skip, hop, sit down, walk on your toes etc.
Happy teaching!