Teaching English Through Art

The language
If you follow me and read these posts regularly, you already know that every English through Art lesson has three elements and that the most challenging and the most fun part is always combining these three in one short lesson and finding the connection between the English curriculum and the Art.
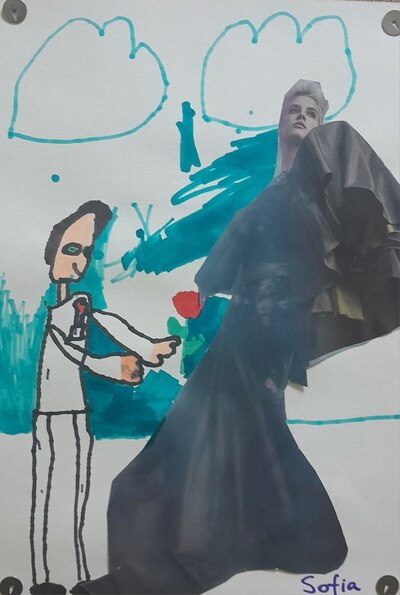
If you are a thorough reader, you may have also found out that sometimes, when you really (really) want to do something, you may turn the blind eye or the deaf ear to this beautiful equlibrium and just do it. And Georgia’s lesson is a perfect example of that kind of an approach. Why? Because I just wanted an Art lesson.
It doesn’t always have to be that way and if you go back, to my first lesson with leaves (here), you will see that it is a perfect lesson for the beginner learner because what you really need is the colours and it can be beautifully used with just that kind of linguistic input and practice. If your students are in year 1 of pre-primary English.
For my year 3 kids, we used it as an opportunity to bring autumn to class and to close the unit. We worked as usual, revised all of the vocabulary and just had a nice end-of-unit lesson. And then we did Art.
The artist
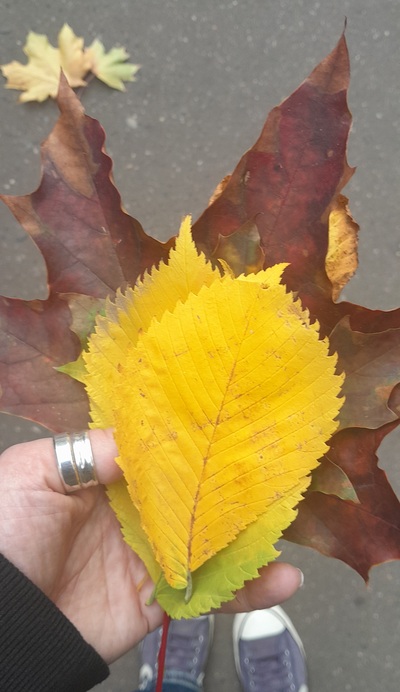
As you can see in the photographic evidence above, I went to school collecting leaves on the way. I wanted us to have something real to look at and to compare them with the painting. I put the leaves on the big table, before the lesson, and I was not really surprised that as soon as the kids entered, they started to touch them, to look at them and to smell them, just because and despite the fact that they definitely do not belong to the category of a luxurious product, there are literally piles and piles of them absolutely everywhere you look.
But I liked their reaction because it just proved what I knew anyway, that the topic and the task will appeal to them. We looked at some of the leaves, called out their colours and checked if they had only one specific colours or a mix of many.
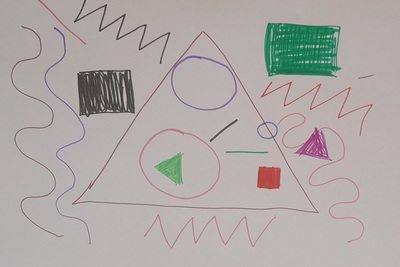
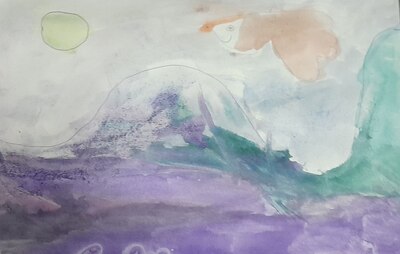
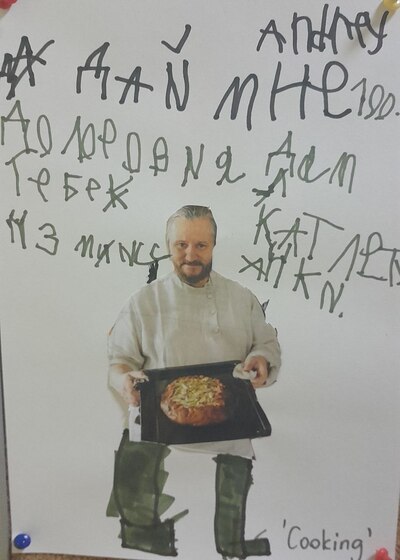
Then I showed the copy of Georgia O’Keeffe’s leaves on the screen and introduced her briefly and we had a quick voting regarding which leaves kids like more, the real ones or the painting (answer: real or real and painting).
The art
Previously, in my Georgia lesson, we used the old favourite – crayons and watercolours, a perfect combination for that piece and a perfect combination for the first Art lessons. The only problem was that, after the relocation, at the moment, I have absolutely no idea where my collection of kids aprons is and I really didn’t want to just use paints in class without any protection…all these beautiful t-shirts and sweaters that my kids are wearing…
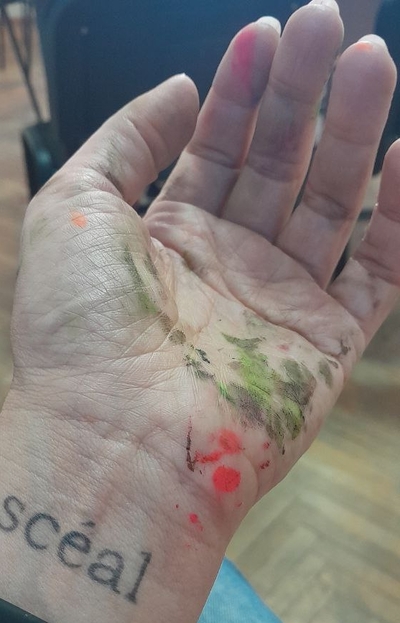
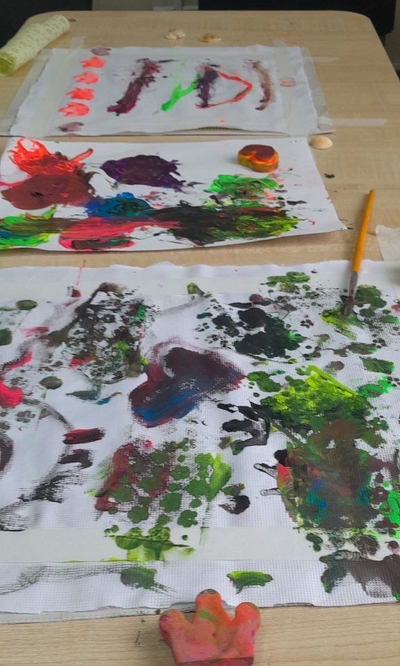
After having spent a whole day with a face of Oscar the Grouch (I call it ‘angry brainstorming’), I finally found a solution! We were to draw the layout of the leaf with the crayon and we were to use the watercolours but to print, with cotton pads! One set of watercolours in the middle of the table, minimal amount of water (and potential spatter) and cotton pads that can be just disposed of. A box of wet tissued to clean the hands. I tried and tested the technique and yet, the cotton pads are perfect for printing and the only problem I encountered (the watercolours get dry pretty quickly and you need to have some supply of water) was solved when I found, in my own bathroom, a tiny bottle sprayer (that never got used for it was meant to be, helping me travel with a tiny amount of tonic or micellar water). Finding it literally made my day.
It was absolutely crucial that we do everything step by step, not only because of this particular activity but because this was our first lesson and I was expecting that the kids might not be ready for a structured approach to art. And I was not disappointed.
As soon as I showed them my picture (‘Look, we have the real leaves, we have the painting and now we are going to make our own…’), I got literally flooded with questions. Imagine, only 4 kids on the day, all of us around the big table, everyone can see everything and then within 1 minute, about a hundred questions like that: Are we going to do it? But can I get the paints? Where are the cotton buds? Will you help me? I don’t know how to draw the leaves? But can I do it the way I want or do we have to draw everything you drew? Can you help me? Where are the paints?
It is at the moments like these that you find out the power and the necessity of the verbs: ‘Stop’, ‘Wait’ and ‘Look’.
Here are the steps:
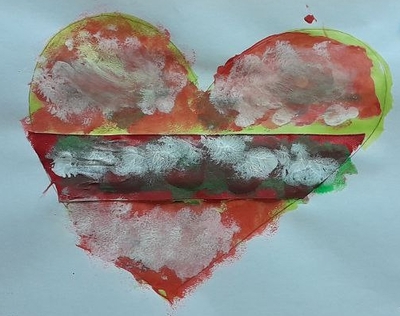
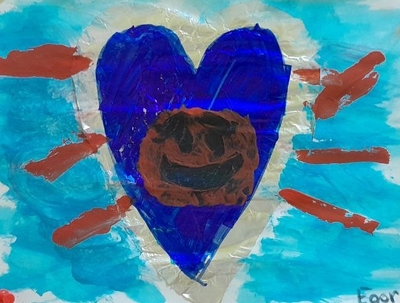
- show the finished picture, call out the colours, draw the kids attention that each leaf has its own set of colours, lots of them, just like the real leaves and just like Georgia’s
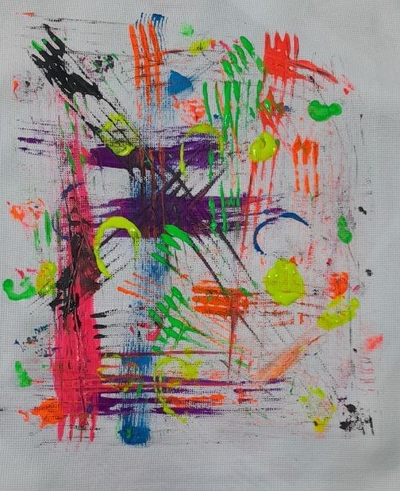
- demonstrate the whole process, from start to finish (the resources were ready in the middle of the table but for this stage, I put them away and I was bringing them one by one): step 1: draw the leaf / leaves with a crayon, the wax will help the paint within the lines and it will not seep or get distroyed in contact with water, step 2: put one box of watercolours in the middle of the table, on some scrap paper and spray it with water, step 3: fold a cotton pad, dip it in the paint and stamp, stamp, stamp on the leaf / leaf, step 4: put the used cotton pad into our mini-bin (aka a small bag or box, in the middle of the table), step 5: proceed with another colour
- give out the paper, an A4 sheet of watercolour paper (or cardboard) and crayons, draw the leaves. With my youngest student we did the piglet follower (хрюшка – повтарюшка) aka I draw a line, you draw a line, I draw a squiggle, you draw a squiggle. Put the crayons away. Wait for everyone.
- give out the cotton pads, 5 each, sprinkle the paints and start working. Stress that ‘we are working together’ (a gesture here:-)
- at the end, call out all of the colours everyone has. We can use ‘I’ve got’ so that’s exactly how we did it.
About the lesson
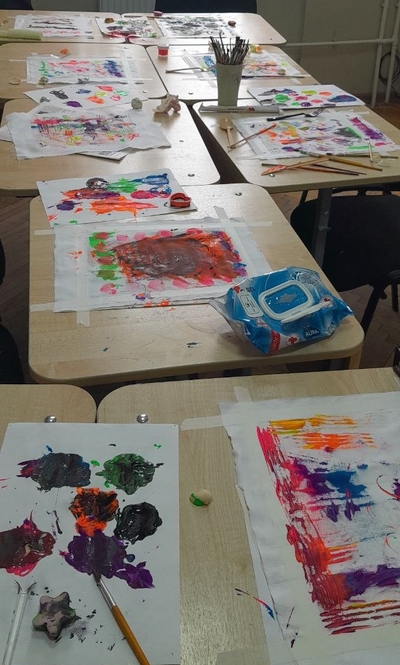
First of all, I was really happy that I decided to introduce Art to my new group. Good decision! They loved it and, after a month of hard work, we really needed ‘something different’.
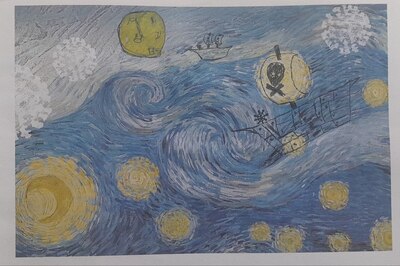
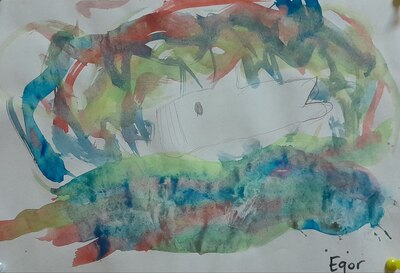
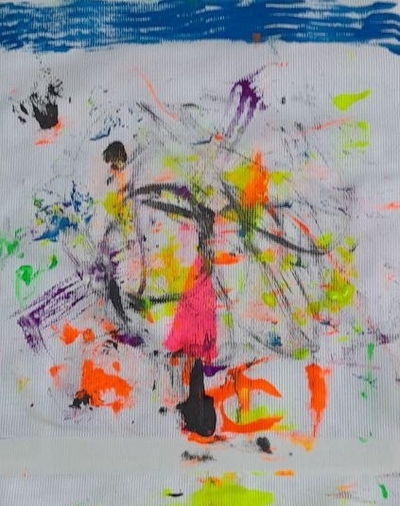
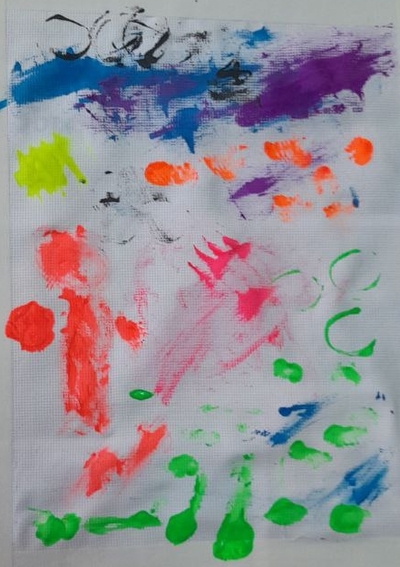
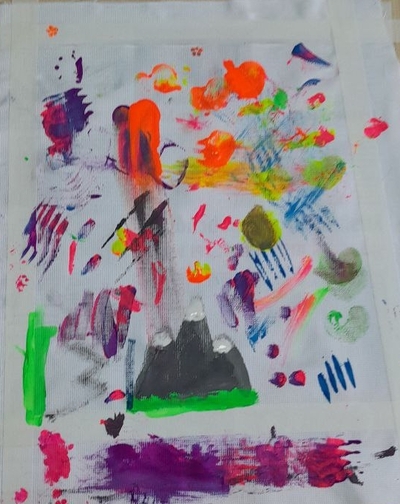
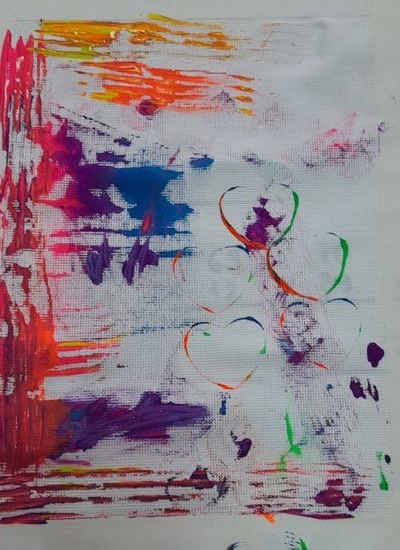
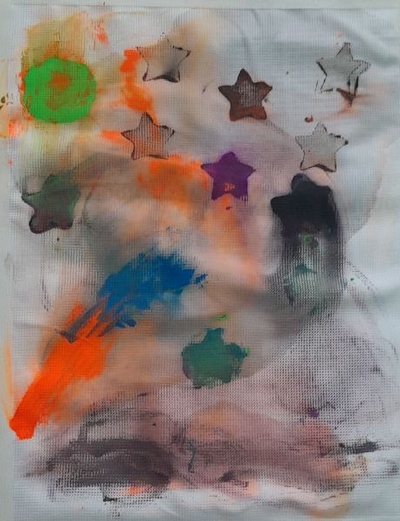
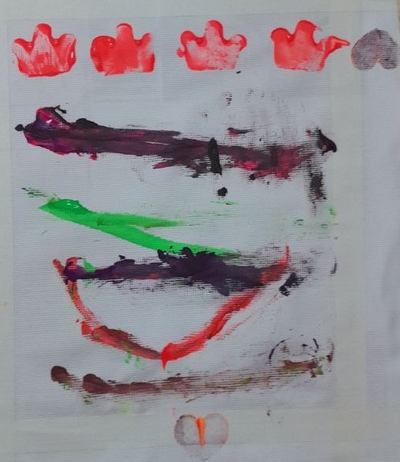
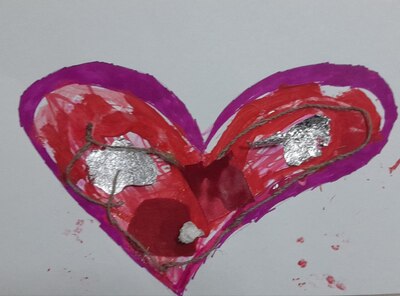
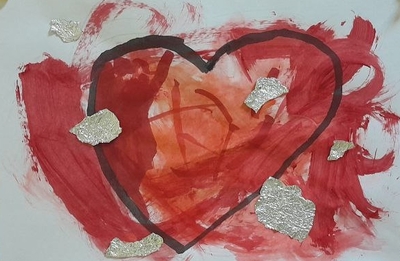
All of the students completed the task and I loved watching how they were approaching it. My youngest student needed help with the drawing but he did it and his leaves were beautiful. One of my older students, at the very beginning, announced that ‘my leaf is going to be unusual’ and that it was. It reminded me of some tropical flowers, of unusual shapes. The other students made their own artistic decisions and even included ‘The Titanic’. It must have been a very small ship or a very big leaf but they looked amazing.
I am really happy with the adaptation of the teachnique. It was monitorable, with a very little potential for a disaster, easy to execute, easy to clean and generating amazing pictures, too.
So yes, thank you, Georgia!
Happy teaching!