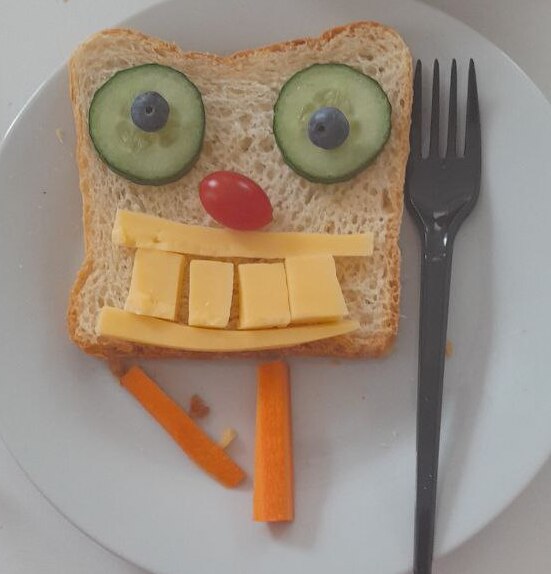
Crumbs #81 Making sandwiches aka a different type of Food Art

Ingredients

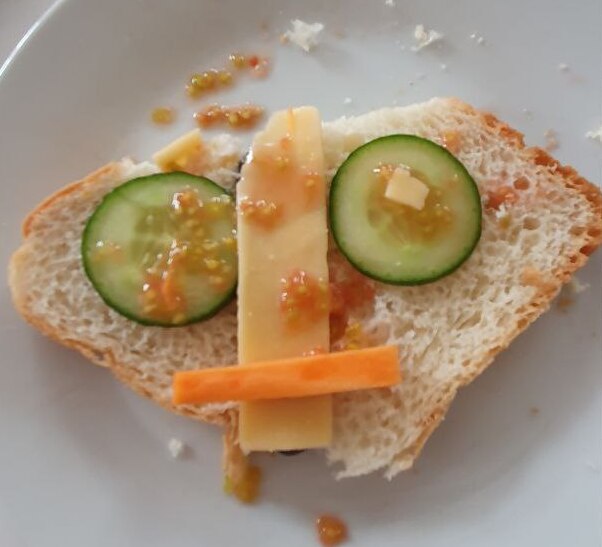
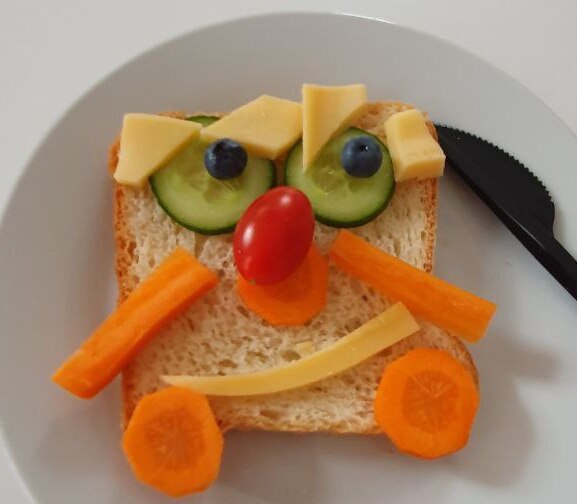
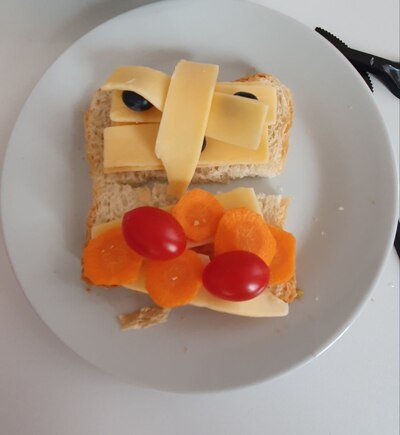
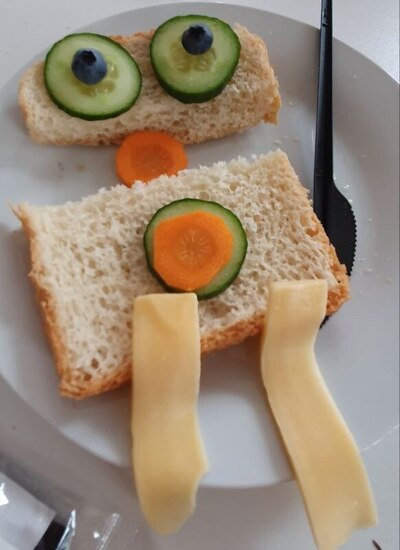
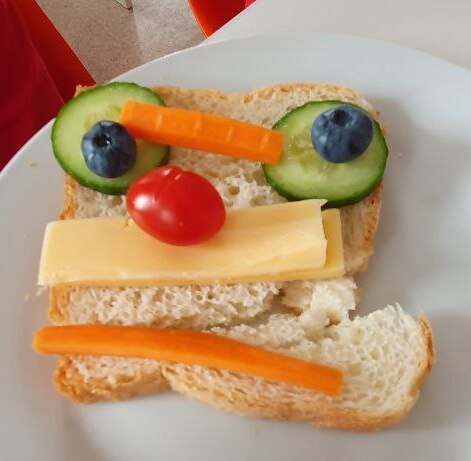
  • anything that you want to use to make sandwiches, we used: toast bread, blueberries, cucumbers, carrots, cherry tomatoes, cheese slices
  • a few pictures to get the inspiration from, for yourself and for your students. There are lots of websites with creative sandwiches for kids but I wanted something simple that we could all make and that is why I just looked for illustrations on google. If you are looking for something more intricate, you can have a look here and here.
  • two plates for each child and a small plastic knife
  • we made the sandwiches in our lunch room
Procedures

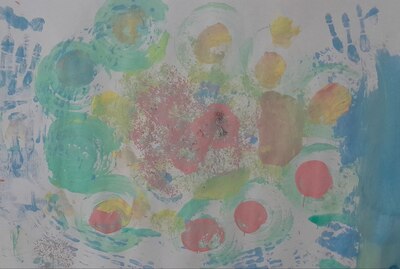
  • We started with the picture that I created during our previous lesson, my own vegetable print and I asked the kids to guess which vegetables I used in another lesson on the same day (here) and we connected them to the flashcards of vegetables we had on the board. Before the lesson I also put up more flashcards, of all the other items to be used in our sandwiches, and we spend some time working on those, drilling and playing a game.
  • Important: before the lesson, I sent the list of ingredients to my administrators to ask them to buy everything we needed and to inquire with the parents if everything was ok and to check against the allergies that our students might have.
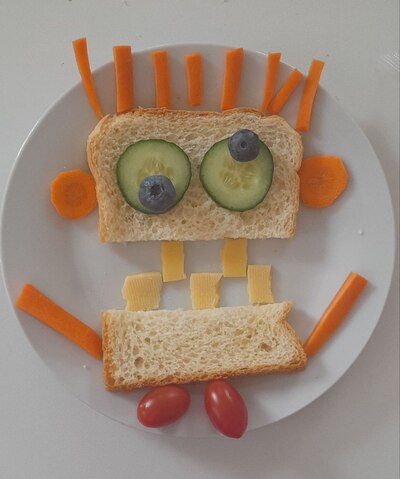
  • I told the kids that we would be making sandwiches and I showed them a few different patterns but I also stressed that everyone would be making their own monsters.
  • We relocated to the lunchroom, washed hands and sat down. The vegetables had already been washed and cut up: cucumbers into julienne and slices, carrots into julienne and slices, cheese into slices. Cherry tomatoes and berries were only washed and dried.
  • I was making my own sandwich, modelling what can be done and my T.A. was bringing plates with more and more veggies. I did my best to encourage the kids to ask for certain vegetables and we did it))
  • At the end, we went through all of the veggies to check that everyone used everything. (“Have you got any carrots?’)
  • Then, we went on to eat!

Why we like it

  • It was the most ideal follow-up of our lesson 1 (vocabulary) and lesson 2 (making print art with vegetables) and, finally, we could eat in class.
  • It was a great way of practising our target vocabulary, practical, hands-on, productive because we really, really used the language.
  • Apart from what I planned for this lesson, namely using the functional language in the context (‘Bread, please’), we also started to sing a new version of the Broccoli Ice-cream, using the combination of the things on the table and then tasting to check what we really think. And, guess what, it turns out that carrot cheese, blueberries cheese and blueberry carrot are all yummy!
  • The kids worked very well together, they reacted well to changing the set-up and the type of an activity. Nobody got overwhelmed or overexcited, they were patient and waited for their turn and they used the langauge. I was really proud of them.
  • Last but not least, we made sandwiches (some kids more than 1) and we ate A LOT of vegetables. I was worried for a while that dry bread might not be the most popular item but I did not want to include any spreads of any kind and it turned out not to be necessary. Actually, during the previous stages of the lesson, I asked whether the kids liked all of the items we had ready and I was lucky – everyone liked everything! But, even if not, they were not required to use or to eat all of the ingredients.
  • As for the creative element, I was laughing a lot during this lesson because my students and their monsters were just amazing and very creative. I showed just a model but I didn’t want them to follow directly in my footsteps. We all looked at our plates and everyone, clearly, had their own idea of what the monster should look like.

Painting with vegetables! Teaching English through Art

The language

The English language in this lesson was the absolute hero, leader, priority and star! We did a lot of practice with food, talking about food, discussing preferences and likes. We played with the flashcards, we made very simple riddles and we did the song (‘Do you like broccoli ice-cream?‘) and the broccoli ice-cream game (aka making up your own food combinations).

We also did the magic bag with all the vegetables later to be used in the creative part and this was yet another opportunity to drill the key words. These were not all the fruit and all the vegatables that I wanted the kids to learn. For this particular activity I chose the set that would help us get interesting patterns, even if they might not be the most necessary vegetables for the beginner students to learn, namely: corn, broccoli, onion, carrot, bell pepper and potatoe.

It is also worth adding that this particular lesson was followed up by one more creative activity, a lesson in which we made monster sandwiches which, actually, is also some kind of food art. This gave our day a lovely frame. You can read about the sandwiches here.

Unfortunately, this time, we did not have any artist of the day. Initially I planned to go for a ‘no-artist’ lesson and then when I remembered about Giuseppe Acrimboldo, it was already kind of too late. It would be lovely to show this way of using fruit and vegetables to create paintings and then to switch to a more direct and obvious vegetable art making…Nevermind, there is always going to a ‘next time’!

The art

As for the set-up, this was another lesson in which we used shared resources. I put a paper-covered table in the middle of the room and all the vegetables and all the paints would be there. The kids were directed to walk around the room, pick up the vegetables, collect some paint and move on to their tables to print.

The artist

I was considering using different types of paints but decided to go for the fingerpaint. We have only four colours but it is easy to wash, it has the perfect texture and it dries fast.

All the pages were fastened to the kids’ tables with painter’s scotch to keep them from moving around. I have also noticed that it helps to prevent the paint from being all over the place. We still need to clean the tables, of course, but the immovable page keeps it down a bit.

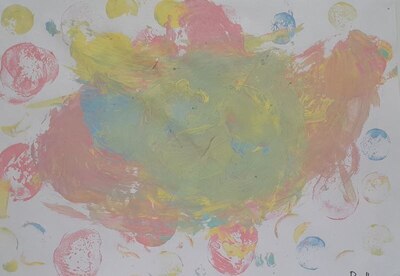
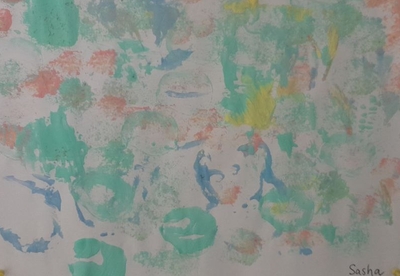
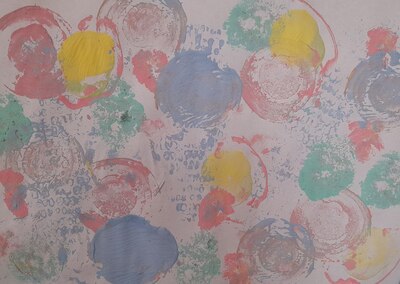
I gathered all the children around the table in the middle of the room and I prepared the vegetables: I cut the potatoes into different pieces, halves and blocks, I cut the onion into halves and bell pepper into slices. We used the carrot and the corn as it was and kids came up with the idea of rolling even before I managed to to demonstrate anything myself. With the kids still around, I experimented with all the pieces, on my page, just to show the kids all the different patterns that can be created. Everyone got a few wet tisses and we started to work.

If I had to choose one word to describe this lesson, I would go for ‘discovery’ because that’s what we all did, discovering and finding out what could possible be achieved with the pieces of vegetables and paint, how you can print, roll, press, dab, drop and how different patterns work together with different colours or different prints.

On the day, I had a mixed ability group, a four-year-old, an eight-year-old and everyone in-between, some ‘advanced’ English speakers and some beginners. Linguistically, we had different aims for all of the kids. I was hoping that for my beginners it will be an opportunity to use the words once more. With my older and more advanced kids, we just chatted about the creative process.

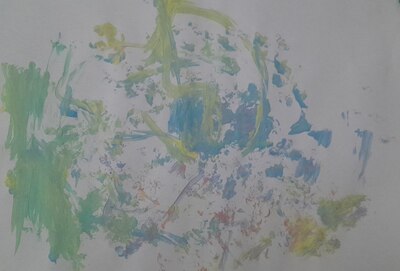
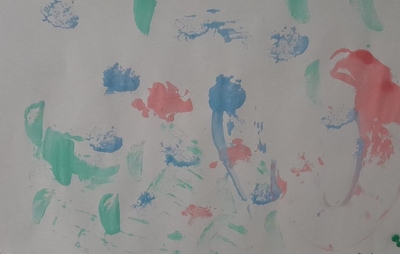
Artistically, everyone created what they wanted. Some of the paintings are more advanced and show imagination put to good use (this from my youngest student!), some are a result of a more careful experimentation with different patterns and prints. I am happy to say that all the kids were involved and they loved exploring the new resource. Throughout the lesson I could hear the surprised and joyful ‘Oh, look’ from different corners of the classroom. And, then, looking at all the photos we took in class is a different kind of a pleasure and they can be divided into two different types: type A: kids being beyond focused and concentrated on the process and type B: kids being in awe at the outcome.

The one issue that we had (as usual, if I may) were the repeated questions from the students. The first one was ‘Are they real vegetables?‘ and the other, immediately right afterwards, ‘Can we eat it?’ To be honest, it does not cease to surprise me that, again and again, I have to deal with that. I would have thought that raw veggies, usually eaten boiled or baked, will be so exciting and tempting but they still are! Despite the fact that I keep repeating my mantra ‘These are materials. We don’t eat materials’

On the day, I was actually beyond happy that I had my third lesson in store (Monster Sandwiches) and that I could promise that, yes, there is a surprise and yes, we are going to eat something eventually. It might be something to consider while planning a lesson with food. It would be good to have something to snack on in the end…

I also wanted to mention three sources that inspired this lesson. Two were articles from my fellow bloggers. Here they are: food painting from Parents Club and harvest food painting from New Horizon Academy. There was also a video (which I cannot find now) about painting with nature whose author did a lovely picture with leaves and sticks and who, used only the fallen leaves and sticks, not to destroy any living plants, and who, at the end, washed everything and took things back to the garden.

This brings me to another point that I wanted to make here. I had real doubts about using real fruit and vegetables in such an activity because I didn’t want to promote the idea of wasting food. Something that my students also brought up. For that reason, I chose the oldest vegetables in the supermarket, all the almost dead potatoes, carrots and corn and to cut down on waste, we only had one of each that the children were sharing. This is definitely something to consider while planning a lesson like that.

Now, welcome to Our Gallery!

Erik Bulatov. A word that is also a picture

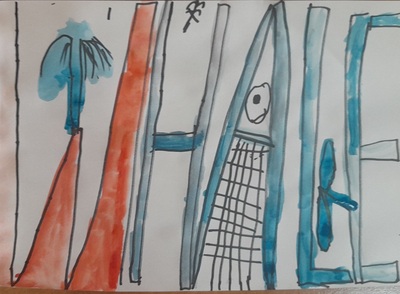
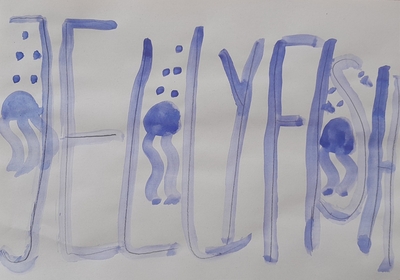
A whale!

Even today, after a few days have passed since the day of the lesson, and with other lessons that have happened in-between, I am still simply, well, euphoric, about the lesson I taught and about the art we created. Cloud number 9.

I saw Bulatov in an exhibition more than ten years ago and, my oh my, what an inspiration he was. Really, I cannot think of anyone who had an impact comparable to him. And he stayed with me. For days on end did I draw letters and tried to make them work together. I even turned one of the pictures into a pillow case, in black and white.

A few weeks ago, I got to see his exhibition again and, once more, it was a blast, in every possible way and, naturally, I made an instant decision that we would do it in class, sooner or later.

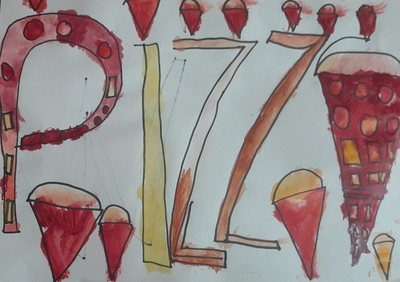
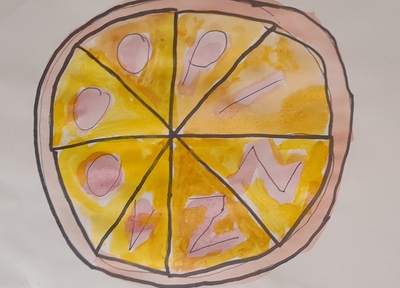
A pizza!

The artist and the concept

It was with a real pleasure that I got to tell my students that our Artist of the Day is a contemporary artist who is almost 91 years old and who still lives in our city. They got really excited about it.

However, before we looked at Bulatov’s works, I wanted a proper lead-in. It seemed crucial to me that my students start to use the words as images, to have them look beyond the letters and to see the bigger picture. In order to do that I decided to use two tools or two tricks and I am so happy that what I came up with worked wonders.

The first, really easy exercise was to look at the colour words and to read them as words and as colours. There are plenty of resources that talk about the Stroop effect and pleny of resources to use: the online game, the article, the quiz video. I used a super simple visual, like this one here. The kids loved the challenge and I was having fun with them, quietly celebrating the fact that reading (all of a sudden) is an easy-peasy task for my almost-year-2 students.

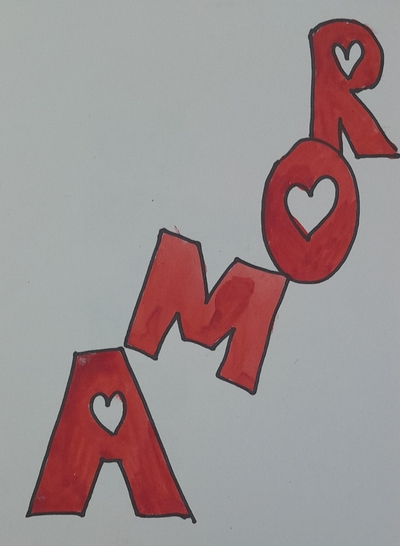
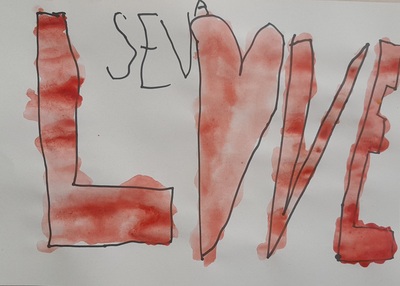
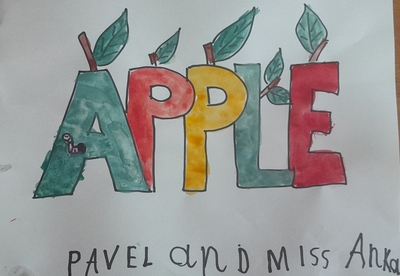
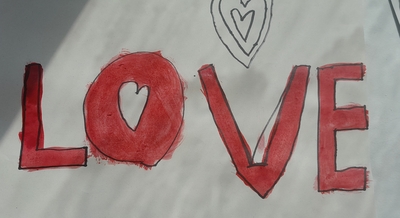
For the following stage, I used my own illustrations of some of the Portuguese words which you can see the photographs. My students don’t speak Portuguese and I wanted to have them try to guess what they might mean just looking at the visuals. And they did so well here! Preparing those visuals took some time but I loved this kind of a homework and it made for a lovely evening for me. I chose ‘o sapo’, ‘a casa’, ‘o amor’ and ‘os olhos’ (without articles) simply because I had an idea for the illustration and I knew that my students will know these words in English. Obviously, any other words can be used and any other language that is appropriate in the context. I have already decided that when I teach this lesson again, I will use a wider range of words and a wider range of langauges.

At this point it was already obvious for the kids that words are more than ‘just words’ and we were ready to look at what Erik Bulatov created. I chose only five of the paintings. We looked at them and we briefly analysed why these particular words were presented in such a way. The main idea for this lesson was the sentence that I repeated a few times during the lesson and the one that is also the topic of that post: a word is also a picture.

Amor!

The language

The language input was minimal in this lesson as we only talked about the different words that the kids could use. As an example, I suggested using their names, animals, food, emotions and professions (the theme of our summer camp). The kids had time to think about it (as we were getting ready for the creative part, bringing water, getting on the aprons, giving out paints and brushes) and when they were ready, I wrote all the words they suggested on the board.

I was considering showing them a few examples of the English words that were also turned into images such as a few variations of ‘love’, ‘a cat’ and ‘a dog’ but I decided not to put them up, just to see what the students can come up themselves.

It is worth mentioning, however, that, depending the language input can be extended and there is a lot of potential for combining this lesson with a lesson on animals, colours, seasons or fruit and vegetables. I will definitely be going back to it and I am already excited about it. I want to be perfectly honest here, though. I focused on the artistic part because we are at the summer camp at the moment and there are separate English and Art lessons and, hooray, we have more time for English and for Art. Our Art lesson, however, was done entirely in English.

Sapo, casa, olhos!

The art

We used very basic materials: pencils and watercolours. We didn’t even have any real watercolour paper, because we ran out and we had to use the regular photocopying sheets. Not the best choice, but it didn’t stop us from creating.

I gave out the paper and pencils and we started to design our words. It is a good idea to keep a few spare pages of scrap paper for the kids to practice because it might be a bit complicated to get to the ‘acceptable’ level of quality of the letters or the picture, even with a good general idea, this does not happen naturally. I experienced that myself with my ‘casa’ picture and I was just so happy that I kept the drafts because I could show the kids that only practice makes perfect. Next time we are going to create Bulatov, I am also going to include different versions of his paintings that I saw at the exhibitions, either sketches (if they are at all available) or the same painting with various approches to the composition, size of letters or colours that I know exist. They will be a wonderful lesson into the creative process. Actually, here is another great idea for a lesson for me and for us, from the sketch to the masterpiece…Soon, I promise, soon!

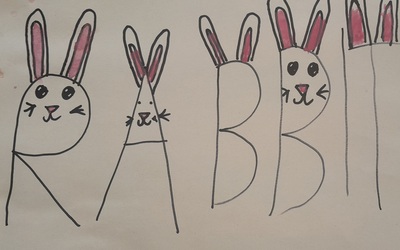
A rabbit!

After the sketches were ready and the kids were happy with them, we started to paint. That’s it. The only thing to follow will be only my admiration, love, excitement, awe and multiple rounds of applause and high-fives. My kids did great.

Here is what went well / very well / amazingly well:

  • We went smoothly from the main idea, to Bulatov’s paintings and to our own creations
  • The kids did great, many of them knew straight away what idea they want to depict and they just went for it. They worked very well, they were focused and motivated. Many finished their first original idea and went on creating.
  • Designing the ideal visual was not easy for all the kids and not all of them got there from the first time. Keeping the additional sheets of paper was a good idea, showing my failed attempts was a good idea, too, and it did help some of the kids. I was really proud of those who got upset at the begininng but decided to go on and created real masterpieces.
  • It was interesting to work with this particular group of kids because they were a new bunch, a mix of my students and some new children who joined us only for those two weeks. All of them, however, apart from one, were new to the artistic activity, unlike everyone who took part in our regular Art Explorers activities that I normally write about here. And it was such a joy to teach them and to take them into the world of creativity.
  • We used the simplest resources, the pencil and the watercolours, but I have already started to wonder what else we could use. Perhaps gouache, perhaps acrylic paints or maybe a mix of techniques, paints and a collage, with the newspaper cut-outs…So many things to think about!

The only thing left now is to invite you to admire what my amazing artists have created!

Love!

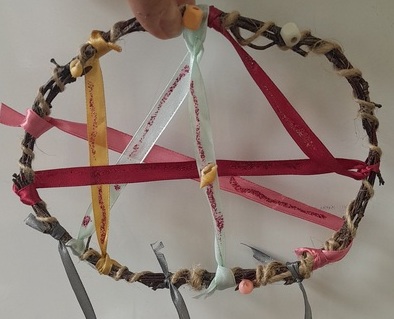
Materials May: Dreamcatchers! Our first Native American Art lesson

This lesson has been on my mind for a loooooong time. Perhaps, on some level, the whole theme for the month’s theme was somehow fueled by the fact that I wanted to make some dreamcatchers.

The most challenging part in the lesson planning here was figuring out the logistics and the techniques and their adaptation for the use in the young learners Art class. There are the professional level videos, there are the adaptations with the use of paper plates or wooden sticks. There is also this one, that I found just now, just for inspiration for you all. The problem was that they did not match what I already had in my head: I needed a simple solution for the frame and I needed a simple weave that my kids would be able to deal with. From the very start I excluded the option of using any metal frames, I wanted our dreamcatchers to be as natural and organic as possible.

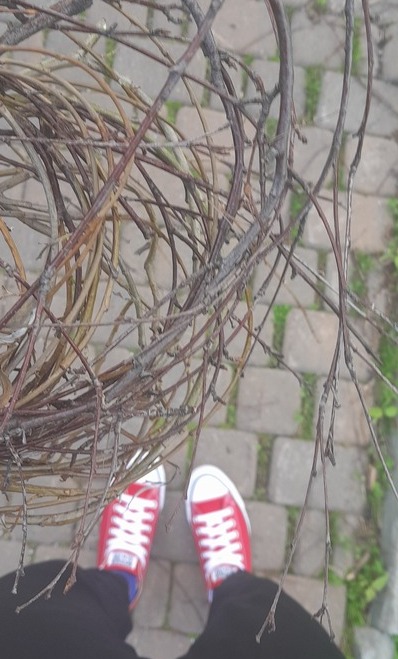
To sort out this problem and to get inspired, I simply went for a walk to see what my neighbourhood can offer, a real naturalist wondering along the river. And I found a solution thanks to the birch tree spinney (a word I learnt today:)) that I have here. It turns out that birch twigs are strong enough and flexible enough after lying for a few days on the ground and can be used for dreamcatchers. Mother Nature helped out! NB I only collected those twigs that were lying on the ground. No tree was harmed during the making of this art.

The artists

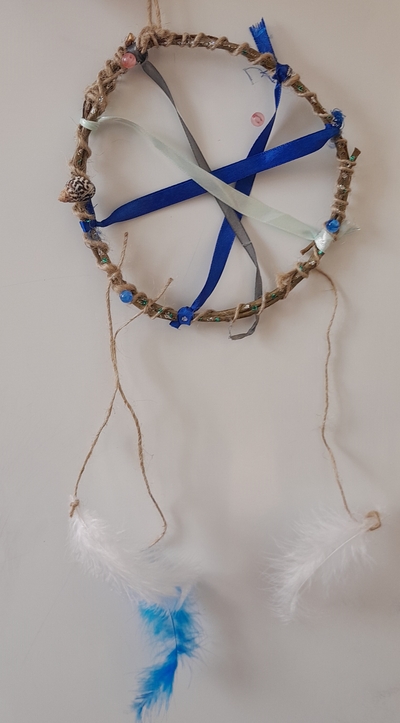
The lesson itself started with the presentation of the art piece that I made at home. We talked about its literal meaning which I explained with clip art and we talked about its origin as the artefacts produced by the members of different tribes in the USA and Canada. We talked a bit about the symbolism, just a little bit (my kids are quite young so we can focus only on the simple concepts but if you have more time, you can find a lot of material here) and we had two guest artists.

Our first guest was Marisa Dube, an Algonquin and Mohawk, an artist from Ontario, who specialises in making beautiful dreamcatchers in the traditional way. The other artist is Janet Echelman that you may know from her Ted Talk, who created a huge Dream Catcher in 2017 in California. I do recommend watching the video with the dreamcatcher in action!

The language

As with all the lessons in May, the language input is minimal and limited to the materials we use in class on the day. This week it was the following set: twigs, beads, feathers, ribbons, string, PVA glue, glitter markers and shells. This set can be adapted, depending on what is available. We went through the cards and through the contents of my bag and started to appear on the table.

The art

Making a dreamcatcher involves a detailed plan for the pre-, while- and post-production stages. Here is how we did it

Pre-production

  • I went for a walk and brought enough twigs for all my kids. It was absolutely necessary to check and to confirm that they were flexible enough to be formed into circles.
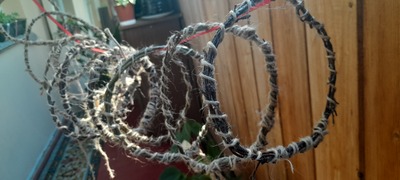
  • I created the circles (aka the frames) by bending them into circles and tying them with twine. I also wound a piece of twine around each frame because I knew that we would not have enough time to do that in class although it is an easy task and my kids would be able to complete it all by themselves.
  • I also decided to wash the twigs, just in case, I washed them with the cold water and hang them on the balcony to dry. We are in the summer, a streak of beautiful sunny days and that was easy to do. Plus, an unexpected olfactory bonus came out of it, the circles started to give out the smell, a mix of twine and twigs, very pleasant. The kids commented on that in class.

While-production

  • I gave out the frames and the kids could choose the first material they wanted to use, the ribbons and or the twine. Initially, I wanted to give out long piece of each but that didn’t work out very well, it turned out to be to difficult to managed. I should have thought of that (!!!) but we were able to adapt on the spot. I showed the kids how the cobweb can be made more easily by simply tying a piece of string (or ribbon) across the frame, tying it down on both ends to the frame and cutting off the ends. This way the kids are in charge, they can use three or five ribbons, making their cobweb as simple or as complex as they choose. My youngest pre-schoolers needed some help with tying, especially in the beginning so that is definitely something to thing about. Next time I am doing it with the pre-school group, I am going to include just a warm-up stage, tying ribbons around pencils or sticks, just to practise.
  • The second step was attaching the hanging strings which called the tails and the feathers. The students picked up two of three of each and tied them at the bottom of the dreamcatcher.
  • The third step was the decoration of the dreamcatcher. I decided to simply glue the beads and the shells with the PVA. I tested the method: it is enough to put a large blob of the glue on the frame covered with the twine or on the ribbons in the cobweb and to leave it to dry for a few hours. The glue will hold the shells and beads and it will become transparent.
  • Then, as the final touch, the dreamcatchers can be decorated with the glitter markers and carefully transferred to the window sill for drying.
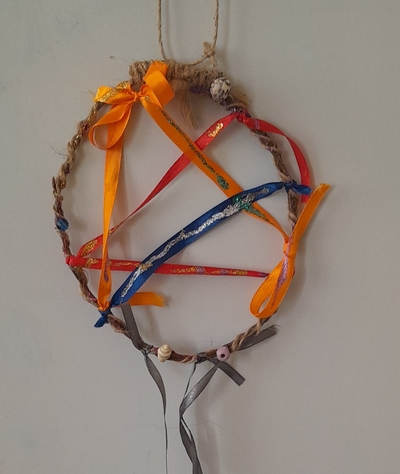
Mine

Why we liked it

  • As all the classes and creations in May, this was a lovely journey of discovery, as regards the technique, the materials and the Native American culture, too. Some of the students were a bit withdrawn because of the seemingly high level of complexity of the task but we went quickly from ‘I can’t do it!’ to ‘Look, miss Anka!’. I am not going to lie, this is the greatest outcome ever!
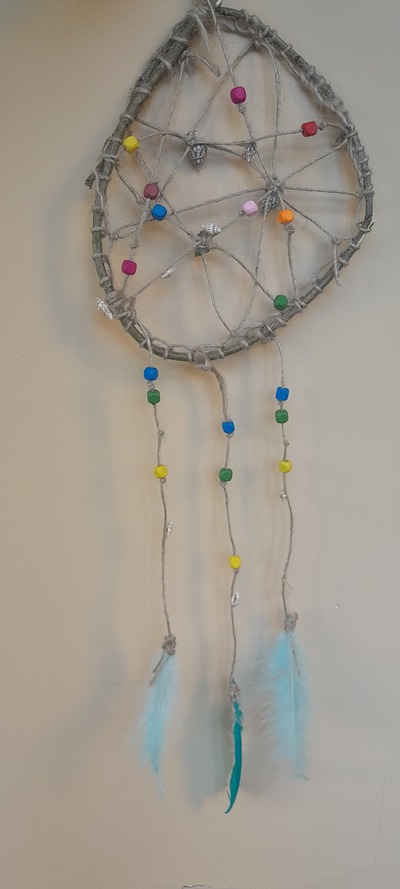
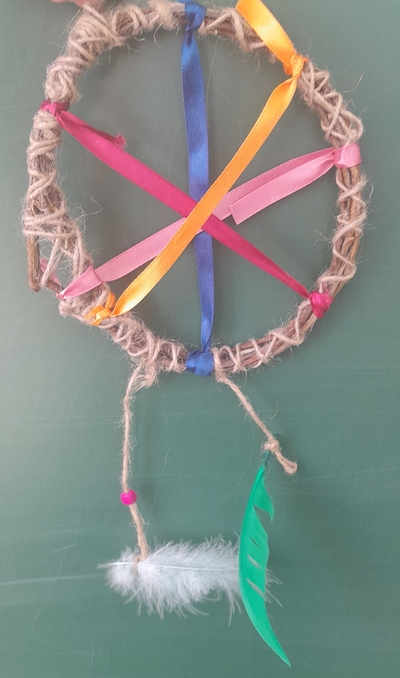
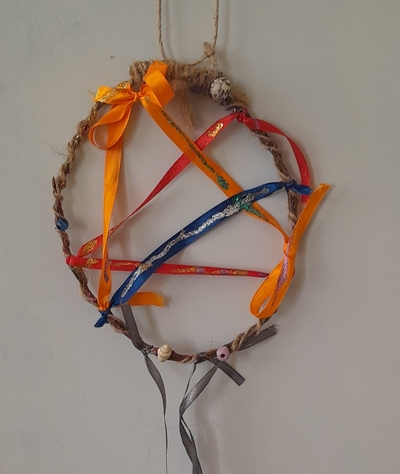
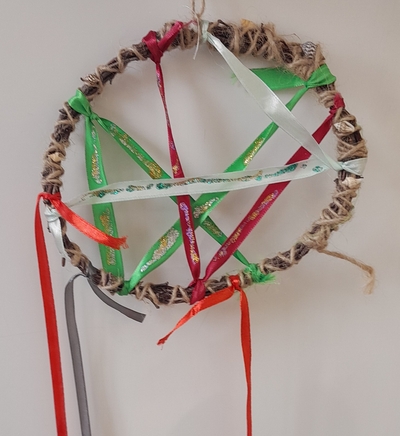
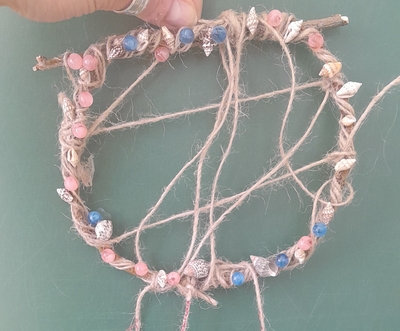
  • It was amazing to observe, again, how different students interpreted the task and personalised their dreamcatchers. We all had the same set materials but some students decided to make the cobweb thicker, some others went just for two strings. Some used the twine, some opted for the colourful ribbons. Some prefered the shells, the others really liked the beads. Some used only the organic materials, some couldn’t help but add some glitter. One of my students decided to tie a ribbon, too and it looked great so she added some more, too! Some of my kids aslo found a way of weaving the shells into the twine on the frame and that looks really pretty, too!
  • All of the dreamcatchers were left on the window sill to dry and this time I had no difficulty convincing kids to agree to part with their creations. Perhaps it was due to the fact that it was our third Materials May lesson and we have already done it before. However, as soon as we arrived at the school on Tuesday morning, after or even before the first lesson, they kept coming to enquire if they were ready to be taken away. And they were really, really happy with the final product. One of my little ones said, to himself or to the class, ‘Finally I will stop getting the nightmares!’
  • There are many ways of making this task a lot more challenging and the more tempting of them is the option of the beads heddled onto the twine or the string which would make the cobweb really pretty. I managed to do it with mine but it was not easy and I didn’t have a thinner twine. If the kids are old enough, they can also try weaving the cobweb in a more conventional dreamcatcher way. The older kids could also potentially use a more reliable glue or perhaps a glue gun. I didn’t want to bring those into the classroom but that is an option that will help you speed up the whole process.
  • Admittedly, the activity involved some preparation on the part of the teacher, some more than usual and I understand that not everyone will have enough energy and time to get involved in that. However, it was all SO worth it! Everyone was fully involved, they personalised their work and they considered it important. And their dreamcatchers just make me go ‘Awnn!’ Just have a look yourself!

Happy teaching!
P.S. A request!

It is very simple.

I would like to know a tiny little bit more about my readers. There are so many of you, popping in here, again and again, and the numbers of visitors and visits are going up and make my heart sweel with joy. But I realised I don’t know anything about my readers and I would love to know, a tiny little bit more.

Hence the survey.