Ingredients
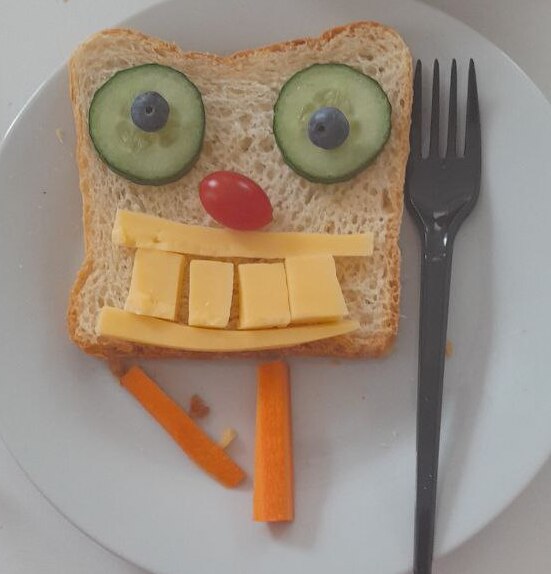
- anything that you want to use to make sandwiches, we used: toast bread, blueberries, cucumbers, carrots, cherry tomatoes, cheese slices
- a few pictures to get the inspiration from, for yourself and for your students. There are lots of websites with creative sandwiches for kids but I wanted something simple that we could all make and that is why I just looked for illustrations on google. If you are looking for something more intricate, you can have a look here and here.
- two plates for each child and a small plastic knife
- we made the sandwiches in our lunch room
Procedures
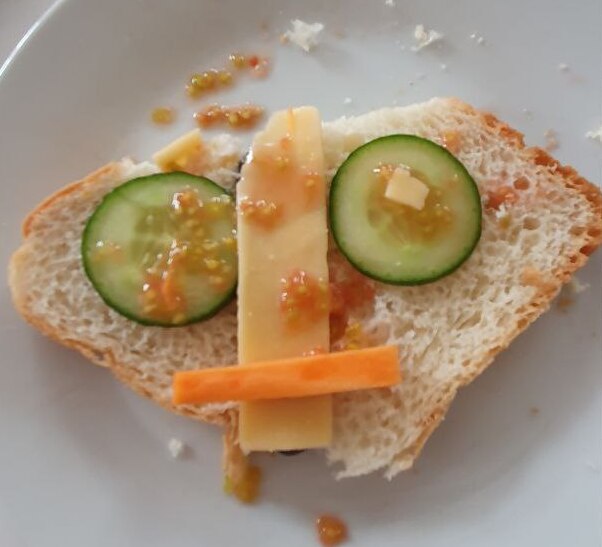
- We started with the picture that I created during our previous lesson, my own vegetable print and I asked the kids to guess which vegetables I used in another lesson on the same day (here) and we connected them to the flashcards of vegetables we had on the board. Before the lesson I also put up more flashcards, of all the other items to be used in our sandwiches, and we spend some time working on those, drilling and playing a game.
- Important: before the lesson, I sent the list of ingredients to my administrators to ask them to buy everything we needed and to inquire with the parents if everything was ok and to check against the allergies that our students might have.
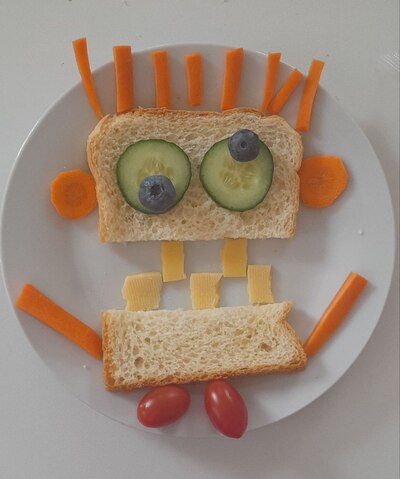
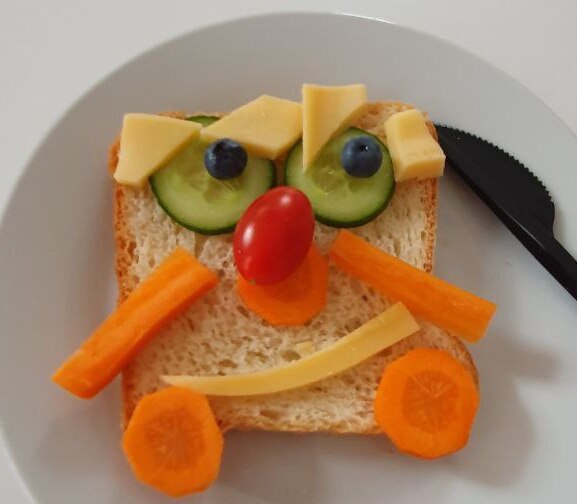
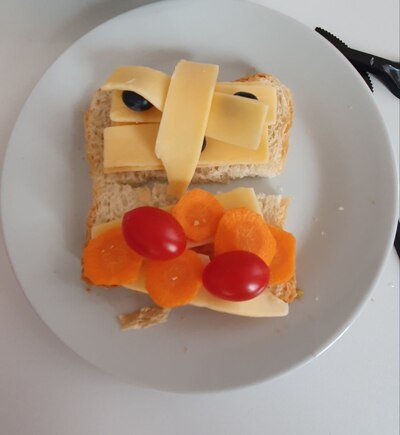
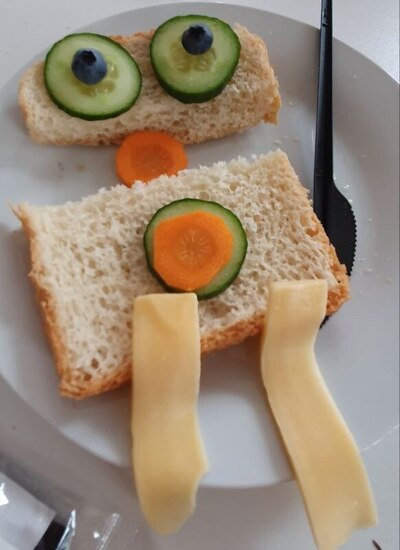
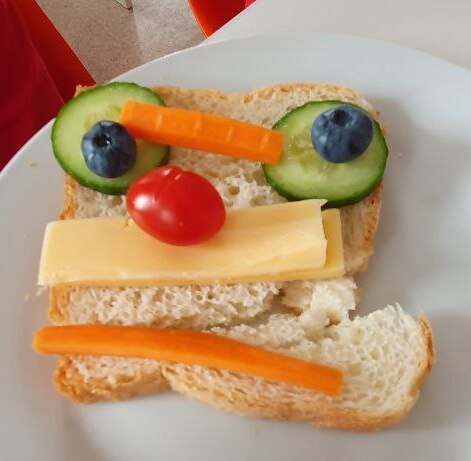
- I told the kids that we would be making sandwiches and I showed them a few different patterns but I also stressed that everyone would be making their own monsters.
- We relocated to the lunchroom, washed hands and sat down. The vegetables had already been washed and cut up: cucumbers into julienne and slices, carrots into julienne and slices, cheese into slices. Cherry tomatoes and berries were only washed and dried.
- I was making my own sandwich, modelling what can be done and my T.A. was bringing plates with more and more veggies. I did my best to encourage the kids to ask for certain vegetables and we did it))
- At the end, we went through all of the veggies to check that everyone used everything. (“Have you got any carrots?’)
- Then, we went on to eat!
Why we like it
- It was the most ideal follow-up of our lesson 1 (vocabulary) and lesson 2 (making print art with vegetables) and, finally, we could eat in class.
- It was a great way of practising our target vocabulary, practical, hands-on, productive because we really, really used the language.
- Apart from what I planned for this lesson, namely using the functional language in the context (‘Bread, please’), we also started to sing a new version of the Broccoli Ice-cream, using the combination of the things on the table and then tasting to check what we really think. And, guess what, it turns out that carrot cheese, blueberries cheese and blueberry carrot are all yummy!
- The kids worked very well together, they reacted well to changing the set-up and the type of an activity. Nobody got overwhelmed or overexcited, they were patient and waited for their turn and they used the langauge. I was really proud of them.
- Last but not least, we made sandwiches (some kids more than 1) and we ate A LOT of vegetables. I was worried for a while that dry bread might not be the most popular item but I did not want to include any spreads of any kind and it turned out not to be necessary. Actually, during the previous stages of the lesson, I asked whether the kids liked all of the items we had ready and I was lucky – everyone liked everything! But, even if not, they were not required to use or to eat all of the ingredients.
- As for the creative element, I was laughing a lot during this lesson because my students and their monsters were just amazing and very creative. I showed just a model but I didn’t want them to follow directly in my footsteps. We all looked at our plates and everyone, clearly, had their own idea of what the monster should look like.
Happy teaching!