The langauge
This lesson was a part of our winter camp – a series of lessons devoted to ancient civilisations taught over a week, with each day being devoted to a different country and culture. We had a lot more time than in a regular EFL class because we could spend the entire three lessons focusing on the History, the Art and the Culture each day. Not to mention that each day was packed with the L1 activities in the particular theme, further reinforcing the vocabulary, the concepts and the ideas, turning it into a real experience for the kids.
For that reason, we had a lot more time to explore the language and all our History lessons of this programme followed the same plan: listening to the music of the civilisation to experience the culture, learning the key vocabulary, doing some written work and, the most important part, comparing the life of ancient Greeks, Romans, Aztecs and so on to ours, using Present Simple and Past Simple, which helped us practise a few key verbs throughout the whole week and to really learn some interesting things about a particular culture. It was also a great opportunity for the kids to share their questions and, equally, the knowledge which they already had.
The artist
Sadly but not surprisingly, we did not have ‘an artist’, not one with a real name. Instead, just like with many other lessons of this particular week, we invited a whole nation to our classroom. We talked about the beautiful Aztec prints that are still popular today. I showed the kids a few examples and we called out the colours and the types of patterns there. The kids automatically started to share which one was their favourite, too.
We also looked at a few printing plaques and outlined what ‘a pattern‘ is.
The art
My choice of the resources and techniques for this lesson was influenced by a few different factors. I decided to combine the Aztec love of cotton and amazing fabrics and patterns, the Aztec love of printing and the amazing colours. And this is how we ended up with our lesson.
There were so many precautions and instructions that I really ended up giving a step by step lecture and a demo, while at the same time discovering the technique, having never done it in class before. I cannot show you the video but there is a lot of ‘awnnn’ coming from the kids and a lot of ‘I just looove it’ coming from the excited teacher.
This is what we did step by step:
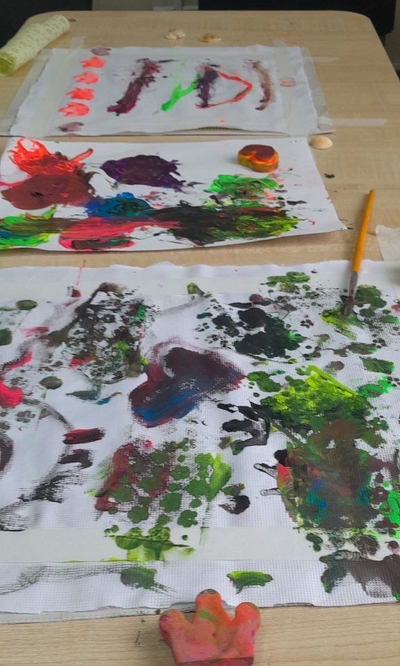
- I prepared the fabric (simple cotton, pre-washed, dried and ironed it at home and cut it up at school) and I attached the pieces to the tables. We did not have the frames (which would have been amazing), but I scotched each piece to the table using the thin painter’s scotch, along the four edges, to ensure that it is properly attached but also to make sure that we have the natural frame for each piece. I also put a piece of newspaper or paper underneath to protect our tables and to make sure that the excess paint is soaked up by that, when necessary.
- I prepared the tools: plastic forks, knives, spoons, chopsticks, paintbrushes and a few foam stamps I had. Later on we also added a few big shells and some crumpled tinfoil, just because we found it at school.
- We also got the aprons ready, the wet tissues and an additional piece of paper per two students.
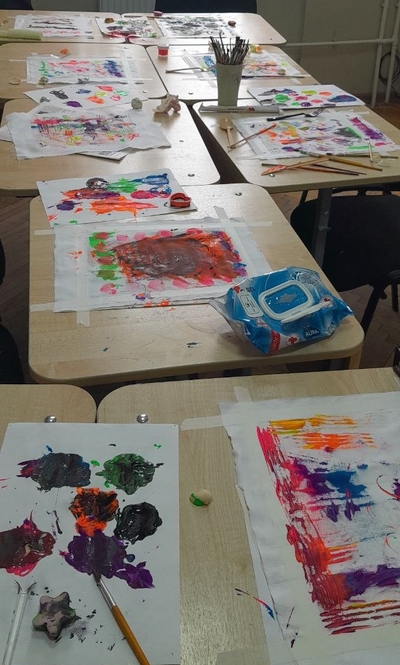
- It is also worth mentioning that we rearranged the tables and put them all together into one big piece in the centre of the room to avoid a situation when the kids need to move around to exchange the colours or tools and spilling the paint all over the room.
- I put up another piece on the board, for me to use as a model. Again, I used scotch+fabric+paper underneath and it worked very well.
- The next step was a set of my instructions. I had to focus on: not getting up and moving around (the teacher will bring everything), being careful with the paint and wiping it off your hands immediately, wiping off the paint off the tools once you stop using them and sharing the tools and waiting patiently for your turn.
- Afterwards, I demonstrated how we work: choose a tool, dip in the paint on the spare piece of paper that we used as a palette (easier to throw out than to wash), print, clean your hands and the tool and repeat.
- At the end of the lesson, the kids went to wash their hands and went for a walk, I was cleaning up myself (always the case with the acrylic paints).
- We needed the classroom for our lesson #3 so I moved the pictures to dry in peace to another room that was empty at a time.

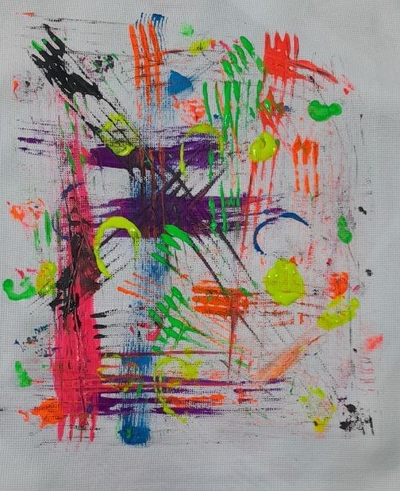
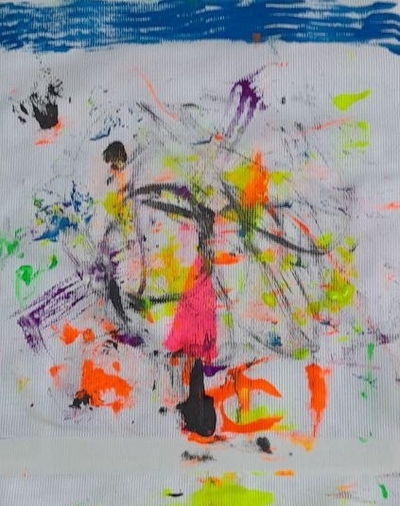
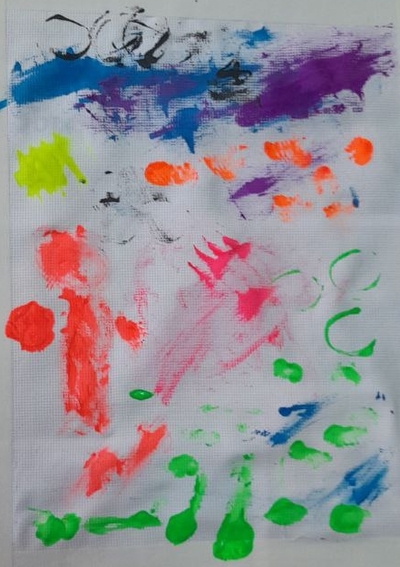
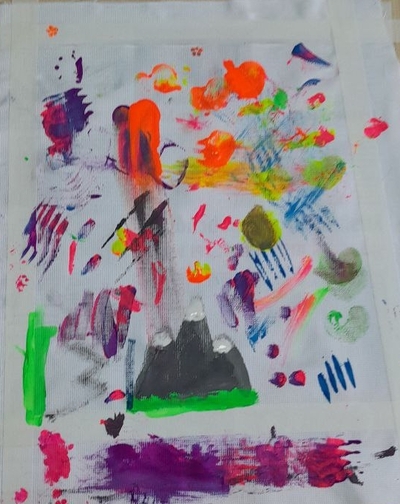
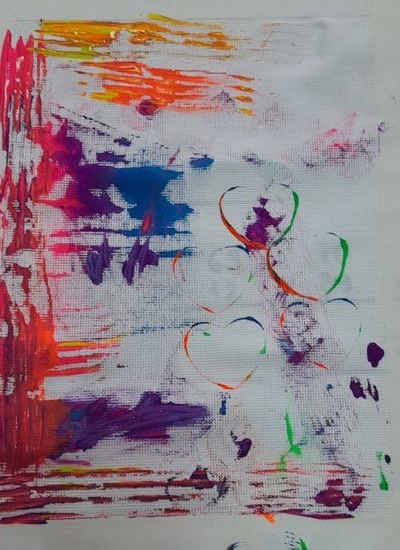
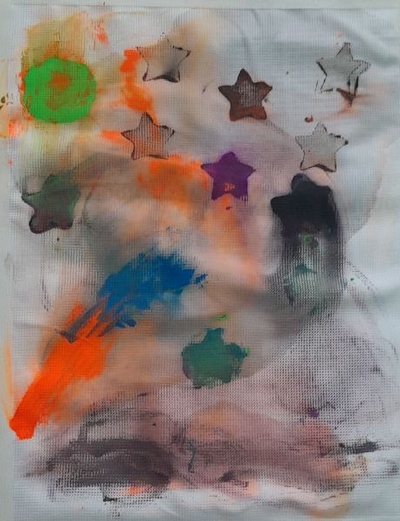
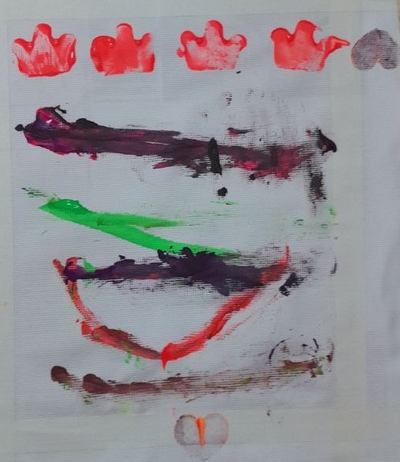
I don’t really need to tell you that this lesson was a success, you only need to look at the photos that accompany this post. I absolutely loved how it went, how we worked and where we got with it. It was not an easy task, logistically, but it was absolutely and definitely worth it.
I was really impressed with how well my kids worked regarding all the rules, cooperation, sharing and being careful with the materials. True, I have no idea how many times, within those 45 minutes, I said ‘Wash the tools!’, ‘Wash your hands!’, ‘Show me your hands!’ and ‘Who needs blue / a fork / a flower / a heart?’, but they were absolutely amazing. So much more gratifying that these were not my regular Art Explorers kids and, nonetheless, they were great. The hands remained cleaned, the tables were generally clean and no clothes were injured or harmed during all our creative activities. I made sure I told my kids that I was really proud of them.
Now, the printing was one ridiculously enjoyable and one surprisingly innovative process. The children took my model into consideration and they tried to follow in my footsteps in the beginning but every single one of them took their own steps towards experimentation and their own interpretation of the process. And, despite the fact that we were working with the same tools and techniques, we ended up with a set of different pictures.
All the kids were visibly enjoying the process and it was great to see how they were not only sharing resources but also the ideas and the new solutions that they came up. Some of the works were directed by the colours, some by the tools that were used, some just by the silly ideas that we had out of nowhere.
Despite the fact that it all looks random and abstract, the pictures are the outcome of an organised creative process. In one of the cases, one of my students was debating with himself, along the lines of: ‘Something is missing here…Something is missing here…What is it?’ but because he was doing it out loud and a few of us got into a conversation, sharing our suggestions. That was a beautiful moment and the final product is, indeed, fantastic.
The best compliment to the lesson, I think, is one of the comments that my student made. He was peeling off his picture and looking at from all the sides. I asked him what he thought of it and if he liked it. ‘I want to buy a frame for it. Are frames expensive?’, he said and that is just the best thing that I could hear, I guess.
Another quote came from my admin staff. They were very much impressed with what we created and they asked: ‘Miss Anka, can we display them on the wall?’. I didn’t answer, I only started to laugh because all of my students, every single one of them, asked me during the lesson (and sometimes confirmed once or twice): ‘Miss Anka, are we taking it home?’ Too precious to leave behind, even for a day. I didn’t even try to convince them, I just made sure I had photos of all the fabric pictures.
My thoughts were of a slightly different kind. Looking at my students works, I was thinking, again, of a real gallery exhibition…
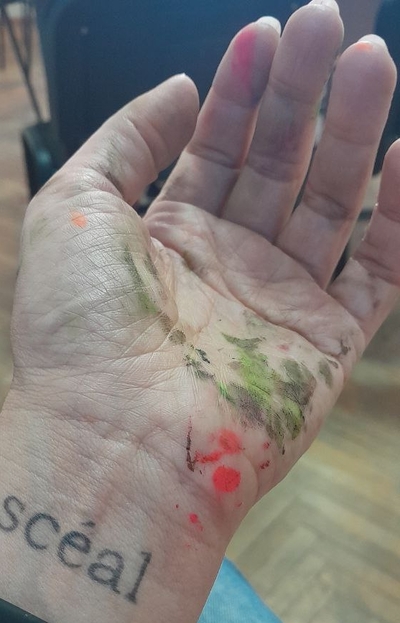
P.S. My favourite things: the Art Aftermath!
Happy teaching!