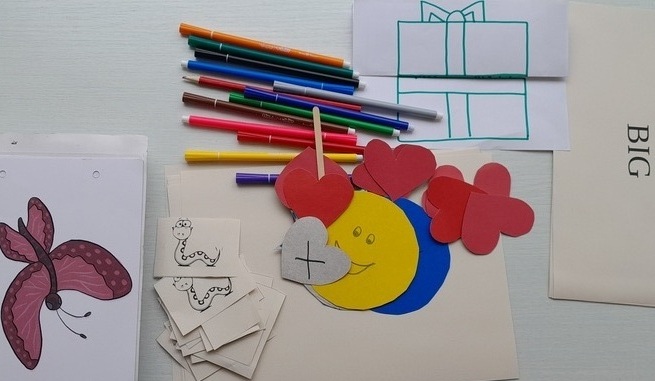
The EFL classroom, just like the Mary Poppins’ bag, is full of the little pieces that to other people might be just random junk but to the teachers of young learners, they are the true gems and the amazing, life-saving fireworks. This post today includes only 5 of them, something old, something blue, something borrowed, something blue or, in the EFL words, something for production, something for games, something for classroom management…Because sharing is caring.

One: paper hearts
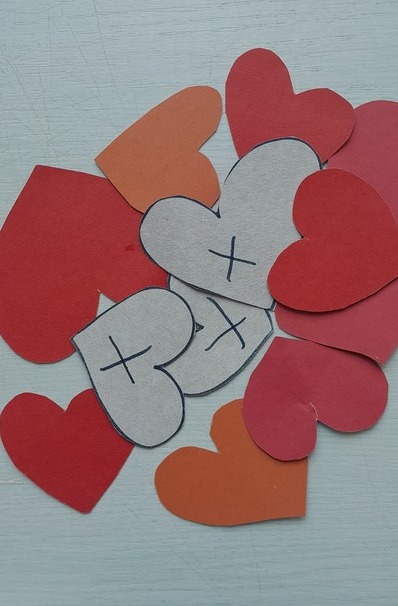
You need: a set of small colourful cardboard cards, which stand for ‘I like’ (the colour side) and ‘I don’t like’ (the side with a small cross).
You will need these to encourage the kids to start expressing opinions. The hearts are used as a symbolic representation of the structure when it is introduced, they are used in all the handouts, even with the youngest kids, but they really start working when the students can physically hold them and use them to react to express opinions by showing the appropriate side of the heart, depending on their opinion. First come the gestures and the symbols, then the language itself and then the hearts become unnecessary because the kids are ready to just talk about the things they like and those that they don’t. It works amazingly well with small groups and it works even better with the bigger groups because all the kids can talk at the same time and the teacher gets the immediate group feedback with all the hearts up into the air.

Two: Little random word cards
You need: a set of regular small cards with the key vocabulary from the unit. They can be handwritten or printed. For the younger kids these are replaced with a set of mini-flashcards, with the images and the text or only the images.
You can: use them in a variety of games to practise vocabulary such as: riddles (make a definition to guess the word), questions (ask a question with the word for your partner to answer), similar or different (taking two words at a time to look for similarities between them), categories (with students grouping the words in any way they want), random stories (telling stories with the words taken out of the pile in a random order) or testing each other (to check the meaning or spelling of certain words) or pelmanism if there are two sets of words per group or pair. Anything for more vocabulary practice and use.

Three: Faces
You need: a set of cardboard circles with emoticons for them. The disposable paper plates work amazingly well here, too.
You can use them during the hello circle to help the kids answer the question ‘How are you today?’ as they are allowed to manipulate the cards while talking to the teacher. We also use them all the time while telling stories to help illustrate all the emotions involved and while working with any visuals that accompany listening or reading activities in the coursebook. The emotion flashcards can also come in handy with different behaviour issues. Knowing the words such as ‘angry’, ‘sad’ or ‘ill’ can really come in handy in many class situations.

Four: Stars
You need: a set of cardboard stars, cut out of regular or, if you are really fancy, out of some colourful cardboard paper, and some blutack or magnets. In a super upgraded version these cardboard stars can have a piece of magnetic sheet glued to them (aka this is how we recycle the merch magnets given out at out local pizza place, cut them up and glue them to things we want to use on the board).
Why? These have become my go-to, clutching-at-straws solution to motivate my kids to speak more English in class at the point when my sweet primary kids grew up and became more talkative and they were more likely to choose their first language to chat away. The stars, given out demonstratively with an excited ‘Oh, what beautiful English!’ worked in two ways. On the one hand, they made them focused on using the target language, on the other hand, somehow, magically almost, it got them to use the target langaguage from the higher shelf. Once they got into the habit of communicating mostly in English, we could stop using the stars in every lesson.

Five: Names Cards
You need: a set of small cardboard rectangles, with each of the students’ names on them, one per card, possibly laminated, to make them year-long-lasting.
You can: use them for any pairwork or group forming activity without getting personal. The cards can be kept in a box or a bag and drawn out by the teacher to organise the kids in a fun way. Even more so, the students can be involved in the draft. This way the grouping and pairing will be the most impersonal, the most random and the most genuine ever. It might also make it easier for the students to accept the outcome, even if they end up working with the classmates whom they might not like very much. After all, it will be due to luck, good or bad, not due to some very arbitrary decision of the teacher.

Happy teaching!