The language
This was the last episode in our series of Materials in May. The language input was a revision and limited to colours, emotions and animals which was also consistent with the vocabulary that featured in the photos I found online to inspire my students. Which, of course, means that the vocabulary can be adapted, adjusted and selected to match the topic that you are planning to focus on or the topic that the stone painting is supposed to accompany.
The artist
Since our main character was stone, I decided to choose a group Artist of the Day and look at the artistic creations across the centuries made specifically of stone (or, rather, different variations of it) such as the Sphinx of Giza, the Easter Islands monuments, Nike, the Greek goddess and Moscow lions, among others. The great thing about it was that many of these, the kids were already familiar with and they could relate to them on a slightly different level, for example, because they had a lot to share, although most of the time this was done in Russian, rather than in the target langauge.
The art
The art part was very simple and straightforward. We started with looking at a great variety of stone paintings that can be found online, with different smileys, fish, dogs, cats, elephants and what not. The kids were told that they would be able to paint whatever their want.
We proceeded to choosing the stones and handing out pieces of paper and pencils as we were to design our drawings. We traced our stones on the paper and spent some time trying to figure out the best picture or pattern for our stones. I tried to encourage them to be inspired by the shape, especially that we had stones of two different sources.
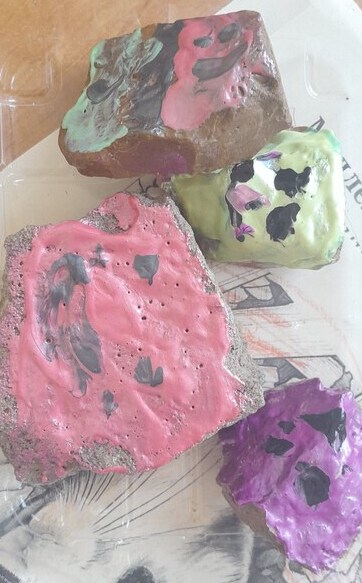
A word here on the stones themselves. They came from two main sources. Some of them were the ‘pretty’ craft stones, round and polished and I bought them in a craft store. The others were more organic, collected by me in the neighbourhood. These are irregular, ragged, rough but also more inspiring. I washed all of them with soap and hot water. In the end, they were left in a bowl with hot water, in order to sanitise them as much as possible.
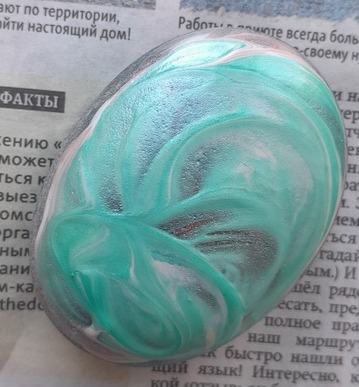
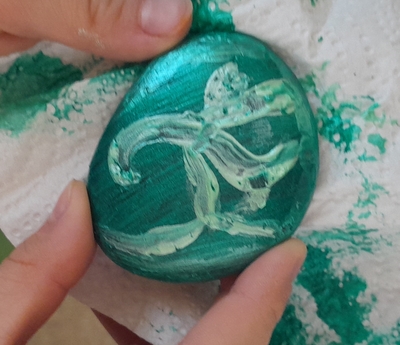
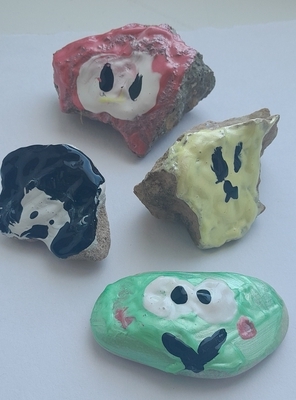
When our designs were ready, we put on the aprons and started painting. Our paints were on a big table in the middle of the classroom so that all the kids could share all the resources. We used two types of the acrylic paints, I had some basic colours (but in lovely, rich shades) and some pearl colours (in other shades, as it happened). A part of the fun on the day was mixing of both in order to get the best of both. I am not sure if it can be seen in the photographs but it really worked out very well.
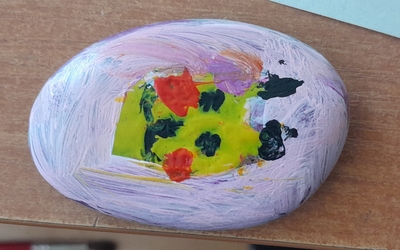
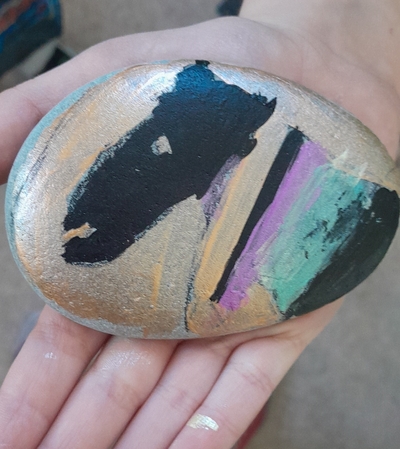
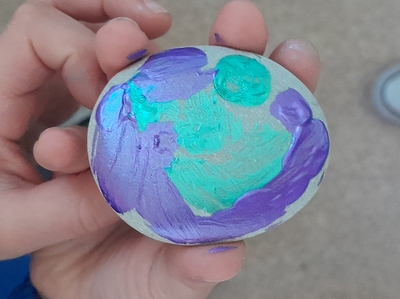
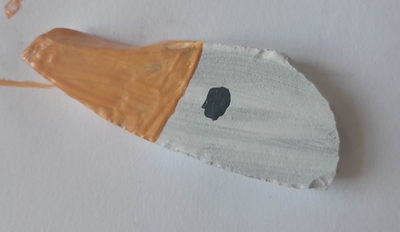
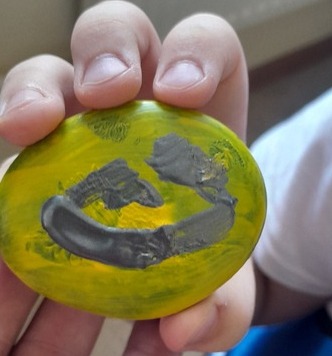
As for the design, as I said before, the kids had a free hand and they chose whatever they wanted. We had some smileys, we had some ‘favourite things’ such as the horses, the geese and Picachu, we also had some ‘magic stones’, which were only coloured and decorated. Because the acrylic paint dries relatively quickly, some of my students managed to decorate both sides of the stones.
I had the black markers ready for the follow-up decorating as it is also an option, especially useful for all the tiny elements of the drawing or the tracing, but it turned out not be necessary in the end. As with all the materials lessons in May, I announced that we would be leaving our creations to dry overnight but, guess what, that also didn’t happen. Almost everyone insisted on taking their stones home asap. I barely had time to take any photos. I suppose that means that the lesson was a success.
Happy teaching!