This was not a typical Art lesson for many reasons. First of all, it was a part of the camp programme, so I had a mixed ability group, with many children who have not created a lot with me. Then, it was an Art lesson that did not involve the Artist of the Day and, also, a lesson which was fully and thoroughly devoted to the process, perhaps more than any other lesson that I taught.
The language
This particular lesson was taught as a part of the summer camp programme which meant a lot more time for all of us, we had one lesson for the language practice and one separate lesson for creation. And one whole lesson for Science and experiments! It was a part of the Black and White day so in our English lesson, we talked about the things that are black and white, we did some acting, we talked about our preferences (Do you prefer a black and white zebra or a colourful zebra? based on the illustrations I found) and we wrote a poem about our favourite black and white things. We also had a fantastic Science lesson in which we were learning about what the colour black is made of and what the colour white (aka the light) is made of.
The art
Initially, I had a different idea for this lesson and I wanted to create two drawings (black on white and white on black) but we did something like that very recently and I needed something a lot more inspiring.
I did ‘waste’ some time thinking about the ways of making the connection between the colours and the art (something that is one of my favourite things, this kind of a brain-breaker) but, luckily, a few days earlier I was also researching new watercolour techniques and this is how I found a video on Lemon Creation ‘The most relaxing watercolour technique ever!‘. Then it was easy for the grey cells to make a connection: bubbles = white, bubbles = light, bubbles = colours.
I tried and tested the technique on myself, the day before. It helped me to understand the process better and to plan and stage it for the classroom full of kids. Not to mention that I had lots and lots of fun with it, as an adult. A delightful process that I really wanted to share with my kids.
In the classroom, the next day, it went like that:
- I showed the kids all of the materials (plates, spoons, straws, washing up liquid, watercolours, paper, paintbrushes) and I explained that we are going to make bubble paintings.
- I showed the kids my creations, already dry and ready for all of us to see the final product.
- The next step was the list on the board, all the stages with simple verbs, for each of them because, again, this is an activity whose success depends a lot on the careful following in the footsteps of the teacher, one at a time.
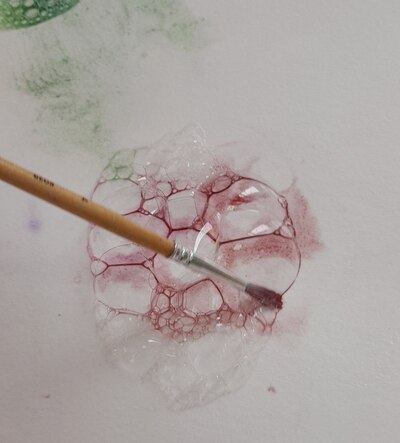
- And, to further underline it, I produced one more picture in real time, with us following the instructions on the board and the kids watching the process, from the beginning until the end. Initially, I wanted to colour the bubbles only with the black paint, in order to keep in line with the theme of the day but I quickly gave up on the idea. Not because it is a bad idea but because adding more and more colour and looking at how they seep into each other and mix and dry was way too much fun to skip it.
- Giving out cups and straws to all the kids and making out own foam would be a lot of fun but I didn’t want to risk anyone taking a sip of the soapy water by accident (and, mind you, that is very easy, even for an adult, I did it myself while in class, oups) so I decided that there will be only two Foam Makers, myself and my TA.
- After we have given out resources, put on aprons and prepared the paper, we started to walk around the room with my teacher assistant giving out the foam to kids. At home I used a piece of cardboard but a spoon is a much better solution (Miss Nigina’s idea:-).
- Children went on to infuse their bubbles with colour and only now and again someone would should ‘Miss Anka, more foam, please!’
- Some of the kids named their paintings in the same lesson, some decided to leave it for later (‘Miss Anka, I haven’t finished yet’ as my 5 y.o. artist told me).
- When we came back after the lunch break, we unpeeled all of the pictures, signed them, named them and decided who is taking theirs home and who is keeping theirs on the noticeboard.
If you haven’t figured that out yet from the first 500 words of the post, I am here to tell you that we absolutely enjoyed this activity.
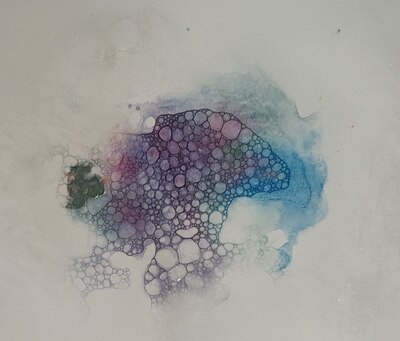
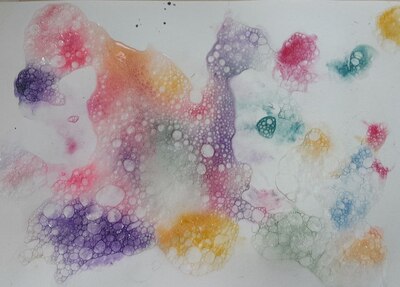
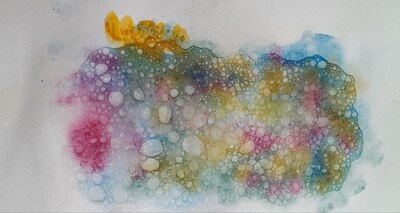
Yet again, we had an opportunity to learn to keep the pace and to follow detailed (but carefully-staged) instructions. We created these beautiful pieces that you can see in the photos and the kids were fully engaged. It is almost difficult to call it ‘painting’, it seems that ‘a show’ would be a more appropriate term as it was a whole performance that we created with the help of the bubbles and the watercolour. Observing how the paint seeps down, through the bubbles, colouring them and then drying and changing slowly…We literally watched the paint dry and it was an absolutely fascinating experience.
It was only after the lesson when I had a chance to look at the photos that we took during the lesson and the kids in all the photos are so focused, so engrossed, so into it…A beauty to behold!
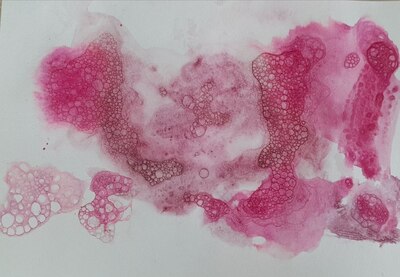
The study in pink that is the title photo of this post was created by my 5 y.o. firestarter who, when ‘forced’, stops plotting how to destroy the world and sits down to paint and ends up putting together the most amazing pieces. Like that one. I have already had a chance to witness it 6 times and every single time it is a wonder.
There many things that can be done with the finished paintings, with the use of markers or colours or even collage and we will definitely be coming back to it! Bubbles for everyone!
Happy teaching!