The language
This particular lesson was a part of our summer camp programme devoted to colours and that day was dedicated to ‘blue’ and all the blue associations, namely the sky, the water and the peace. For that reason, the language of the lesson was dictated and aligned with everything that we do in the other days of the session: talking about the things that are blue miming and guessing, writing a poem about the colour blue and singing songs of which my favourite one is this one here, from Kiboomers, with a catchy tune and the repetition.
The artist
That particular lesson had a whole party of artists as I wanted the children to see a few different ways of depicting water in Art, with Turner, Hockney, Monet, Levitan and, of course, Hokusai. I live by the river and I have piles of photographs of the water and, as a joke, I decided to include one of my own photographs in the presentation. We looked through all of those, depicting a wild sea, a swimming pool, a pond with lillies, a wave and a river. Very briefly, we talked about the water being either calm or in movement and the children noticed themselves that there were no people in the paintings.
The art
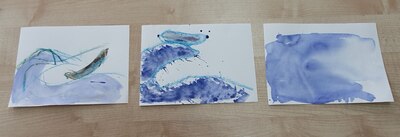
For the creative part of our lesson, I chose Hokusai. He has been on my mind for a while, just waiting for the most opportune moment and this moment came. I also wanted something that my mixed age group would be able to handle and recreate. Calling Hokusai ‘simple’ would be offensive but it is a print, with lots of intricate elements but the power of the water can is really shown by the line and that is something that even the little kids can relate to and to act upon. And they did!
The other thing that I wanted to do in this lesson is the use of a variety of watercolour techniques. It was very tempting to go overboard and experiment on a large scale, using everything we worked with before (a post here), but my students are the moment are still beginners in Art and very young, so I decided to be a clever teacher and I chose only three: crayons and watercolours, salty water and what we called ‘a broken brush’.
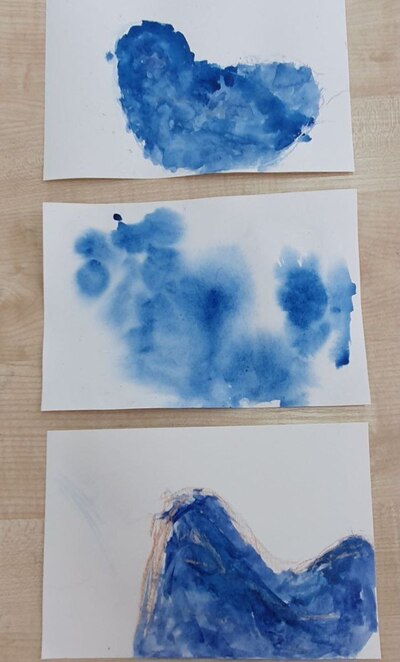
Before the lesson, I cut up the paper and all the students got three pieces of paper (A5) which I attached to the tables with the paints scotch. This really helped to set up the activity as it was clear, from the very beginning that we are going to paint three pieces. The size of the paper made it possible as they easily fit on the small table and it was perfect as it would not require too much colouring and painting. Three were a feasible number in one 45-min lesson. We reinforeced that by counting the pieces of paper and matching them to ‘technique 1’, ‘technique 2’ and ‘technique 3’ which I wrote on the board.
At the same time, the most important piece of instruction for this lesson was ‘step by step’ that I kept repeating throughout the lesson. I wanted to make sure that no one will draw on all three pieces at the same time or just destroy the paper. Or anything else that a creative pre-schooler can come up with.
I demonstrated each technique for the kids, step by step and we went on to create. I left the salty water for the very end.
There are the techniques that we use:
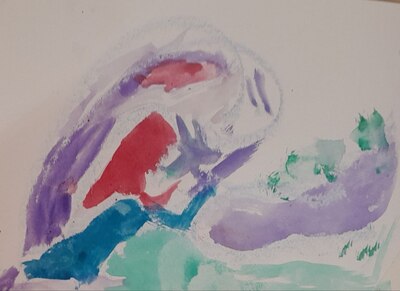
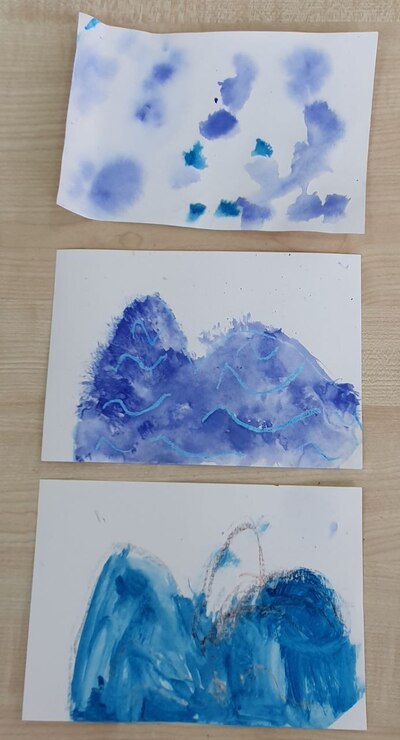
- crayons and watercolours: give out crayons, one per child, a crayon of any colour as it really does not matter and any colour will look good and then colour the picture with watercolours which will not affect the drawing.
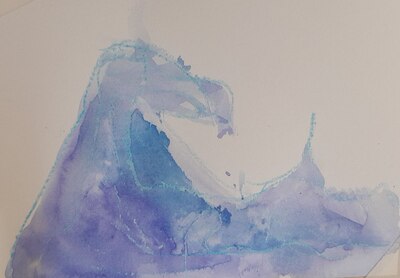
- the broken brush: give out crayons, one per child, draw the wave, proceed with colouring the picture but instead of smooth strokes use the broken paintbrush: pick some paint and make small stamps with the paintbrush, mistreating it and leaving prints similar what a duck would leave. When there are many of them, the wave get a wonderful texture, especially when different colours and shades are used. Even if the prints are done inexpertly, the wave is covered in blotches of colour and it looks lovely, too!
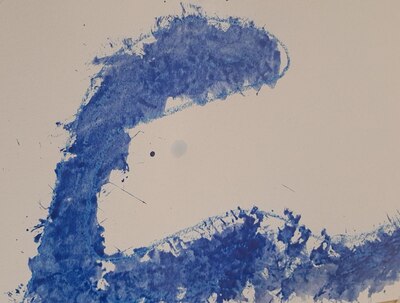
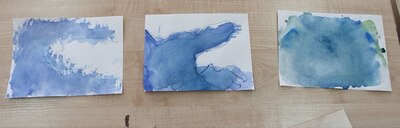
- salty water: I walked around the room, adding water to the pots that all the kids had (in some cases we had to pour some fresh water as it was very dirty) and I asked them to stir it properly and then we used the water to dampen the paper as it is a wet-on-wet technique and then drawing waves and applying little drops of colour and watching how it spreads beautifully. Here, the crayon can be used, too, to sketch the wave but last week we decided not to.
It was a great lesson and I am very happy with the outcomes. The task was easy enough even for the youngest kids, especially that they had three chances and even if some of them did not feel very confident at the first step and the first wave, they all got a chance to do it again and it was visible how their confidence grew. Technically, it was not complicated so the kids could focus on the creativity and on enjoying the process. Which they really did, both my youngest ones and my oldest ones (that’s 5 and 8 y.o.).
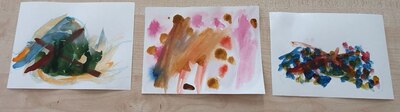
We got a set of amazing pictures for all of them. It was interesting to leave the pictures for the lunchbreak to dry and to come back later to check, together, what changed and what they looked like in the end.
It is the camp so, of course, we had some new children joining the group and it turned out that this kind of a task had a lot of potential for the mixed ability groups, who had done nothing of the kind before and the combination of three techniques helps to build the routine even within one lesson. What’s more, this type of a task works very well for staging and getting the kids to listen, simply because we go ‘step by step’ and doing that is the crucial part of the process. It is good to have this kind of an activity at hand.
Sitting here, thinking that Hokusai was a great choice, for the kids and for the teacher, too! Now, I can dreaming of making a real Hokusai-inspired print. And of writing a few more posts that he accidentally inspired.
Welcome to our gallery!
Happy teaching!