Oh, I was so not sure what to do with March this year…Last year we did ‘Monochrome’ and so repeating and extending the theme was an option, of course, but I wanted something else. I was brainstorming with me, myself and this is how I stumbled on the idea of movement. M is for movement!
The funny thing is that when I get those ideas, the theme for the month, it is never a fully-fledged curriculum. I starts with the word and the alliteration and then I go on brainstorming and coming up with ideas. For instance, right now, half-way through ‘the unit’, we have had two great lessons but I still don’t know what we are doing with the rest of the month. The only thing I know is that the ideas will come to me, for sure.
The language
As regards the language, I decided to continue our theme from the previous month, the verbs and the Present Continuous, because I have a cunning plan of turning it all into picture description and, eventually, into storytelling. We still play our ‘What are you doing game?’ and describing different pictures, in the most simple of ways. And we also sing Pete the Cat’s, Rocking in my school shoes.

The artist
In the first lesson of the month, we did not have one Artist of the Day. Instead, I introduced a few different creators who helped us illustrate how movement can be depicted in art: through humans, shapes and lines, colour, nature, texture, animals and even words. This is, probably, the biggest number of artists that I have ever manged to squeeze in one lesson with Chagall, Bulatov, Hokusai, Kandinsky, van Gogh, Samokish and Riley. Seven. Wow!
It was lovely to see that my kids recognised some of the paintings as we used van Gogh, Bulatov and Chagall before…
Here you can find the link to my presentation.
The art
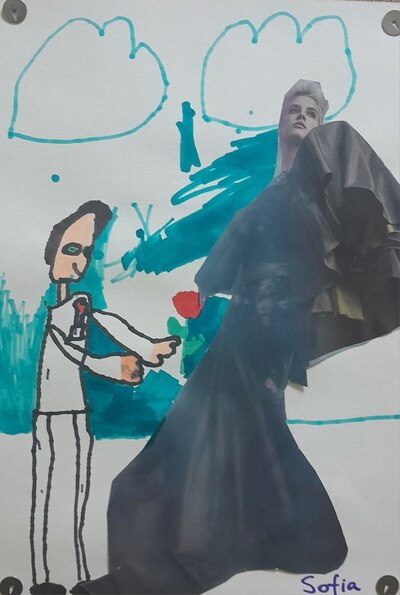
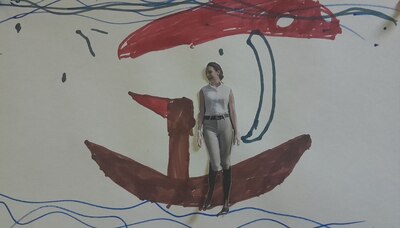
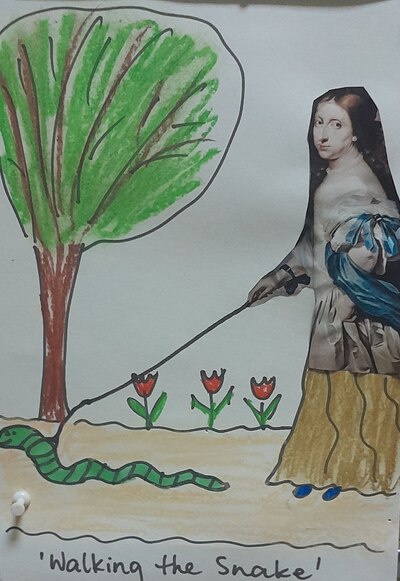
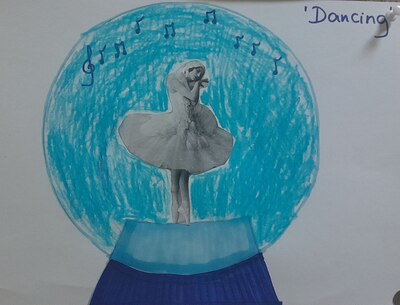
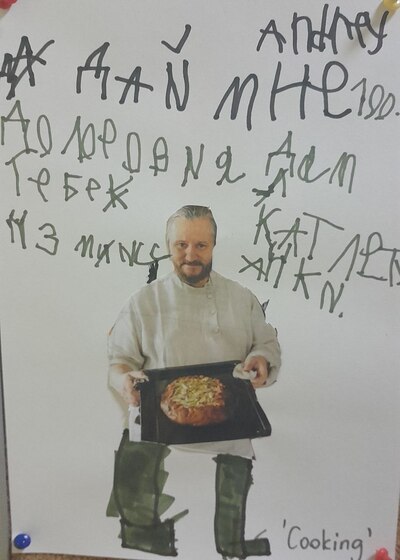
We started with looking at my example that I prepared before the lesson and called ‘Walking the snake’ to illustrate the idea and the whole project: choosing one or more of the characters from the photographs and giving them a new life – a new activity, a new environment and a new movement.
Then we outlined the main stages of the whole process (1) choose the photograph(s), 2) choose the new settings, 3) draw and glue or glue and draw, 4) think of the title) and we got down to work.
And I was working with the kids, creating my own pictures, to better illustrate the stages and to help them generate ideas for theirs.
If I were to summarise this lesson and my associations with it, it would be through the smile that appeared on my face every single time I walked past the noticeboard in the hallway where our pictures were displayed for a few weeks. Every single time. And that’s because they are beautiful.
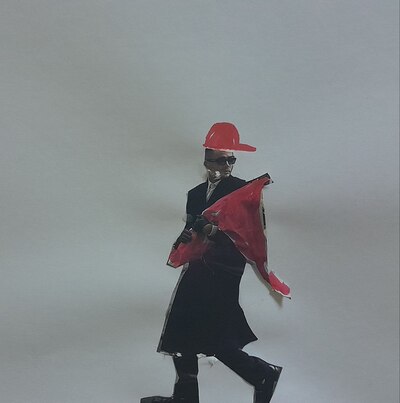
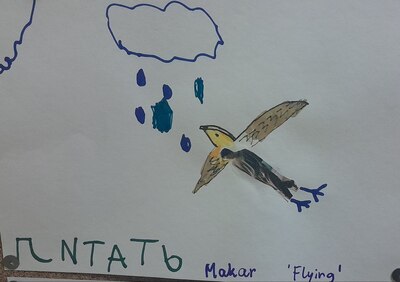
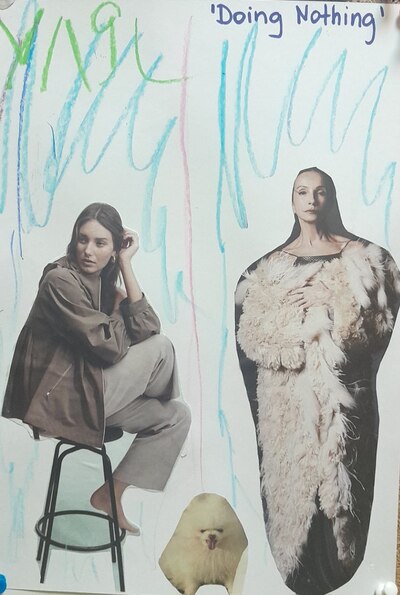
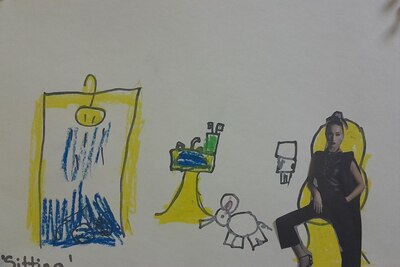
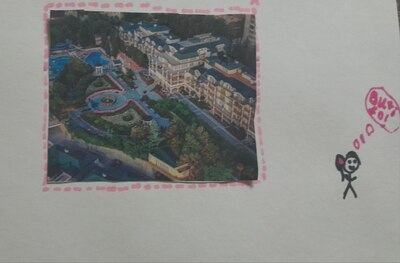
The movement in the pictures is more or less distinct but all of the characters are doing something in their new settings although sometimes we know it only from the title of the picture (‘Doing nothing’). One of my students also tried to make a moving picture in the form of a simple puppet. Some of the pictures were even controversial (if you look closely, ‘Sitting’ is set in the bathroom) but it met all the requirements of the task and I had to accept them. One of my students, one of the more creative ones, took the task to a brand new level and focused not on the humans but on the place and, of course, I allowed that as I was very curious what will come out of it.
I would really like to use this technique and this task in one of our regular lesson, I just need to think what piece of grammar I can combine it with…
Happy teaching!