Ha! ‘This was some time a paradox, but now the time gives it proof!‘ as Hamlet would say. Why? Because first I spend time preparing a post about the good first lessons in the Art Explorers world (which, by the way, is here) and then, the start of the academic year comes and my own first lesson, too and what is it that I do? That’s right, I start from scratch and do something else entirely. Because I had an idea, because I found a cool resource and because I really wanted to do it. But it was a good lesson so I am more than happy to share it here!
The language
This was the first lesson of the year and for a variety of reasons, I got both age groups in one lesson, my second graders and the pre-schoolers and year 1 kids, too, all together now, 15 children, 30 hands. Some of them I know very well, some are new to the school and they are of different ages and, naturally, of different level of language skills. Instead of trying to adjust it to any specific level or age, I just went for ‘let’s do what I want and see what happens’.
For that reason, I did not aim for practising any specific language point, not this time anyway.
The artists
The aim of this lesson was to introduce the students to the world of art and to try to understand and to brainstrom ideas of what it is to be an artist. I based this part of the lesson on the powerpoint which you can find here.
- we looked at what different artists do
- we tried to define what makes someone an artists, including my ideas and my students’ ideas
- we looked at what ‘I’ve got an idea’ was for five of the artists: Picasso, Acrimboldo, Malevich, Vlaminck and Klein in the format of ‘everyone says…’ and ‘the artist says…’
- I also found a funny cartoon based on Marta Alves storybook but we didn’t have to watch it. We will definitely use it in the following week.
The art
The creative activity in this week was based on a very special notebook that I found in my local stationery shop: a sticker paper notebook. I saw it, fell in love with it and decided to use it.
- I prepared my own stickers berfore the lesson to show the students the finished product
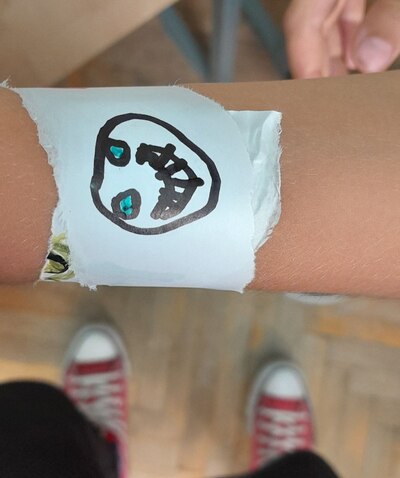
- I also made one more, simple sticker during the lesson, to walk them through the process: make a decision about the design, draw with a pencil, trace and colour with the markers and cut out, peel it of and stick (this part was optional and the idea was that the kids might also choose to take their stickers home)
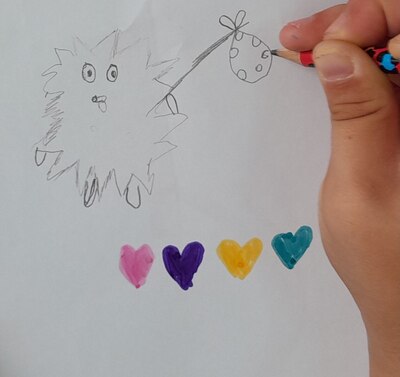
- We brainstormed a few ideas for stickers. ‘You can make what you like. What do you like?’
- We got down to work.
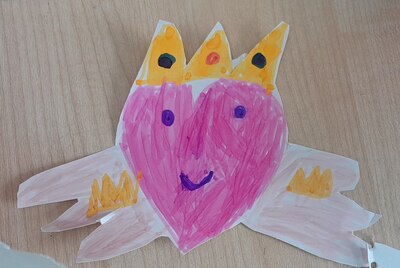
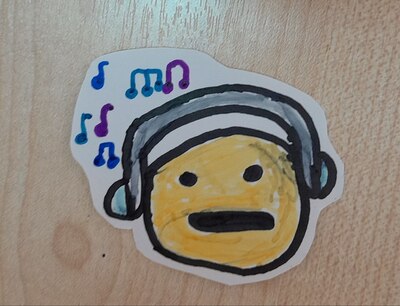
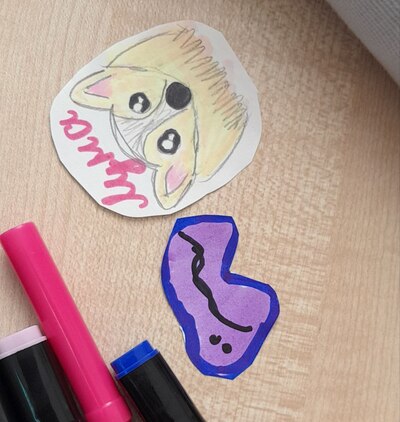
It went well and, indeed, there was a huge variety of ideas and the kids understood the assignment, they went for expressing themselves. Among the designs there were: stick people, cards, animals, hearts, stars, a rainbow, a sticker bracelet and a beautiful character from one of the favourite cartoons.
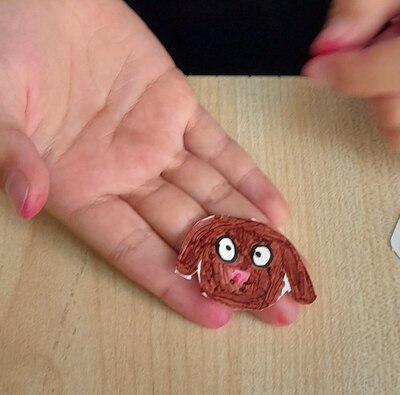
Regardless of how big or how intricate the drawings were, they all worked as they can be cut out in many different ways. Even if the picture itself is very small, the sticker can have a form of a square which is easy to handle.
This kind of a task is also perfect for mixed ability groups in terms of motor skills. Some of the students managed to make one sticker, some went on and created more stickers. It also happened that one or two students were picked up by their parents half-way through the lesson and it did not get in the way of the creative process. They simply picked up their sheets and took them home to finish work.
I am really happy with how it all went. The kids liked working on the stickers, as they were both easy and exciting to make. A perfect choice for a new group, too!
Happy teaching!